一.思路
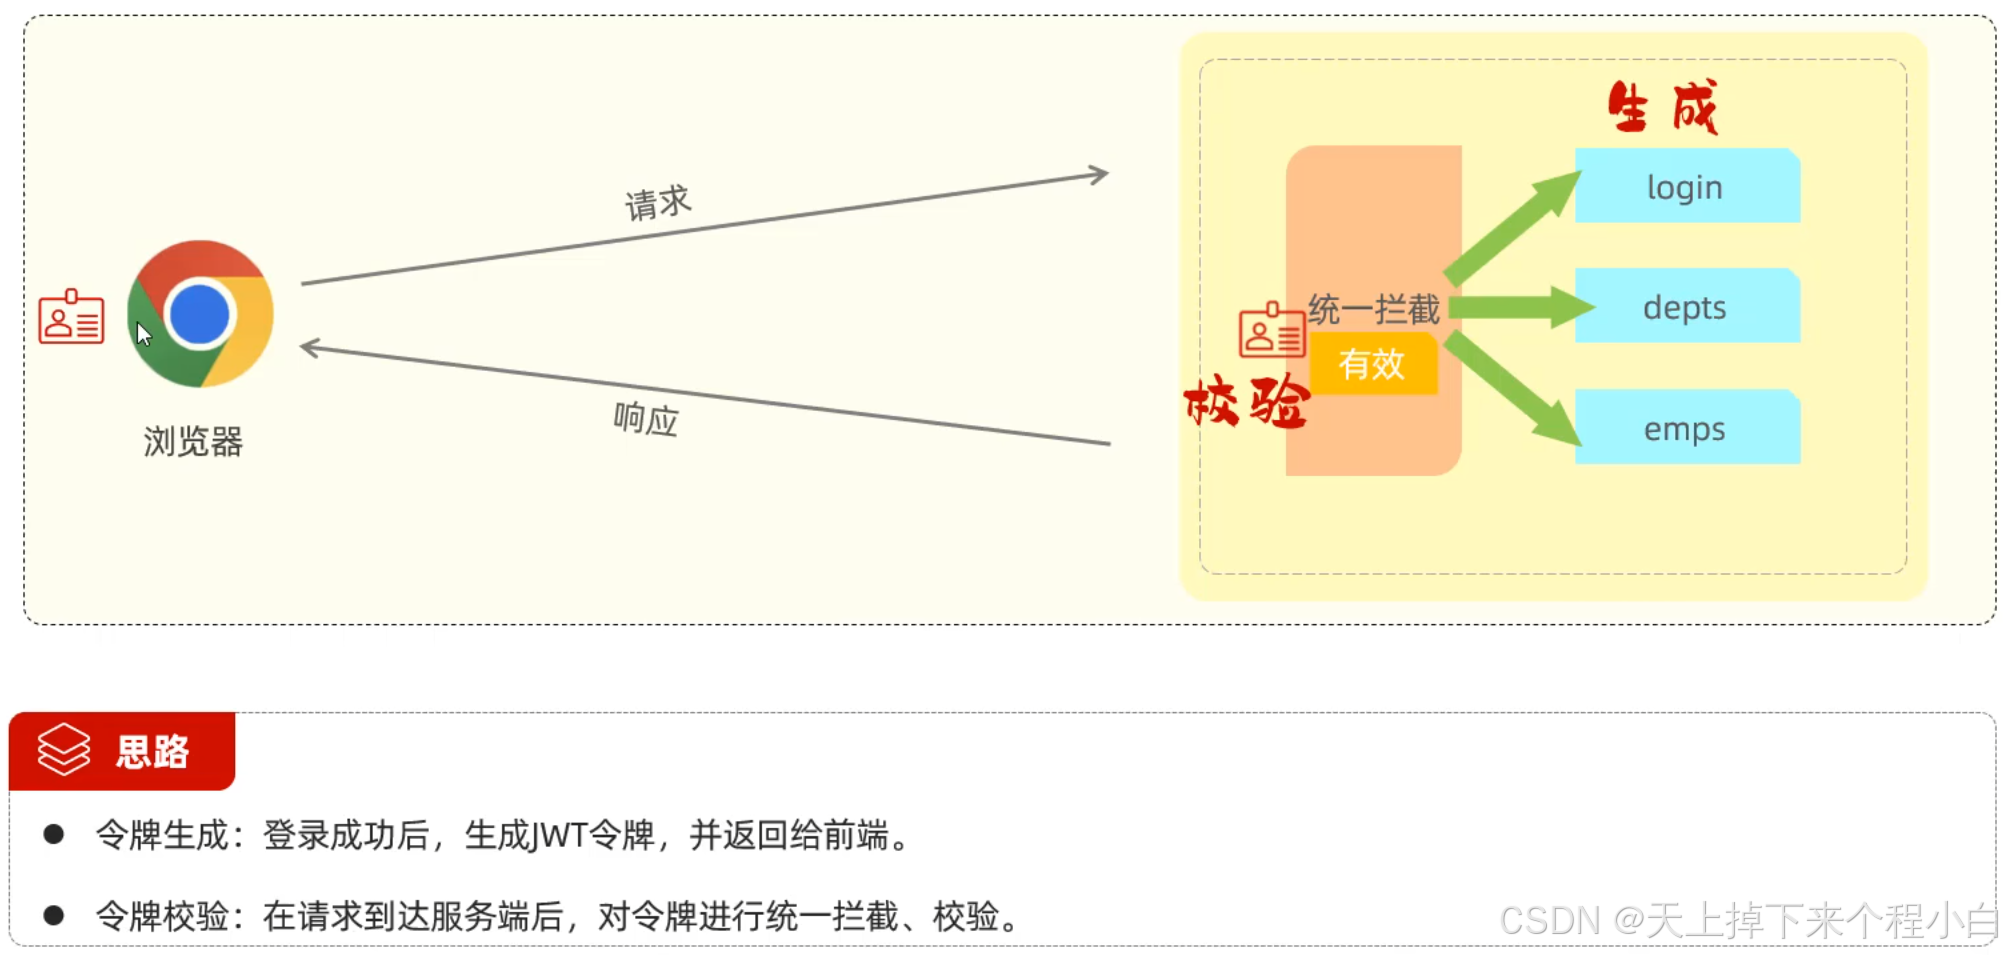
我们首先完成令牌生成。
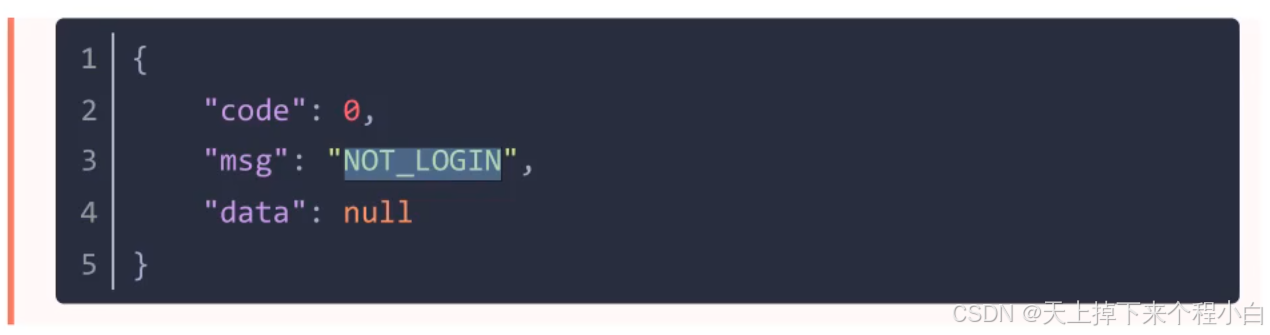
在响应数据这一块
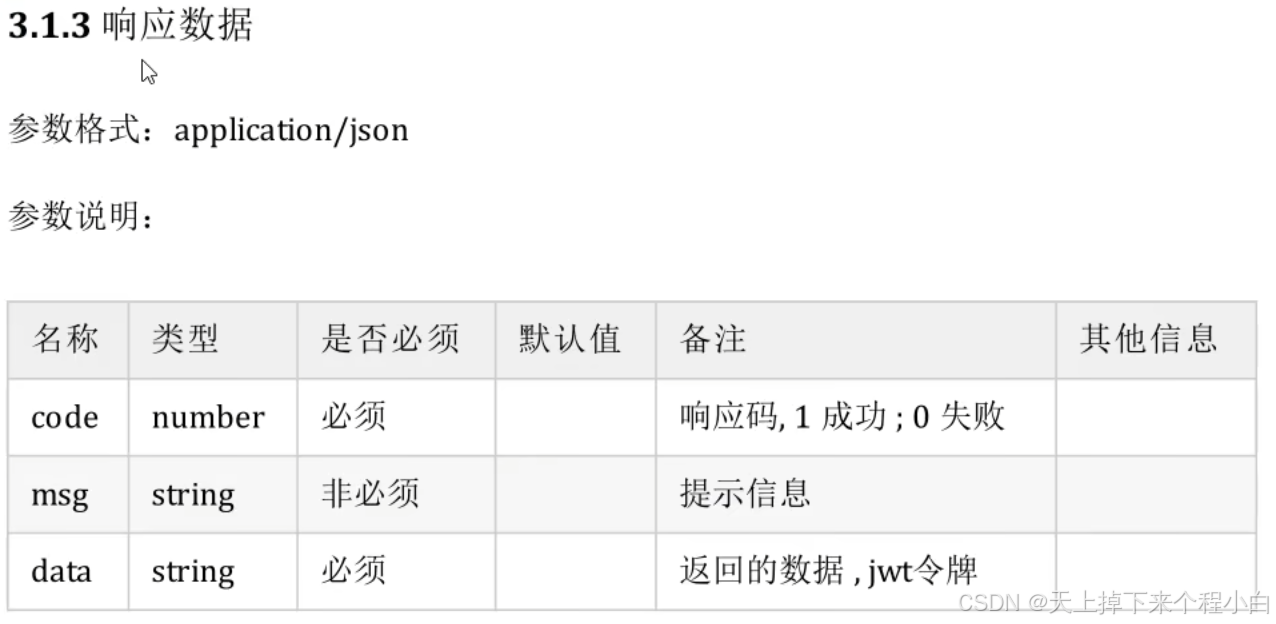
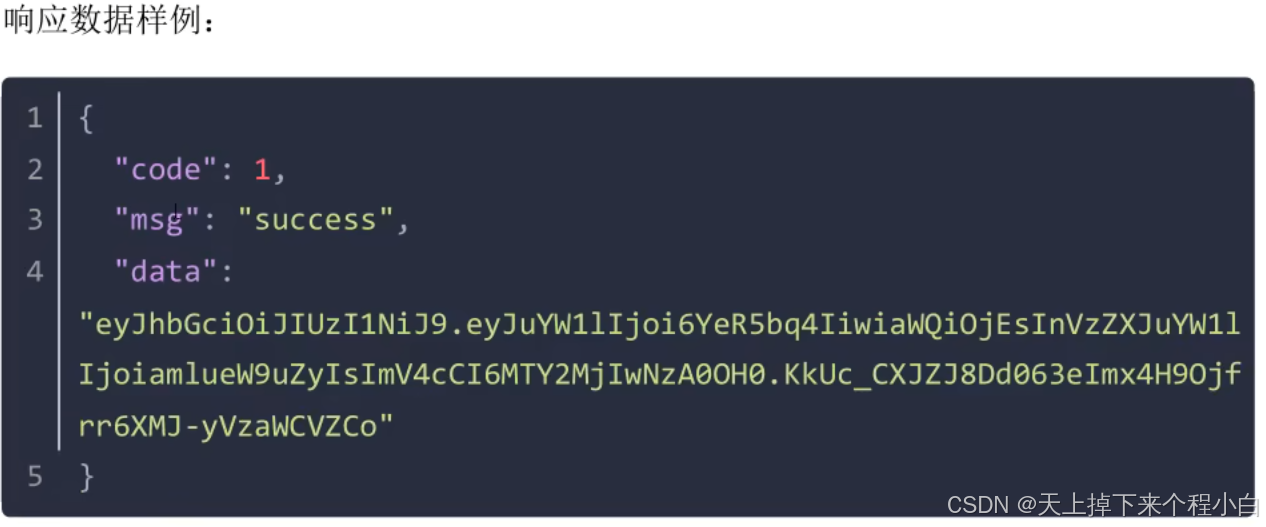
该响应数据是一个标准的Result结构,其中"data"的值就是一个JWT令牌。因此我们只需要将生成的JWT令牌封装在Result当中然后返回给前端即可。
备注是给前端看的,不用管。以后我们做校验时,只需要从前端的header中拿到名称为token的值,然后进行校验即可。
二.步骤

package com.gjw.util;

import io.jsonwebtoken.Claims;
import io.jsonwebtoken.Jwts;
import io.jsonwebtoken.SignatureAlgorithm;

import java.util.Date;
import java.util.Map;

public class JwtUtils {

    private static String signKey = "handsomegaojiaweilovesbeautifulmengxinruloveforever";
    private static Long expire = 4300000L;

    /**
     * 生成Jwt令牌
     */
    public static String generateJwt(Map<String,Object> claims) {


        String jwt = Jwts.builder()
                .signWith(SignatureAlgorithm.HS256, signKey)
                .setClaims(claims)
                .setExpiration(new Date(System.currentTimeMillis() + expire) )
                .compact();
        return jwt;
    }

    /**
     * 解析Jwt令牌
     */
    public static Claims parseJWT(String jwt){
        Claims claims = Jwts.parserBuilder()
                .setSigningKey(signKey)
                .build()
                .parseClaimsJws(jwt)
                .getBody();
        return claims;
    }
}
我们设置过期时间为4300000毫秒。并将JWT令牌工具类引入登录的controller方法。
package com.gjw.controller;

import com.gjw.pojo.Emp;
import com.gjw.pojo.Result;
import com.gjw.service.EmpService;
import com.gjw.util.JwtUtils;
import lombok.extern.slf4j.Slf4j;
import org.springframework.beans.factory.annotation.Autowired;
import org.springframework.web.bind.annotation.PostMapping;
import org.springframework.web.bind.annotation.RequestBody;
import org.springframework.web.bind.annotation.RestController;

import java.util.HashMap;
import java.util.Map;

@Slf4j
@RestController
public class LoginController {

    @Autowired
    private EmpService empService;

    @PostMapping("/login")
    public Result result(@RequestBody  Emp emp) {
        log.info("用户登录:{}",emp);

        Emp e = empService.login(emp);

        //登录成功,生成令牌,下发令牌
        if (e != null) {
            Map<String,Object> claims = new HashMap<>();
            claims.put("id",e.getId());
            claims.put("name",e.getName());
            claims.put("username",e.getUsername());

            String jwt = JwtUtils.generateJwt(claims);
            return Result.success(jwt);
        }
        //登录失败, 返回错误信息
        return Result.error("用户名或密码错误!");
    }
}
首先判断登录用户是否存在,如果不存在,那么就登录失败,返回错误信息。如果找到用户,那么就将该用户的id,name,username的键值对作为claims数据集成到令牌当中,并返回生成的JWT令牌到controller层中。然后将生成的JWT令牌通过Result返回给前端。
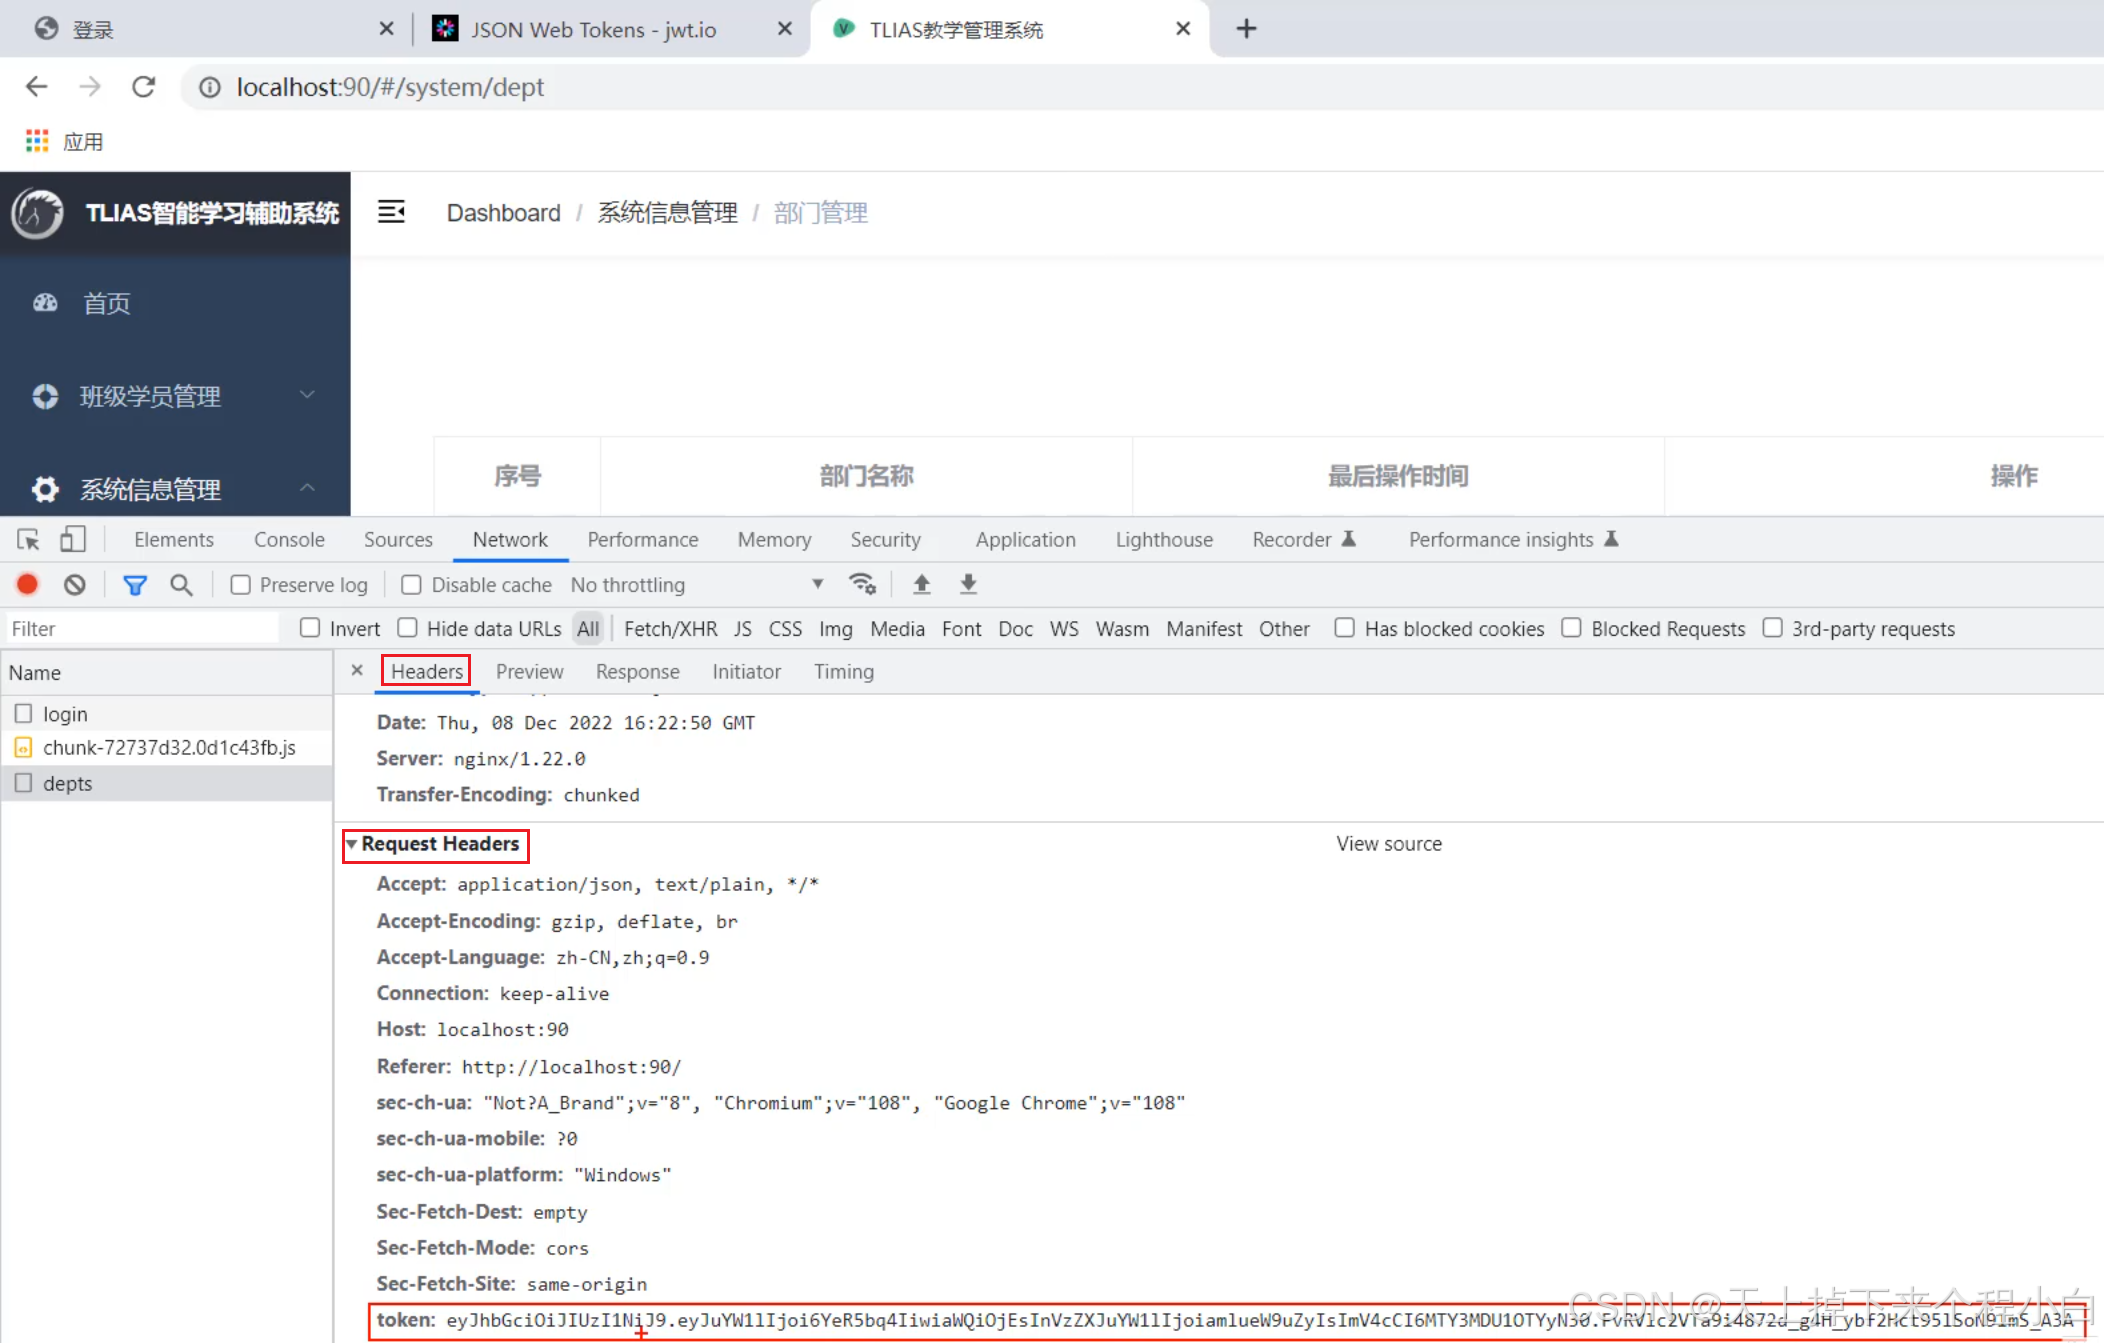
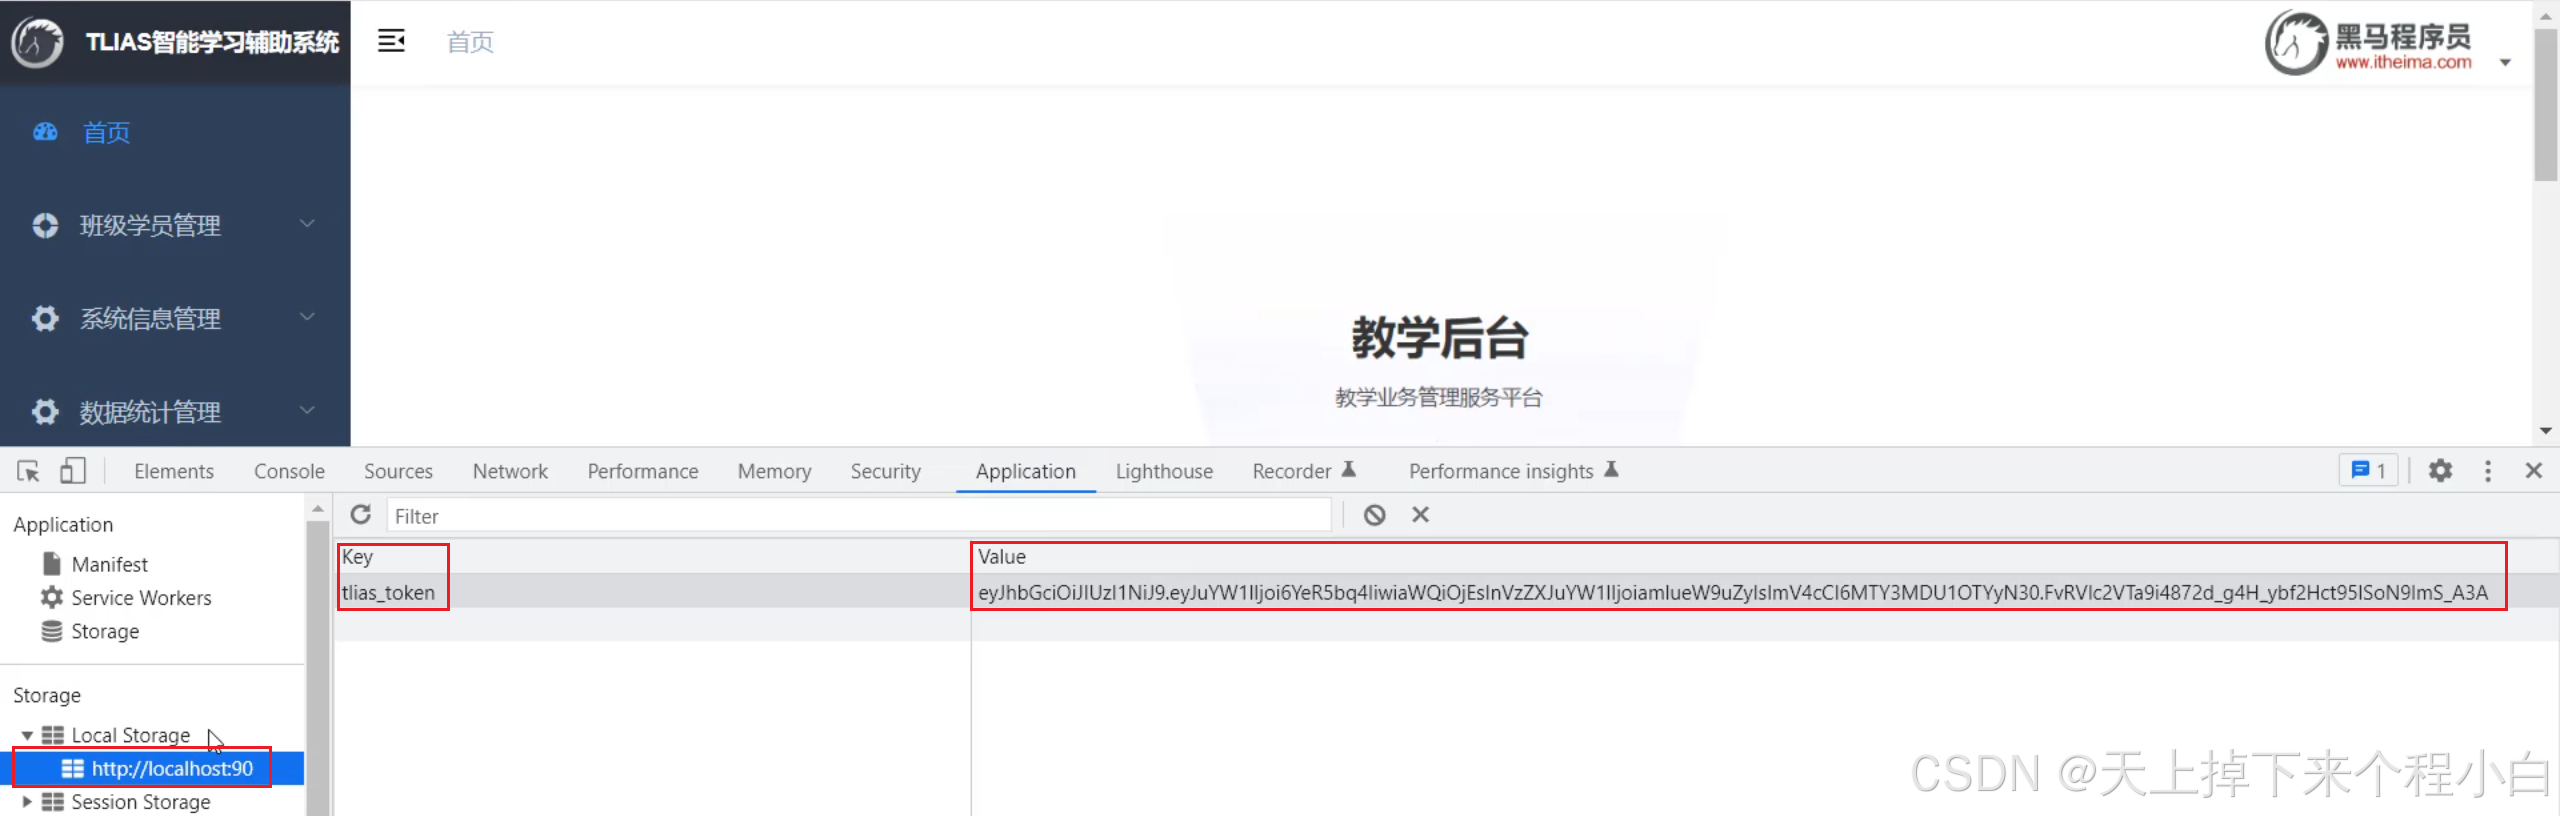
登录后我们可以通过查看浏览器的开发者工具中的Response进行JWT令牌的查看
 JWT令牌在浏览器的Local Storage中存储。
而当前端再次发起请求时,会将生成的JWT令牌携带过来。