一、节点基本配置
1、准备操作系统

2、 修改主机名
hostnamectl set-hostname master-1
hostnamectl set-hostname node1
hostnamectl set-hostname node2

#验证

hostnamectl status
3、修改/etc/hosts
cat <<EOF >>/etc/hosts
192.168.255.137 master-1
192.168.255.131 node1
192.168.255.132 node2
EOF
4、安装docker-ce
# 安装docker所需的工具

yum install -y yum-utils device-mapper-persistent-data lvm2

# 配置阿里云的docker源

yum-config-manager --add-repo http://mirrors.aliyun.com/docker-ce/linux/centos/docker-ce.repo

# 指定安装这个版本的docker-ce

yum install -y docker-ce-20.10.0 docker-ce-cli-20.10.0 containerd.io

# 启动docker

systemctl enable docker && systemctl start docker
5、配置docker镜像源及cgroup 驱动与系统匹配
cat <<EOF > /etc/docker/daemon.json
{
  "registry-mirrors": [
    "https://docker.m.daocloud.io",
    "https://noohub.ru",
    "https://huecker.io",
    "https://dockerhub.timeweb.cloud",
    "https://docker.rainbond.cc",
    "https://docker.1ms.run",
    "https://docker.1panel.live",
    "https://hub1.nat.tf",
    "https://docker-0.unsee.tech",
    "https://docker.1panel.live",
    "https://registry.dockermirror.com",
    "https://docker.imgdb.de",
    "https://docker.m.daocloud.io"
  ],
  "exec-opts": ["native.cgroupdriver=systemd"]
}
EOF

#重启docker
systemctl restart docker
6、配置k8s搭建条件
# 关闭防火墙

systemctl disable firewalld
systemctl stop firewalld

# 临时禁用selinux

setenforce 0

# 永久关闭 修改/etc/sysconfig/selinux文件设置

sed -i 's/SELINUX=permissive/SELINUX=disabled/' /etc/sysconfig/selinux
sed -i "s/SELINUX=enforcing/SELINUX=disabled/g" /etc/selinux/config

# 禁用交换分区

swapoff -a

# 永久禁用,打开/etc/fstab注释掉swap那一行

sed -i 's/.*swap.*/#&/' /etc/fstab

# 修改内核参数

cat <<EOF >  /etc/sysctl.d/k8s.conf
net.bridge.bridge-nf-call-ip6tables = 1
net.bridge.bridge-nf-call-iptables = 1
EOF
sysctl --system
7、安装3k:kubeadm、kubelet、kubectl
# 执行配置k8s阿里云源

cat <<EOF > /etc/yum.repos.d/kubernetes.repo
[kubernetes]
name=Kubernetes
baseurl=https://mirrors.aliyun.com/kubernetes/yum/repos/kubernetes-el7-x86_64/
enabled=1
gpgcheck=1
repo_gpgcheck=1
gpgkey=https://mirrors.aliyun.com/kubernetes/yum/doc/yum-key.gpg https://mirrors.aliyun.com/kubernetes/yum/doc/rpm-package-key.gpg
EOF

# 安装kubeadm、kubectl、kubelet

yum install -y kubelet-1.23.6 kubeadm-1.23.6 kubectl-1.23.6


# 启动kubelet服务

systemctl enable kubelet && systemctl start kubelet
二、配置Master管理节点
1、初始化
使用以下命令初始化k8s
kubeadm init --image-repository registry.aliyuncs.com/google_containers --kubernetes-version v1.23.6 --apiserver-advertise-address 192.168.255.137 --pod-network-cidr=10.244.0.0/16 --token-ttl 0

# 下载管理节点中用到的6个docker镜像,你可以使用docker images查看到。这里需要等待两分钟,会卡在[preflight] You can also perform this action in beforehand using ''kubeadm config images pull
初始化完成后会生成如下命令
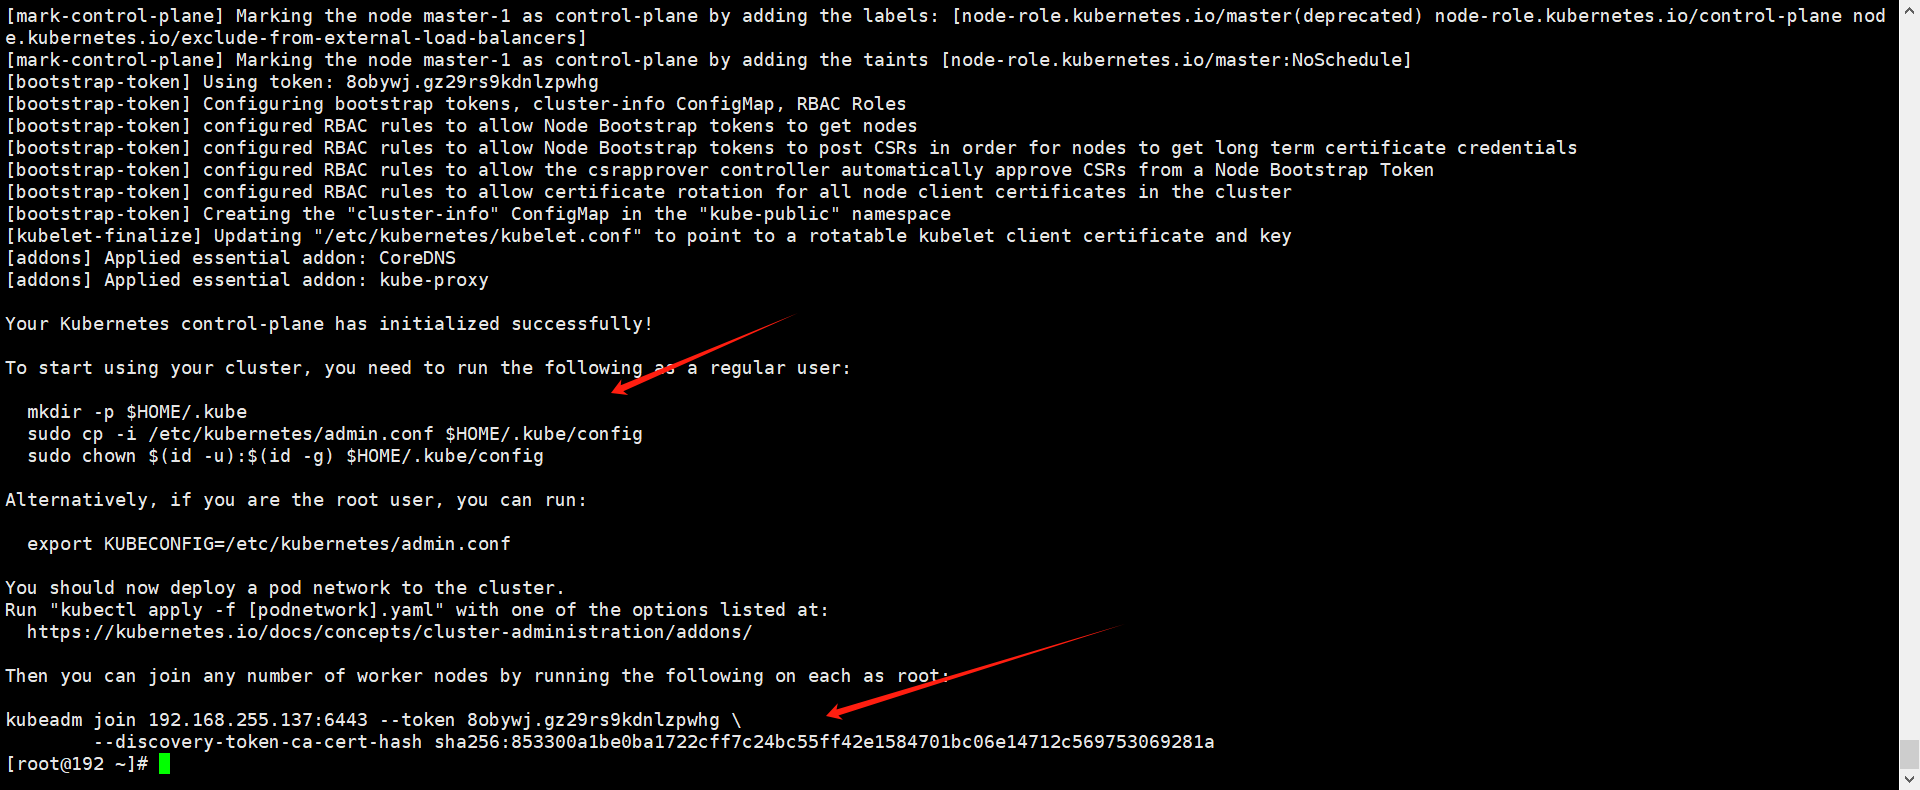
master 节点依次执行截图上面三条命令
mkdir -p $HOME/.kube
sudo cp -i /etc/kubernetes/admin.conf $HOME/.kube/config
sudo chown $(id -u):$(id -g) $HOME/.kube/config
测试,查看节点,出现master节点
kubectl get node

2、安装网络插件
上面虽然master节点都有了,但是状态是“NotReady”,这就需要master节点安装以下两个网络插件:calico、flannel
安装网络插件需要访问外网,因此我这里使用宿主机代理
export http_proxy="http://192.168.255.1:7890"
export https_proxy="http://192.168.255.1:7890"

unset http_proxy
unset https_proxy
calico
#安装wget
yum install wget
#下载calico两个配置
wget https://raw.githubusercontent.com/projectcalico/calico/v3.26.0/manifests/tigera-operator.yaml
wget https://raw.githubusercontent.com/projectcalico/calico/v3.26.0/manifests/custom-resources.yaml
#取消代理后,执行kubectl命令,下面两条命令顺序不能错!
kubectl create -f tigera-operator.yaml
kubectl create -f custom-resources.yaml
flannel
#设置代理执行下面的命令
mkdir -p ~/k8s/
cd ~/k8s
curl -O https://raw.githubusercontent.com/coreos/flannel/master/Documentation/kube-flannel.yml
#取消代理执行kubectl
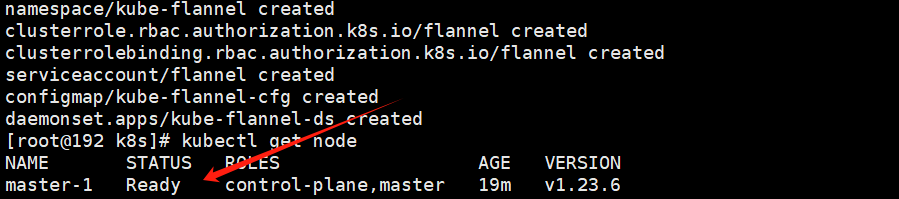
kubectl apply -f kube-flannel.yml
以上两个插件安装完毕,一切顺利的话,会如下图所示,状态变成“Ready”,大功告成!