如果拿到的项目没有 node_modules,要执行
npm i安装所有的依赖
运行:
npm run serve一、项目打包
我们开发用的脚手架其实就是一个微型服务器,用于:支撑开发环境、运行代理服务器等。
打包完的文件中不存在:.vue、.jsx、.less 等文件,而是:.html、css、js 等。
打包后的文件,不再借助脚手架运行,而是需要部署到服务器上运行。
打包前,请务必梳理好前端项目的 ajax 封装(请求前缀、代理规则等)。
打包:
npm run build之后生成 dist / build 文件夹
打包完的文件,要部署到服务器上查看内容
二、本地服务器部署
server.js
// 引入 express
const express = require('express')

// 配置端口号
const PORT = 8088

// 创建一个 app 服务实例
const app = express()

// 配置静态资源
app.use(express.static(__dirname + '/public'))

// 绑定端口监听
app.listen(PORT, ()=>{
    console.log(`本地服务器启动成功,http://localhost:${PORT}`)
})如果没有 node_modules,要执行
npm i安装所有的依赖
运行服务器
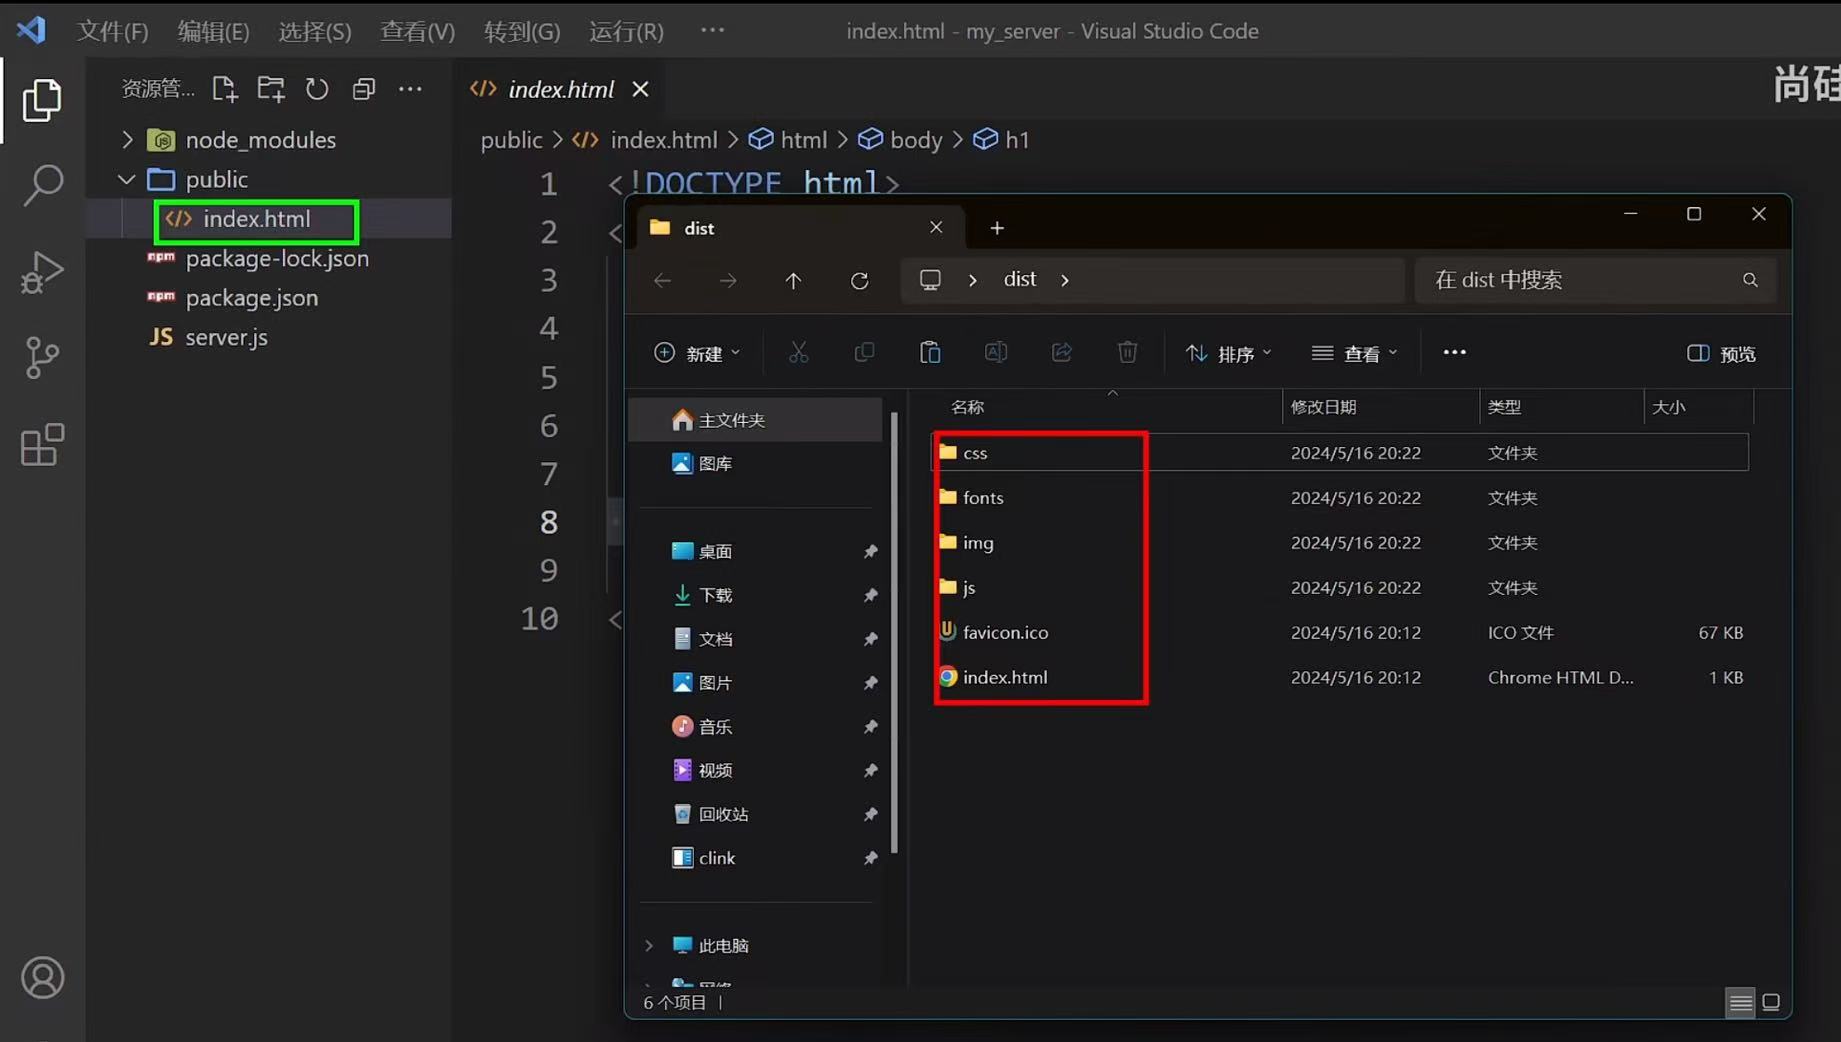
nodemon server.js把 dist 文件夹里的东西放到 server 里面的 public 文件夹里面
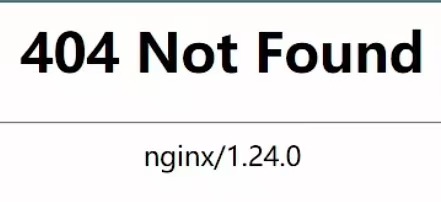
1. 刷新页面 404 问题
(1)改为 hash 路由模式(不推荐)#
(2)无法匹配后端路由时,返回 index.html
server.js 增加内容
app.get('*', (req,res)=>{
    res.sendFile(__dirname + '/public/index.html')
})
(3)connect-history-api-fallback 中间件
npm i connect-history-api-fallbackserver.js
// 引入 express
const express = require('express')
const history = require('connect-history-api-fallback')

// 配置端口号
const PORT = 8088

// 创建一个 app 服务实例
const app = express()

app.use(history())

// 配置静态资源
app.use(express.static(__dirname + '/public'))

// 绑定端口监听
app.listen(PORT, ()=>{
    console.log(`本地服务器启动成功,http://localhost:${PORT}`)
})
使用 connect-history-api-fallback 可以让配置更灵活,比如 /login 临时不需要作为前端路由处理,就可以按照如下方法配置
app.use(history(
verbose:false,
rewrites:[
{ from:/^\/login.*$/, to:(context) => context.parsedUrl.path },
]
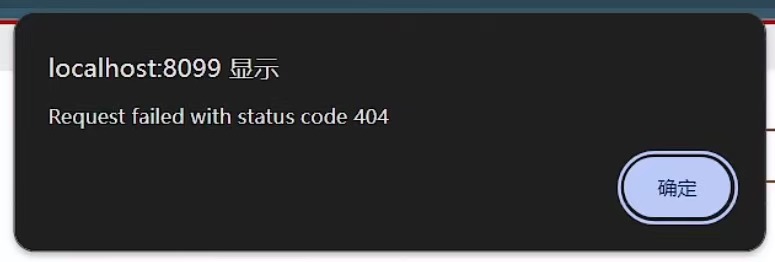
))2. ajax 请求无法发送问题
(1)http-proxy-middleware
npm i http-proxy-middlewareserver.js
// 引入 express
const express = require('express')
const history = require('connect-history-api-fallback')
const { createProxyMiddleware } = require('http-proxy-middleware')

// 配置端口号
const PORT = 8088

// 创建一个 app 服务实例
const app = express()

app.use(history())

// 配置静态资源
app.use(express.static(__dirname + '/public'))

app.use(
    '/dev',
    createProxyMiddleware({
        target: 'http://sph-h5-api.atguigu.cn',
        changeOrigin: true,
        pathRewrite: {'^/dev': ''}
    })
)

// 绑定端口监听
app.listen(PORT, ()=>{
    console.log(`本地服务器启动成功,http://localhost:${PORT}`)
})
三、 nginx 服务器部署
1. nginx 简介
nginx(发音为“engine-x”)是一款高性能的 HTTP 服务器和反向代理服务器,同时也是一个 IMAP / POP3 / SMTP 代理服务器。主要功能:
(1)反向代理
(2)负载均衡
(3)静态内容服务
(4)HTTP/2 支持
(5)SSL/TLS 支持
(6)高速缓存
2. nginx 配置代理练习
conf/nginx.conf
server {
listen 8099;
...
location / {
root D:\dist;
}
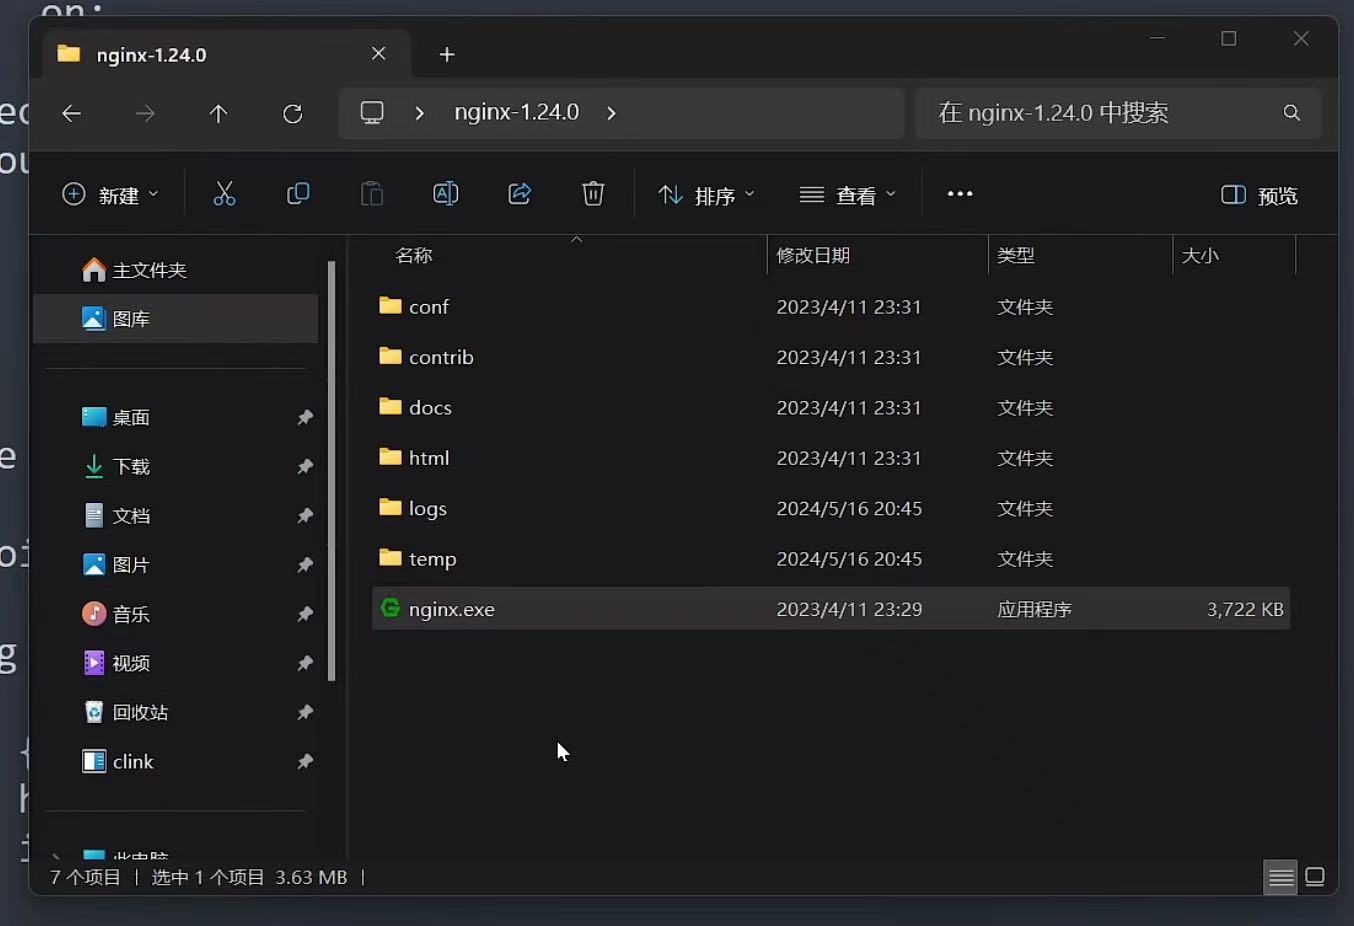
}双击 nginx.exe
打开浏览器 http://localhost:8099
如需重启,在任务管理器结束项目,重新打开
3. nginx 部署前端项目
但是打开项目后依然存在之前遇到的两个问题:
(1)刷新页面 404 问题
(2)ajax 请求无法发送问题
conf/nginx.conf
server {
    listen    8099;
    ...
    location / {
        root  D:\dist;
        index  index.html index.htm;
        try_files $uri $uri/ /index.html;  # 解决刷新 404
    }

    location /dev/ {
        # 设置代理目标
        proxy_pass http://sph-h5-api.atguigu.cn/;
    }
}
如果页面异常,清缓存重新打开
四、 云服务器部署
1. 注册云服务器
2. Xshell:命令
打开 - 新建 - 粘贴主机地址 - 连接
SSH 安全警告:接受并保存
SSH 用户名:root - 点击记住 - 确定
SSH 用户身份验证:输入密码
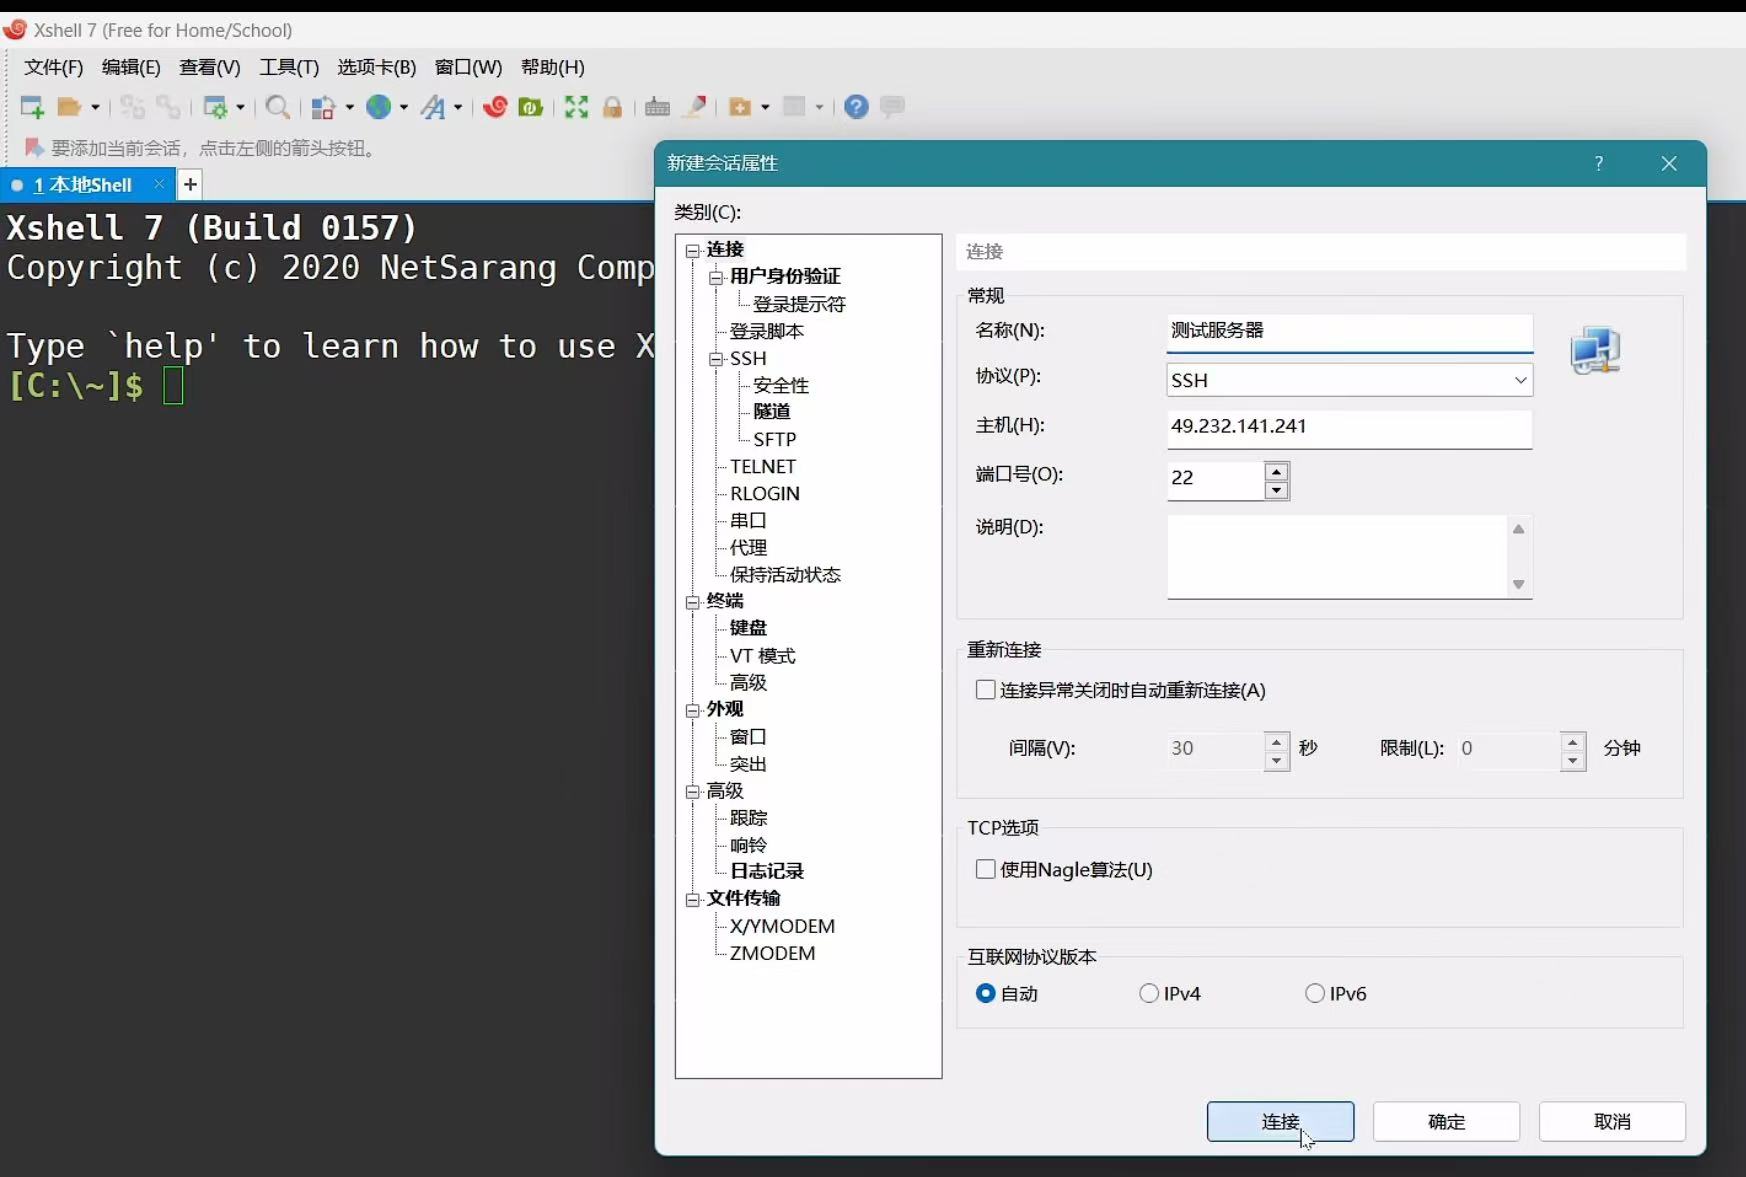
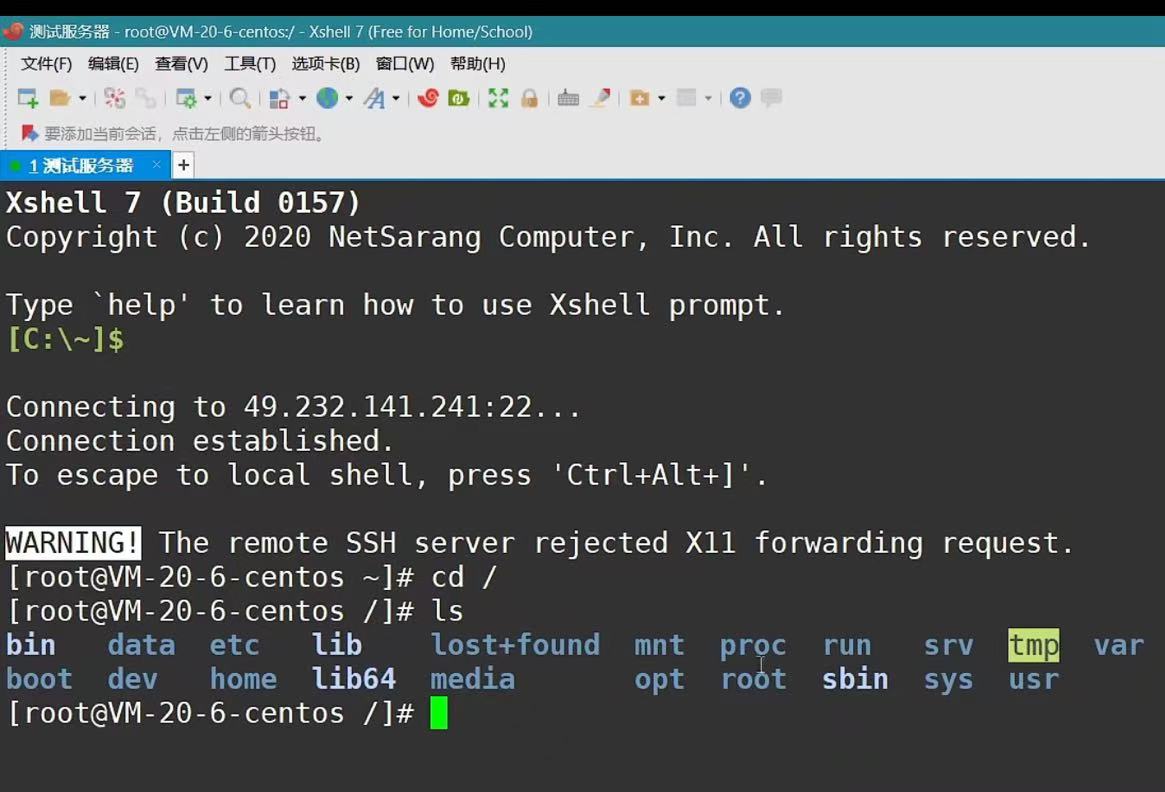
标签有绿色小点就是连接成功
或者命令行输入:(1)cd / (2)ls
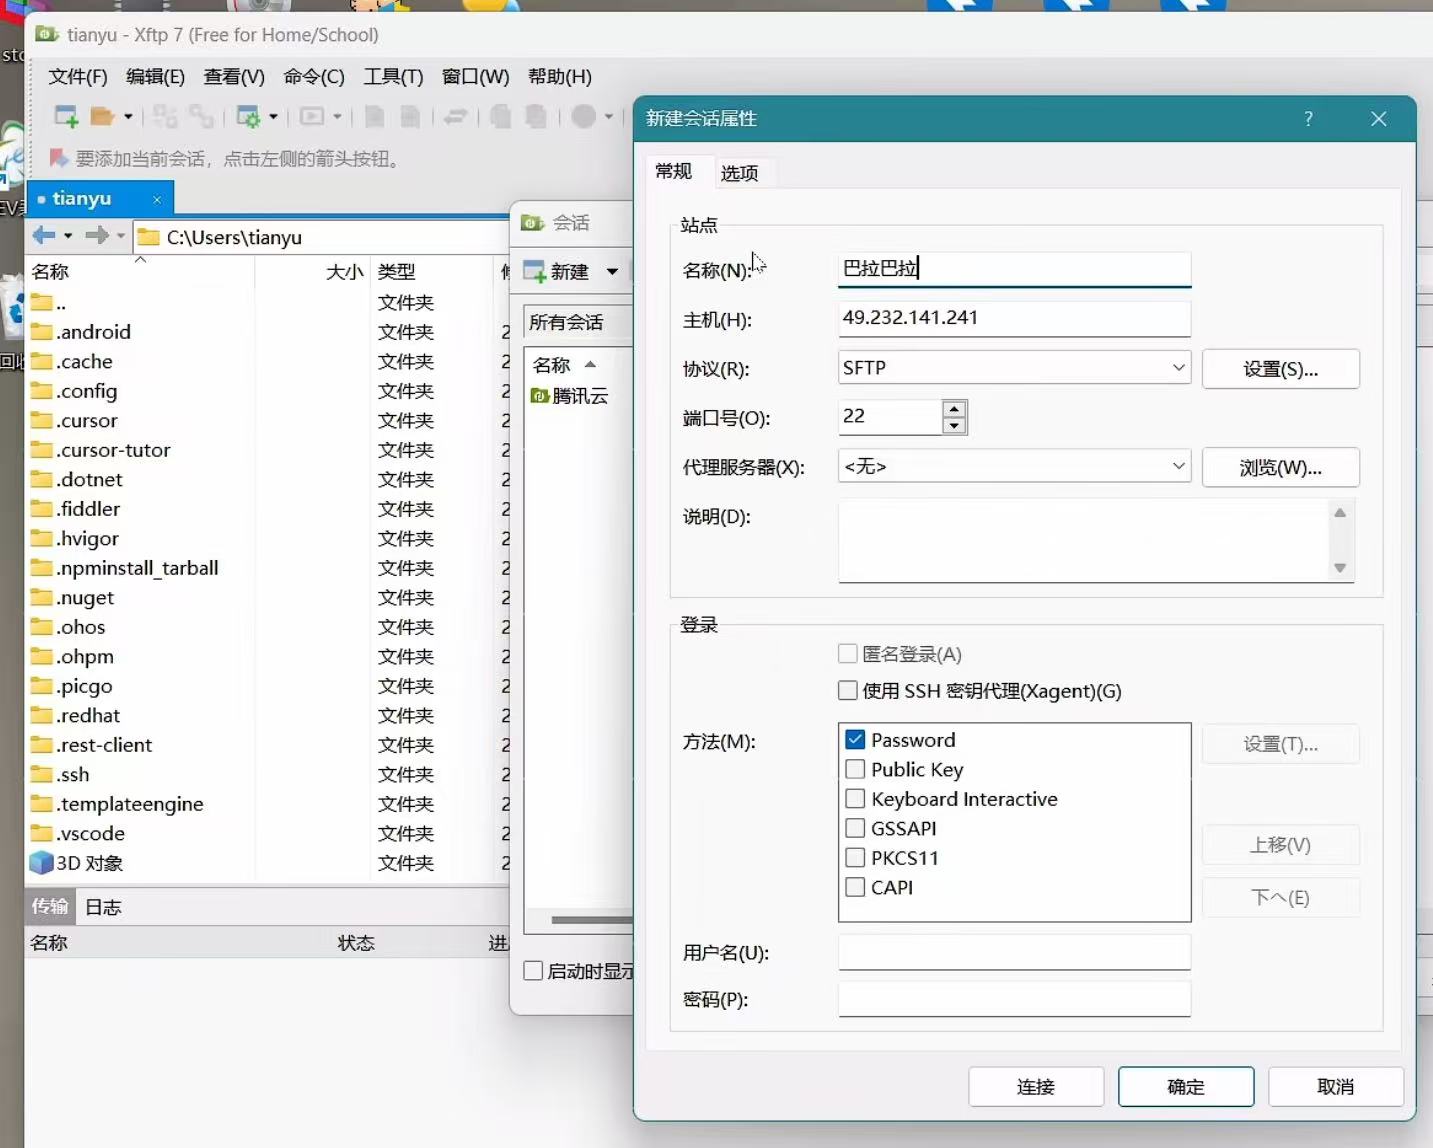
3. Xftp:文件
打开 - 新建
新建会话框属性:粘贴主机地址
连接
SSH 用户名:root - 点击记住 - 确定
SSH 用户身份验证:输入密码 - 记住密码
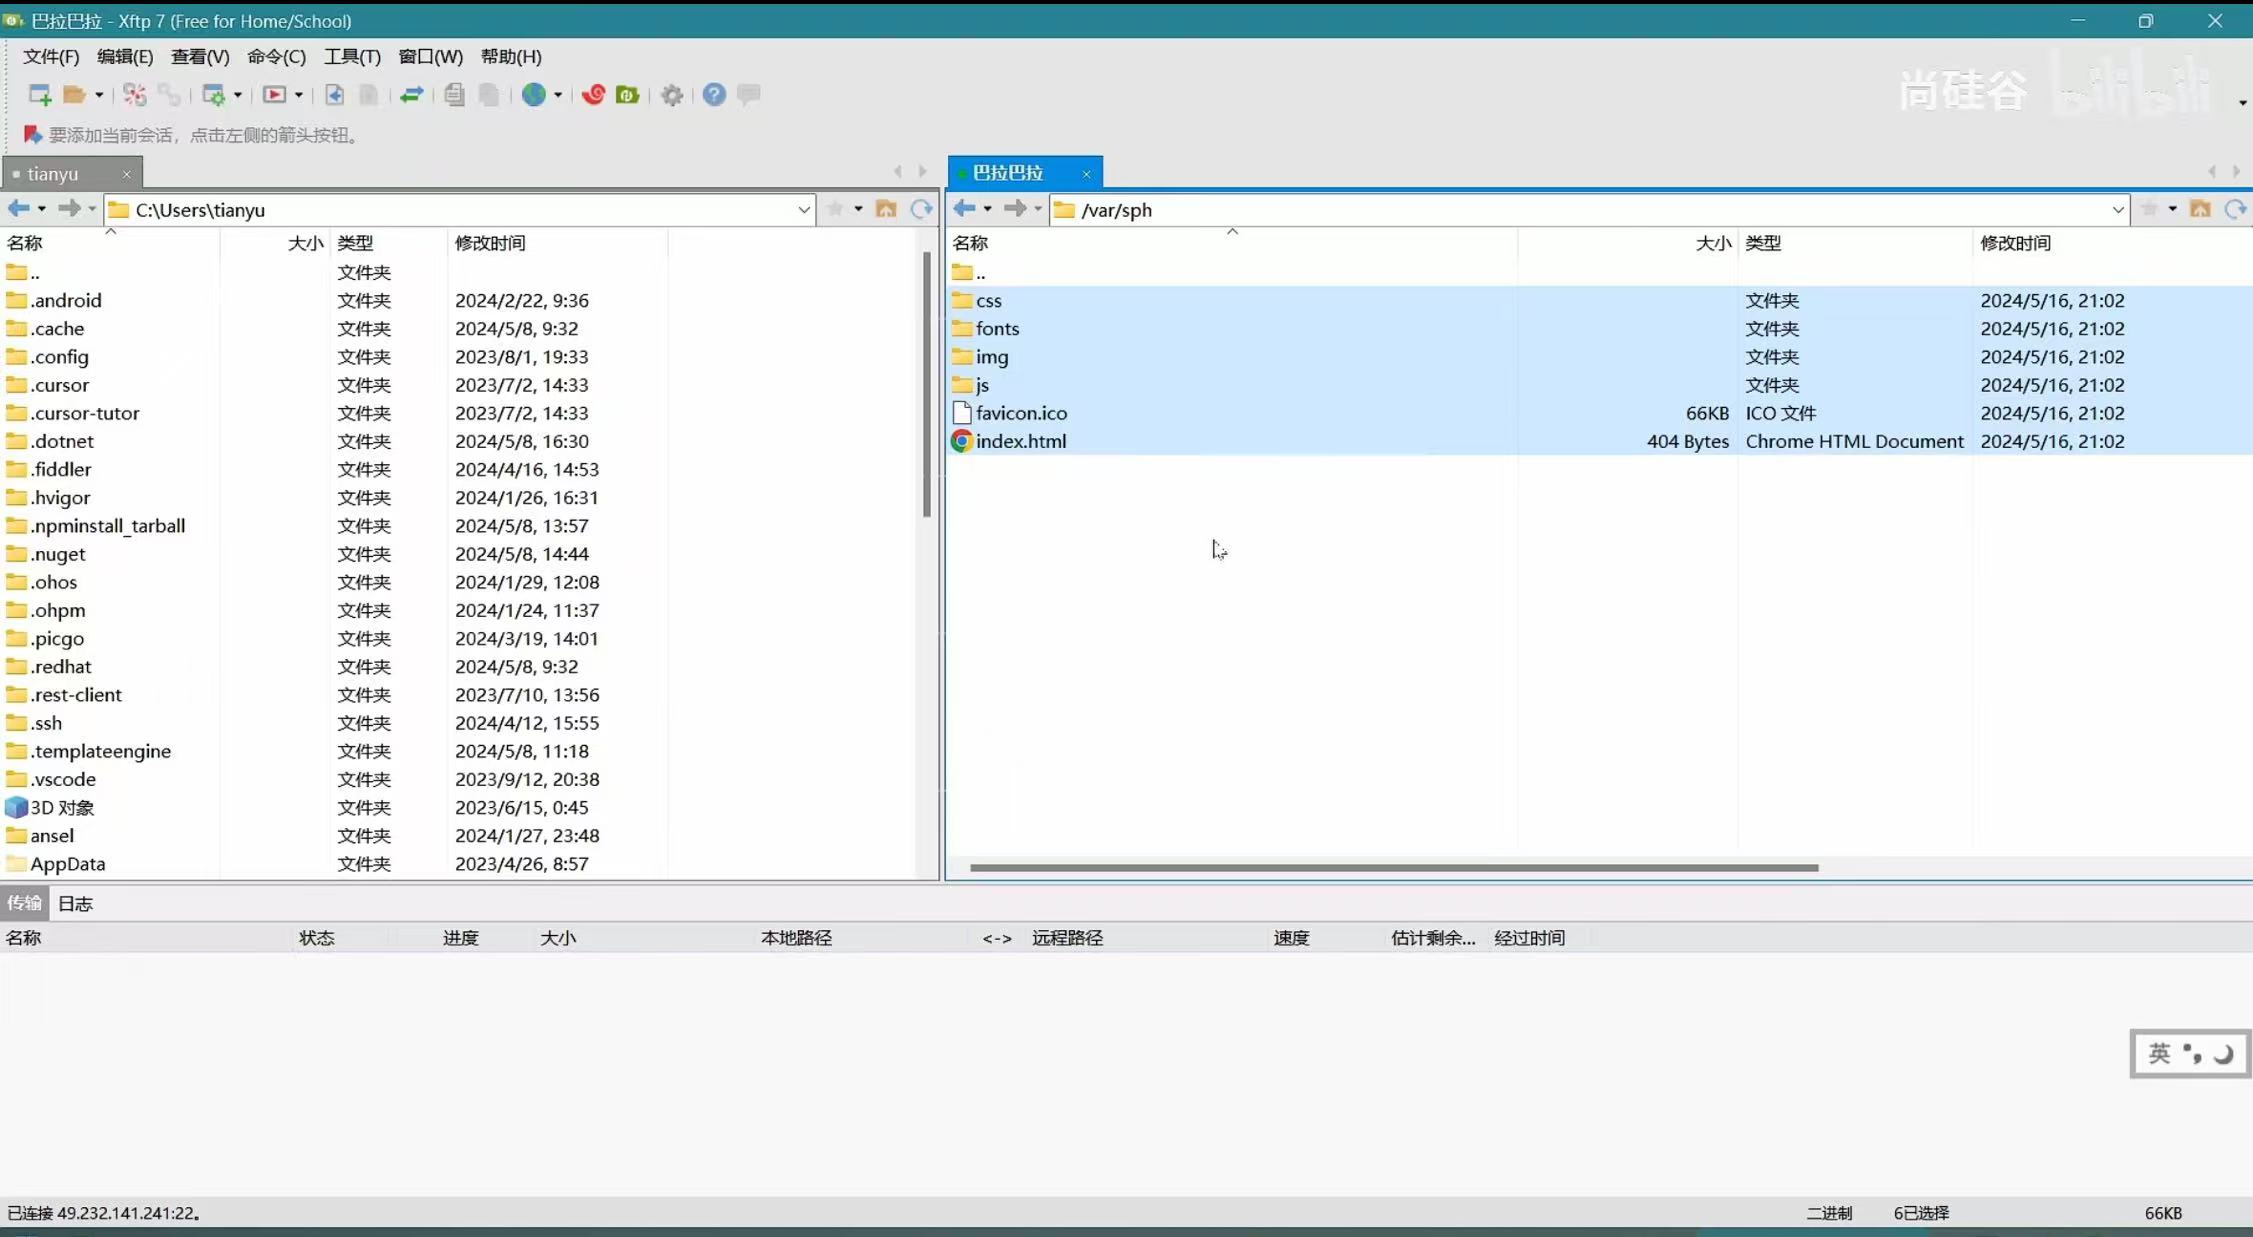
标签有绿色小点就是连接成功
如果是 /root 文件夹 则没有东西,点击转换成 /
4. 把打包后的 dist 文件夹交给服务器 - Xftp
放在 var 文件夹里
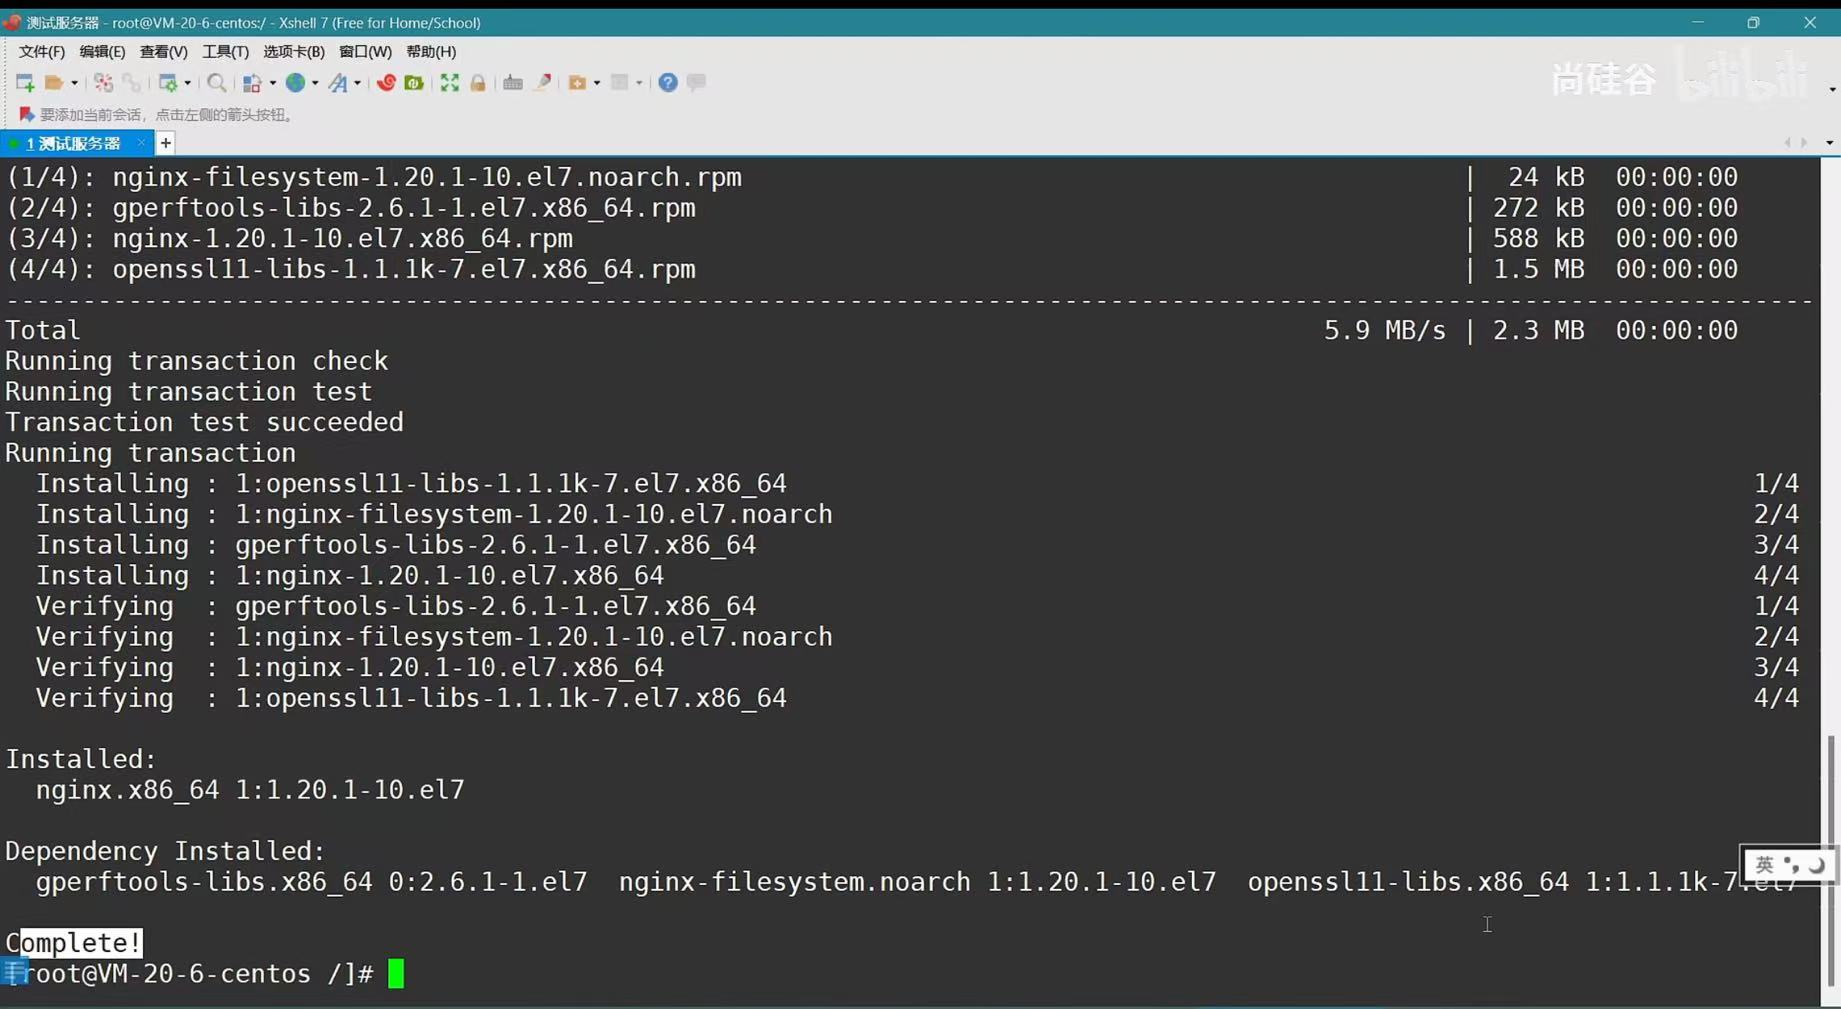
5. 跑起来 Xshell
命令行输入 yum install nginx
6. 回到 Xftp 配置 nginx.conf
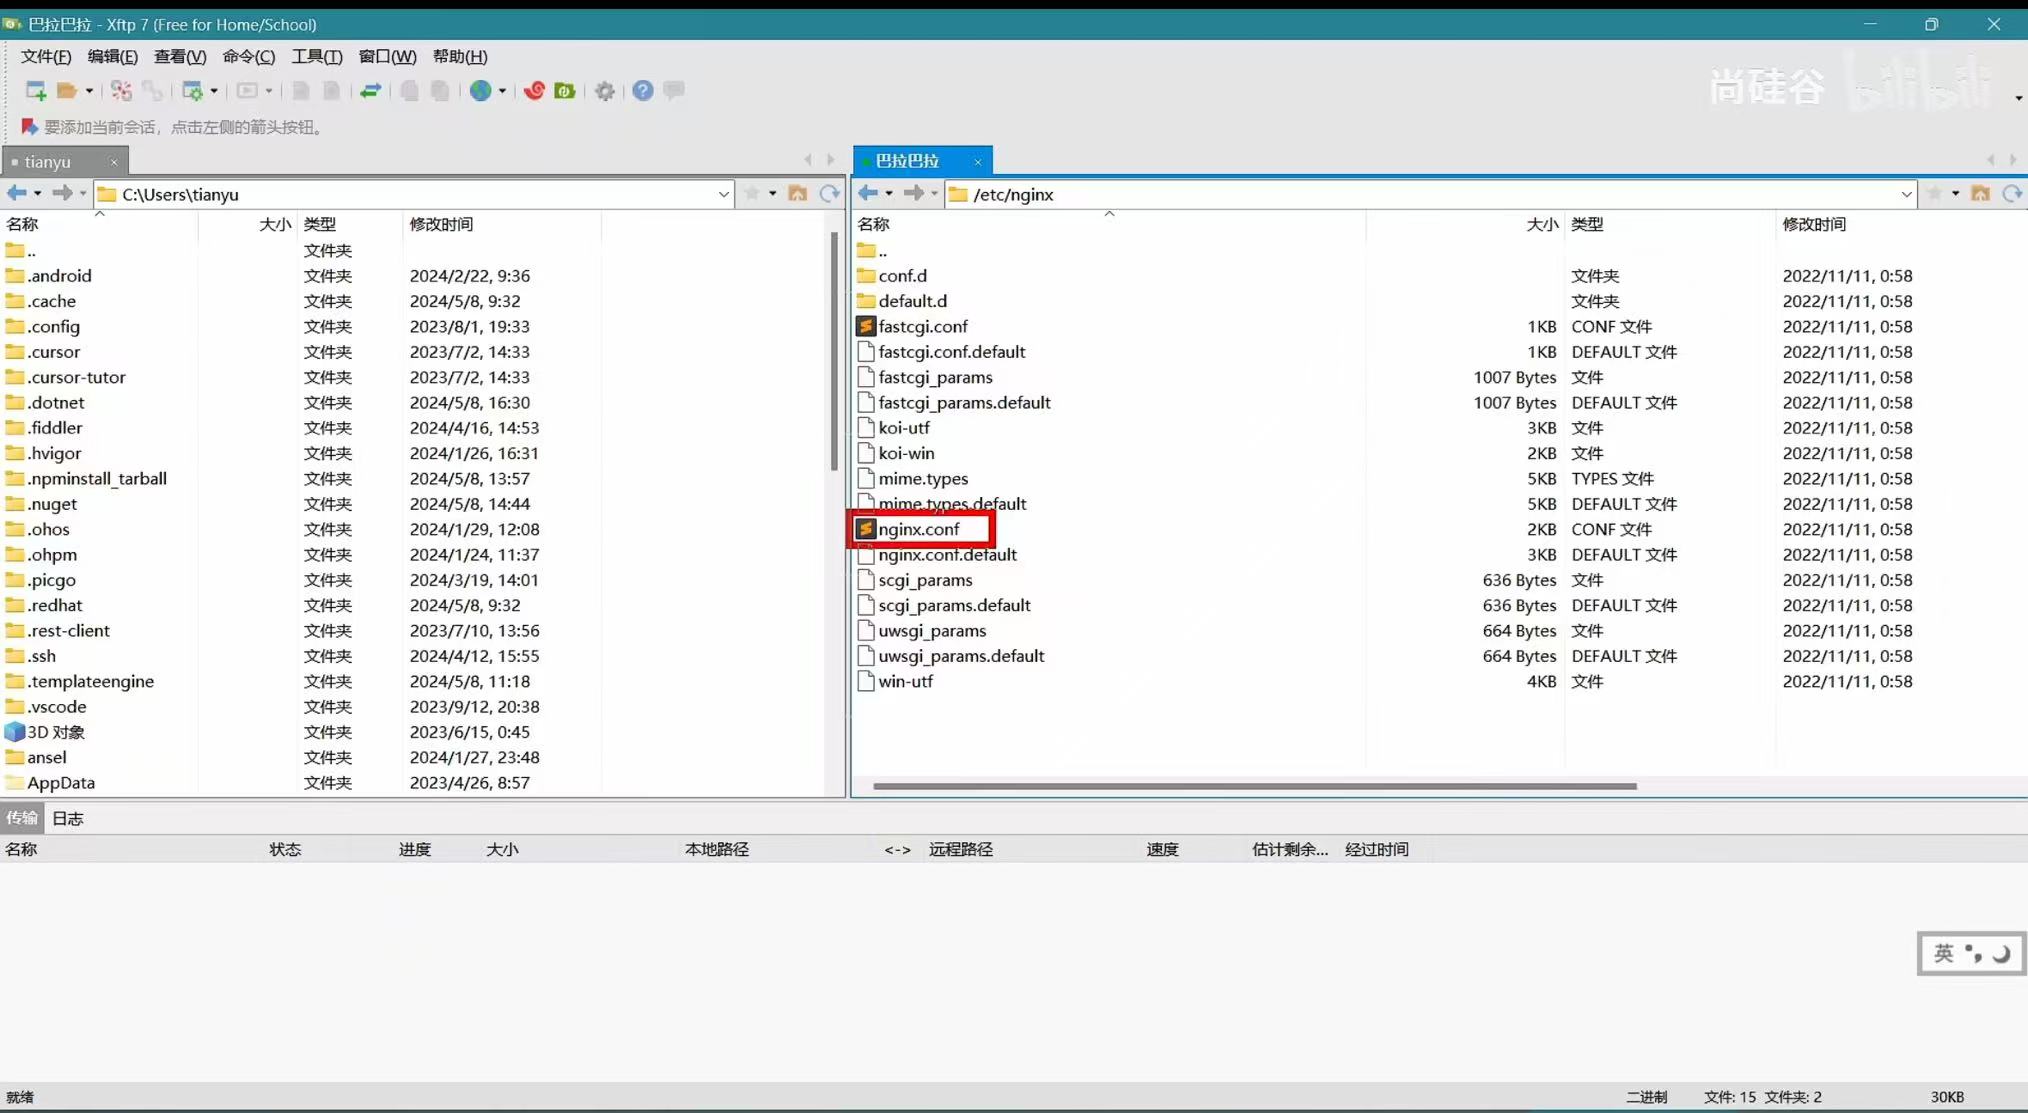
如果 /etc 里面有 nginx,则配置成功
打开 /etc/nginx/nginx.conf
server {
...
location / {
root /var/name;
index index.html index.htm;
try_files $uri $uri/ /index.html; # 解决刷新 404
}
location /dev/ {
# 设置代理目标
proxy_pass http://sph-h5-api.atguigu.cn/;
}
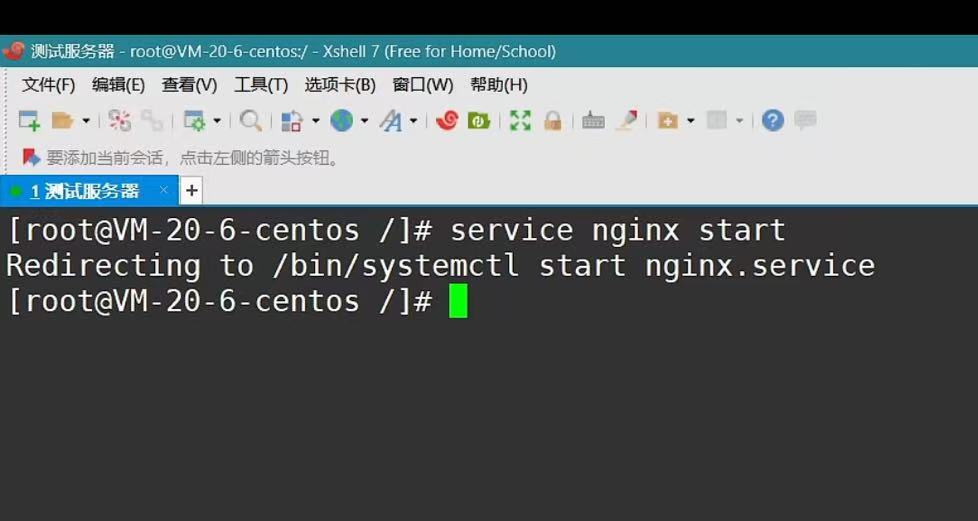
}6. Xshell
命令行 service nginx start
7. 打开 http://49.232.141.241/home
现在是纯 ip 网址,可以在云服务器里面买域名
如果端口没打开,自行添加规则