紧急因疫情隔离在家,闲来无事,突发奇想,开发一通讯平台,实时群聊。
思路:客户端发送消息,服务器响应,并将其反馈给在线用户,最后使用内网穿透链接至公网。
技术栈:
前端:原生js + socket
后台服务:nodejs + socket.io + NetAPP
首先,开发过程中需要前端页面作为客户端,然后以nodejs搭建后台服务,安装node环节之前文档有分享,不熟悉者自行查看。在此,首先搭建后台服务:
一、后台服务
1、新建空文件夹作为项目承载,初始化项目,终端代码:
yarn init -y
2、新建项目入口文件index.js,内容如下:
//index.js
const http = require("http");
const server = http.createServer((req, res)=>{
    res.end('后台反馈数据')
})

server.listen(3000)
至此,一个基本服务搭建完成,端口3000
3、启动服务,终端键入如下命令:
node index.js
通过localhost:3000即可访问
二、客户端
1、新建文件index.html
//index.html
<!DOCTYPE html>
<html>
<head>
<meta charset='utf-8 /'>
<title>聊天室</title>
</head>
<body>
<h1>欢迎来到聊天室</h1>
<input type="text" placeholder="请留言!" value="" id="txt">
<button onclick="submit()" id="btn">发送</button>
<ul id="list"></ul>
</body>
<script>
function submit(){
    console.log('已发送')
}
</script>
</html>
至此,基本准备工作到位,接下来引入socket.io
终端安装socket.io依赖包
yarn add socket.io
后台服务引入socket,修改index.js文件
//index.js
const http = require("http");
const fs = require("fs");
const ws = require("socket.io");
const server = http.createServer((req, res)=>{
    const file = fs.readFileSync("./index.html",{encoding: 'utf-8'});
    res.end(file)
})

//实例化服务
const io = ws(server)

//监听连接
io.on("connection", socket=>{
    //监听前端提交的数据
    socket.on("message", mes=> {
        //数据广播,发送至每个用户
        io.emit("message", mes)
    })
})

server.listen(3000)
客户端引入socket,修改index.html
//index.html
<!DOCTYPE html>
<html>
<head>
<meta charset='utf-8 /'>
<title>聊天室</title>
</head>
<body>
<h1>欢迎来到聊天室</h1>
<input type="text" placeholder="请留言!" value="" id="txt">
<button onclick="submit()" id="btn">发送</button>
<ul id="list"></ul>
</body>
<script src="/socket.io/socket.io.js"></script>
<script>
//建立socket连接
var socket = io.connect("/");
function submit(){
    const input = document.getElmentById("txt");
    //将输入框的值发送至后台服务
    socket.send(input.value)
    console.log('已发送')
}

//监听后台反馈的数据
socket.on("message", res => {
    console.log(res,"后台广播给每位用户的数据")
    //将后天服务返回数据渲染至页面
    const li = document.createElement("li");
    li.innerHTML = res;
    document.body.appendChild(li);
})
</script>
</html>
重启后台服务,看看效果
综上,简易聊天室功能完成,具体样式依自己喜好自行调整。
完整代码
index.js
const http = require("http");
const fs = require("fs")
const ws = require("socket.io")
const server = http.createServer((req, res)=>{
    const txt = fs.readFileSync("./index.html",{encoding: 'utf-8'});
    res.end(txt)
})

server.listen(3000,()=>{
    console.log('sucess running 3000');
})


const io = ws(server);

//服务端监听客户端连接事件
io.on("connection",(socket)=>{
    let username = null;
    let named = null;
    //获取当前用户量
    const count2 = io.of("/").sockets.size;
    console.log(`新用户进入,当前聊天室用户量:${count2}`);
    io.emit(`新用户进入,当前聊天室用户量:${count2}`);

    socket.on("disconnection",()=>{
        console.log(`用户离开,当前聊天室用户量:${count2}`);
        // io.emit('message',uuid)

    })
    socket.on("join",(name)=>{
        console.log(name,'sssssssssaaaaaa');
        named = name;
        if(named.length > 2){
            named = named.substring(0,2);
        }
        username = (`<span id="infos">${named}</span>`);
        io.emit("join",name)
    })

    const ips = socket.handshake.address;
    socket.on("message", msg => {
        console.log(msg,'sssssssss');
        //msg为客户端发过来数据
        io.emit('message',(username + msg))
    })
})
客户端index,html
<!DOCTYPE html>
<html lang="en">

<head>
    <meta charset="UTF-8">
    <meta http-equiv="X-UA-Compatible" content="IE=edge">
    <meta name="viewport" content="width=device-width, initial-scale=1.0">
    <title>聊天室</title>
    <style>
        * {
            padding: 0;
            margin: 0;
        }

        ul {
            list-style: none;
        }

        .warp {
            width: 100%;
            background: rgb(186, 186, 243);
            margin: 0 auto;
            padding: 20px 0;
            text-align: center;
            /* position: relative; */
        }

        #title {
            padding: 20px 0;
        }

        #list {
            /* width: 100%; */
            padding: 0 5px;
            /* border: 1px solid black; */
        }

        li {
            max-width: 80%;
            padding: 10px;
            margin: 10px 0;
            list-style: none;
            background: rgb(203, 203, 243);
            border-radius: 5px;
            display: flex;
            align-items: center;
        }

        #txt {
            width: 60%;
            height: 50px;
            border: 0;
            padding: 0 5px;
        }

        button {
            height: 52px;
            border-radius: 5px;
            background: rgb(236, 241, 153);
            padding: 0 10px;
            border: 1px solid #fff;
        }

        .listWarp {
            display: flex;
            justify-content: space-between;
            position: absolute;
        }
        #infos{
            width: 30px;
            height: 30px;
            border-radius: 50%;
            background: blanchedalmond;
            margin-right: 10px;
            text-align: center;
            display: flex;
            align-items: center;
            font-size: 10px;
            justify-content: center;
        }
        .user{
            color: blue;
            margin: 10px;
        }
    </style>
</head>

<body onload="sendName()">
    <div class="warp">
        <h1 id="title">欢迎来到聊天室</h1>
        <input type="text" placeholder="请留言!" value="" id="txt">
        <button onclick="submit()" id="btn">发送</button>
        <div class="listWarp">
            <ul id="list"></ul>
            <ul id="my_list"></ul>
        </div>
    </div>
</body>
<script src="/socket.io/socket.io.js"></script>
<script>
    var socket = io.connect('/');

    function sendName(){
        let name = prompt("请输入昵称!");
        if(name != "") {
            console.log(name,'bbbbbbbbb')
            socket.emit("join",name);
        }
    }
    function submit() {
        let input = document.getElementById('txt');
        console.log(name,'ppppppppppppp')
        socket.send(input.value);
        // console.log(input.value);
        input.value = '';
    }

    socket.on('message', function (msg) {
        /* let li = document.createElement("li"); */
        // let infos = document.createElement("span");
        if (msg) {
            if (msg == "全员禁言") {
                document.getElementById("btn").disabled = true;
                // document.getElementById("txt").disabled = true;
                document.getElementById("btn").style.background = "red";
                let count = 10;
                setInterval((() => {
                    count--;
                    if(count < 0) return
                    // document.getElementById("infos").innerHTML = `已禁言,${count}秒后解锁禁言`;
                    li.innerHTML = `已禁言,${count}秒后解锁禁言`;
                    document.getElementById("btn").disabled = false;
                    document.getElementById("btn").style.background = "#ecf199";
                }), 1000)
            }
            if (msg == "超级管理员") {
                document.getElementById("btn").disabled = false;
                document.getElementById("btn").style.background = "#ecf199";
            }
            let li = document.createElement("li");
            li.innerHTML = msg;
            /* li.innerHTML = ('<span id="infos"></span>' + msg); */
            document.body.appendChild(li);
        }

    })

    socket.on("join",function(name){
        console.log(name,"加入聊天室!")
        let p = document.createElement("p");
        p.className = "user";
        p.innerHTML = (name + "加入聊天室!");
        document.body.appendChild(p);
    })

    document.onkeydown = (e) => {
        if (e.keyCode == 13) {
            submit()
        }
    }

</script>

</html>
重启服务,访问localhost:3000即可完成。不过当前项目旨在本地运行,外网无法访问,怎么办?
方法一:部署至自己服务器上(不多解释)
方法二:自己电脑上运行服务,并以内网穿透与公网衔接
为了测试,我使用NetAPP进行内网穿透,当然也可以使用其他工具
1、进入netapp官网,注册并登录,购买隧道,如果只是单纯测试,免费版即可(不过域名随意分配,并且隔几分钟便会自行更换)

2、点击进入隧道 ,修改端口为自己服务端口,此处修改为3000(系统默认80端口)

3、购买成功后,复制autoken值,待会儿有用

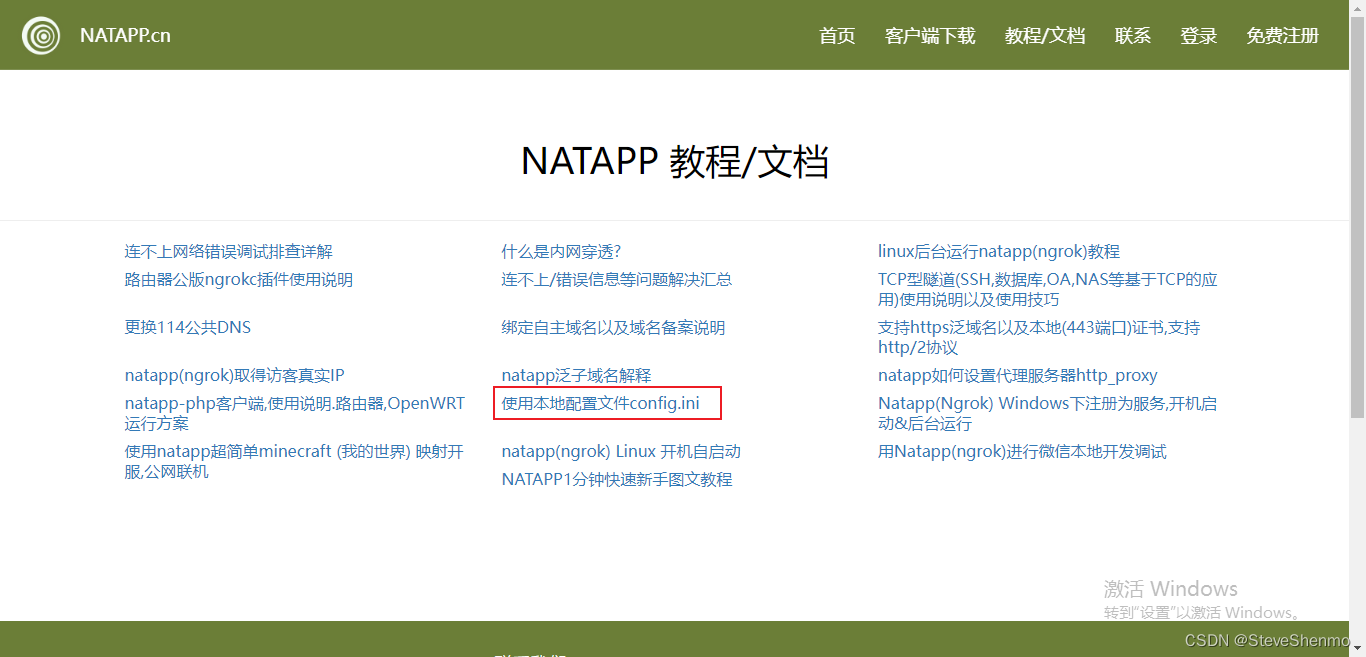
4、进入教材/文档,下载config.ini文件
5、下载客户端,解压后将config.ini文件移动至其目录下
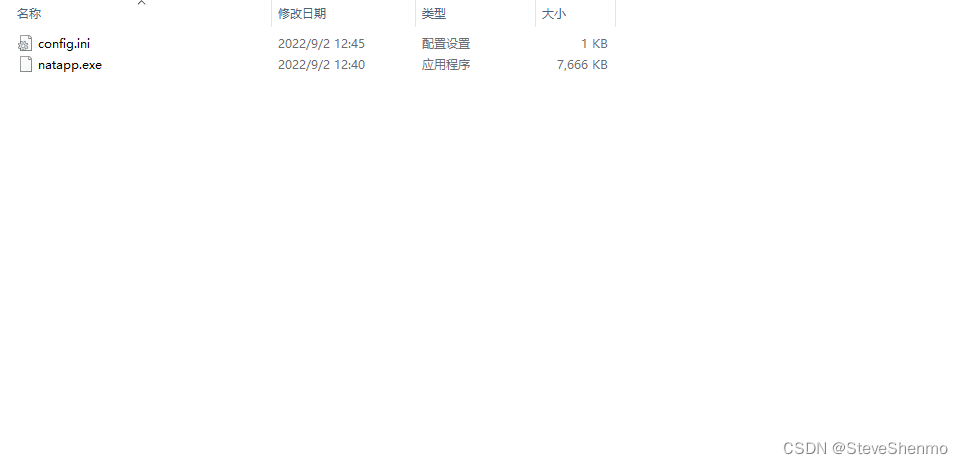
6、修改config.ini文件,将之前复制的autotoken添加至对应位置

7、双击netapp.exe文件启动netapp服务
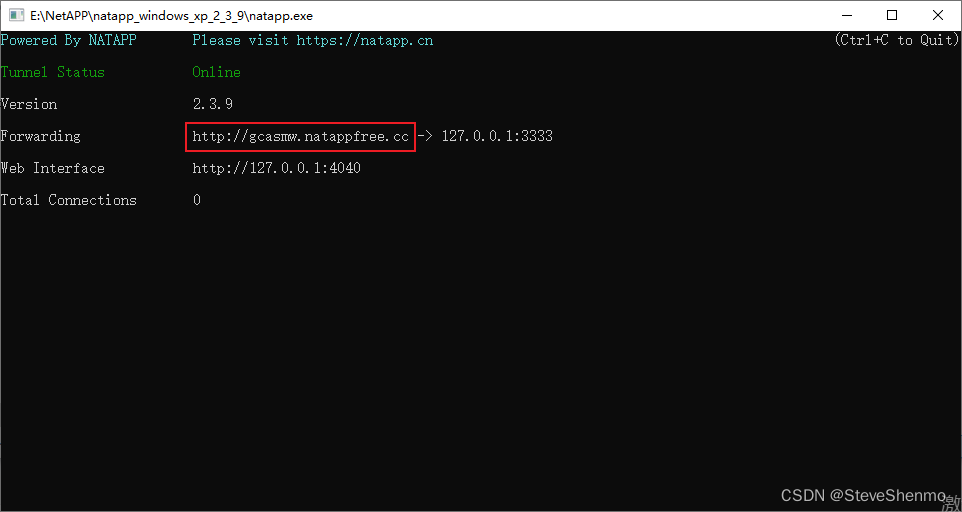
访问对应域名即可
若还有不明白者,可观看视频了解