目录
SSD
1.安装ananconda
见另一篇博文:https://blog.csdn.net/qq_51667621/article/details/120532766
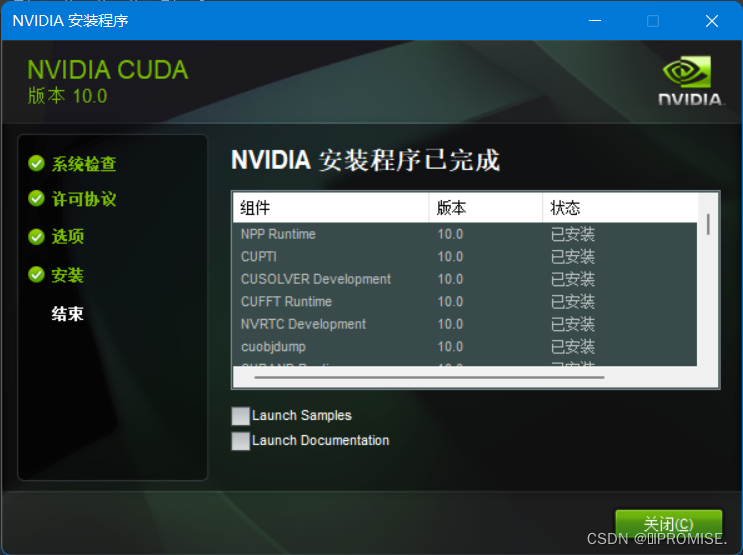
2.安装cuda和cudnn
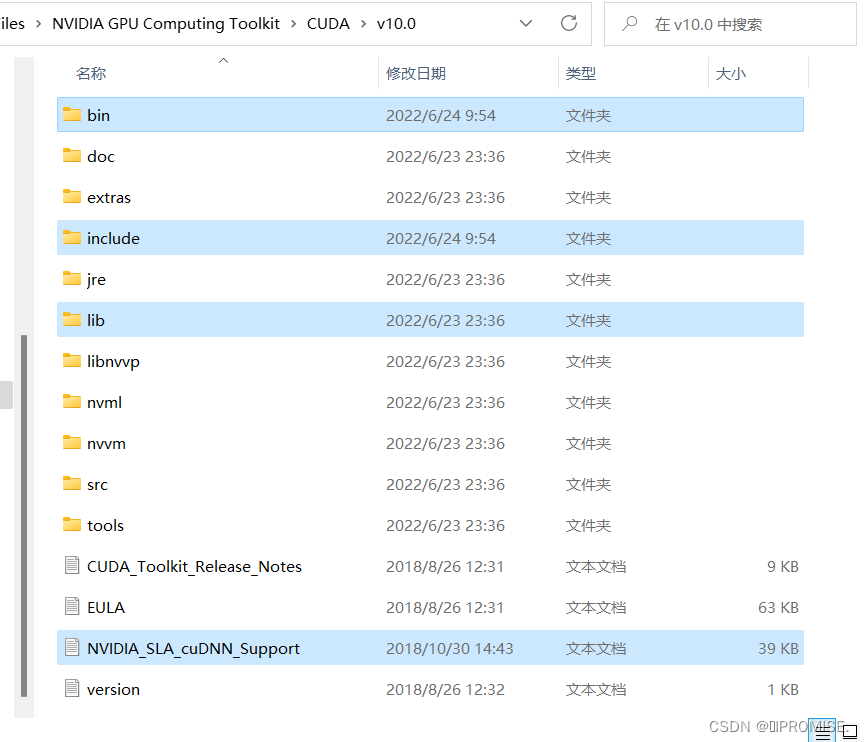
将压缩包cudnn解压后将里面的内容复制到路径C:\Program Files\NVIDIA GPU Computing Toolkit\CUDA\v10.0中。
3.配置Pytorch环境
3.1 pytorch环境的配置与激活
Win+R启动cmd,在命令提示符内输入以下命令:
该指令用于创建一个名为pytorch的环境,该环境的python版本为3.6。
conda create –n pytorch python=3.6
遇到问题:
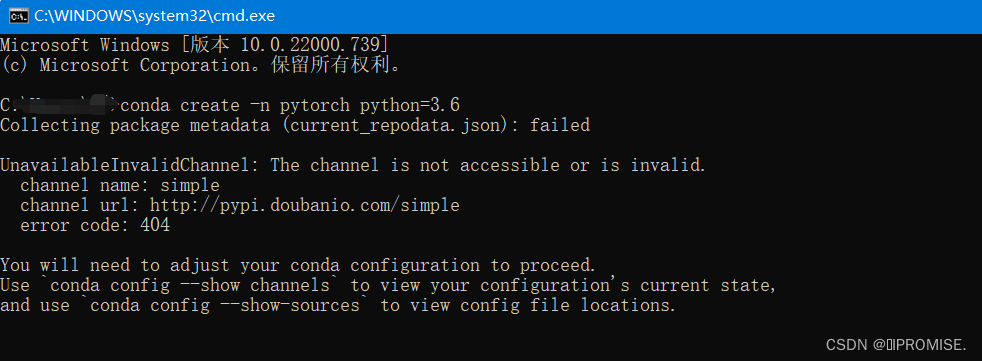
解决方法:换镜像源
conda config --remove-key channels

conda config --add channels https://mirrors.tuna.tsinghua.edu.cn/anaconda/pkgs/free/
conda config --add channels https://mirrors.tuna.tsinghua.edu.cn/anaconda/pkgs/main/
conda config --add channels https://mirrors.tuna.tsinghua.edu.cn/anaconda/cloud/conda-forge
conda config --add channels https://mirrors.tuna.tsinghua.edu.cn/anaconda/cloud/msys2/

# 设置搜索时显示通道地址
conda config --set show_channel_urls yes
创建后激活pytorch环境:
activate pytorch

3.2 pytorch库的安装
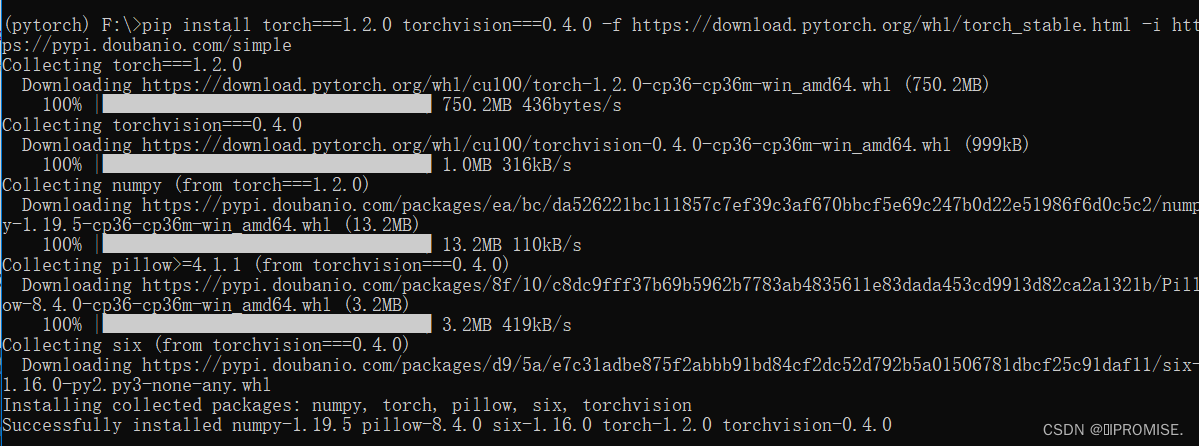
输入指令:
pip install torch===1.2.0 torchvision===0.4.0 -f https://download.pytorch.org/whl/torch_stable.html -i https://pypi.doubanio.com/simple
3.3 其它依赖库的安装
scipy==1.2.1
numpy==1.17.0
matplotlib==3.1.2
opencv_python==4.1.2.30
torch==1.2.0
torchvision==0.4.0
tqdm==4.60.0
Pillow==8.2.0
h5py==2.10.0
在任意位置新建一个txt文件,将上述内容复制到文件中,命名为requirements并在cmd安装:
pip install -r D:\Luo-\requirements.txt
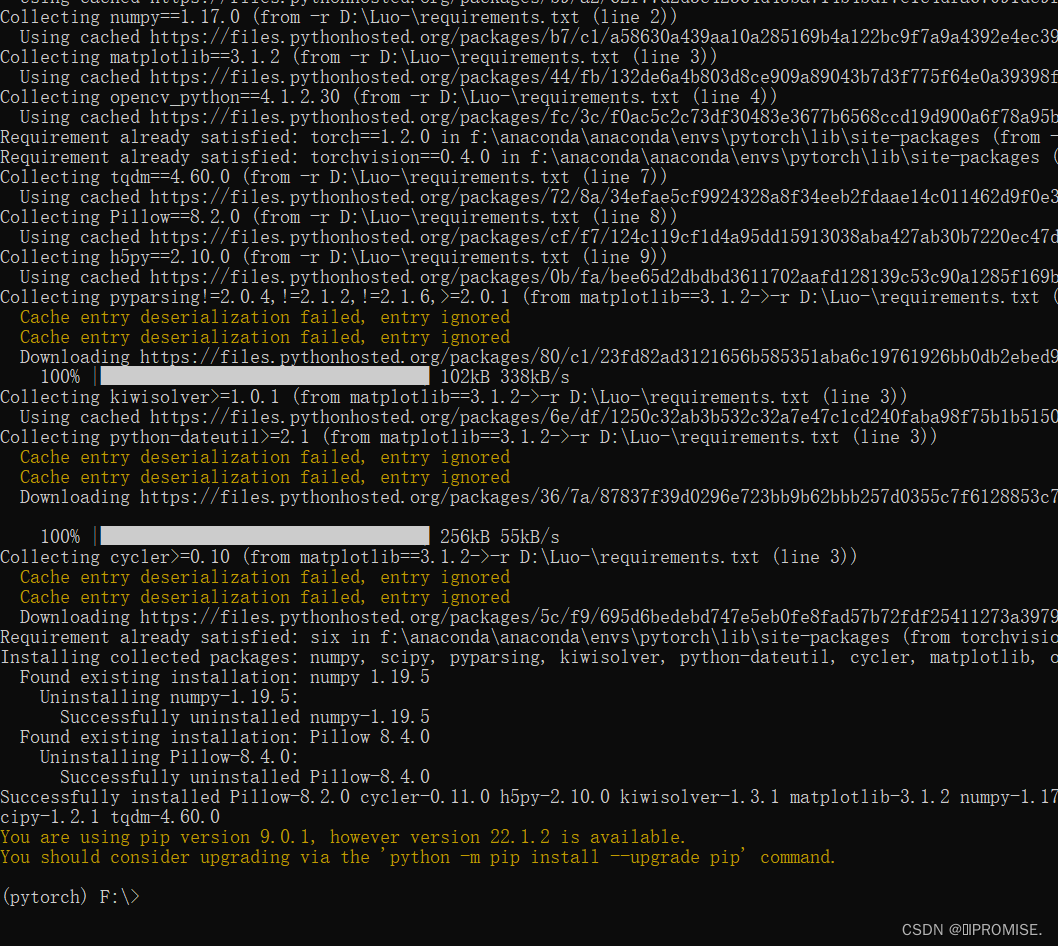
如果遇到安装失败,最笨的办法就是一直重复安装。要相信,它会装好的。
因为你会发现每次失败时的进度条都比上一次更高,一直重复到每个包都安装好。

遇到的问题:
1.EOFError: Ran out of input.

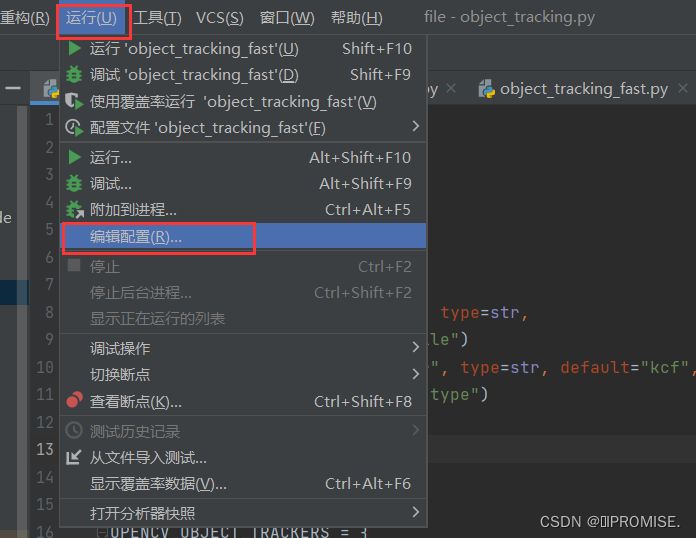
在网上查了很多博客,有很多博主分析说是pickle.load()读取的文件为空导致,按照他们的改了也没有解决。最后看到一个博主说是Windows系统下python和多进程multiprocessing的一个Bug。所以说为什么很多博主说multiprocessing的代码要加在main()函数下。但是我在用pycharm开发项目时即使将multiprocessing的代码放在main里面依然发生了这个错误。
解决方法: 运行->编辑配置->使用python控制台运行(取消勾选)

2.No module named ‘dlib’.
解决方法: 安装dlib库
一般情况下,直接用pip命令导入该库会导致错误。
一般步骤:先安装cmake、boost 再安装dlib
- pip install cmake
- pip install boost
- pip install dlib
推荐方法: 到网上下载对应python版本的.whl文件,然后进行安装。
官网地址: http://dlib.net/#githubhttps://github.com/davisking/dlib
例如我是python3.10版本的,下载文件地址:https://github.com/jloh02/dlib/releases/download/v19.22/dlib-19.22.99-cp310-cp310-win_amd64.whl
下载完成后,cmd到下载.whl文件的目录:
安装命令 pip install + 文件全名:
pip install dlib-19.22.99-cp310-cp310-win_amd64.whl
