安装 LNMP
不通的lnmp版本 https://lnmp.org/download.html
wget http://soft.vpser.net/lnmp/lnmp2.1.tar.gz -cO lnmp2.1.tar.gz
tar zxf lnmp2.1.tar.gz && cd lnmp2.1 && ./install.sh lnmp
数据库选5.7
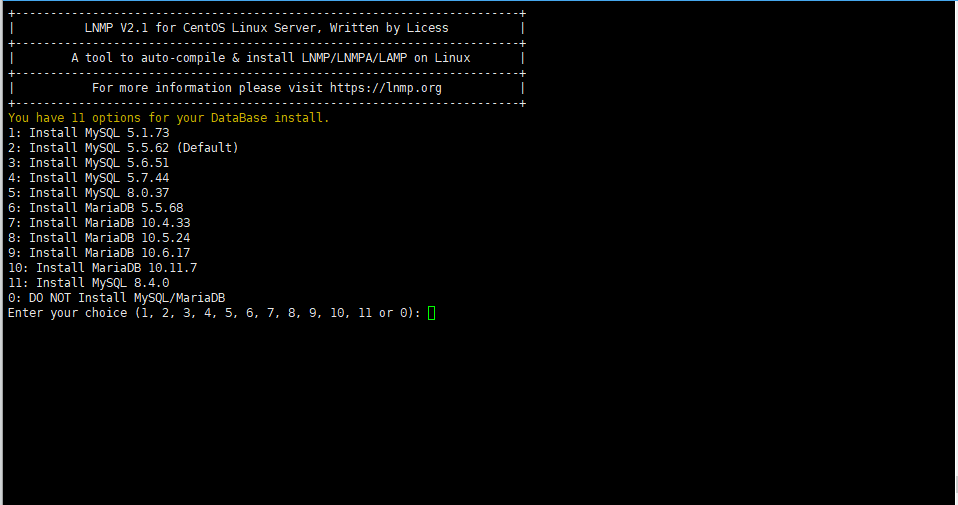
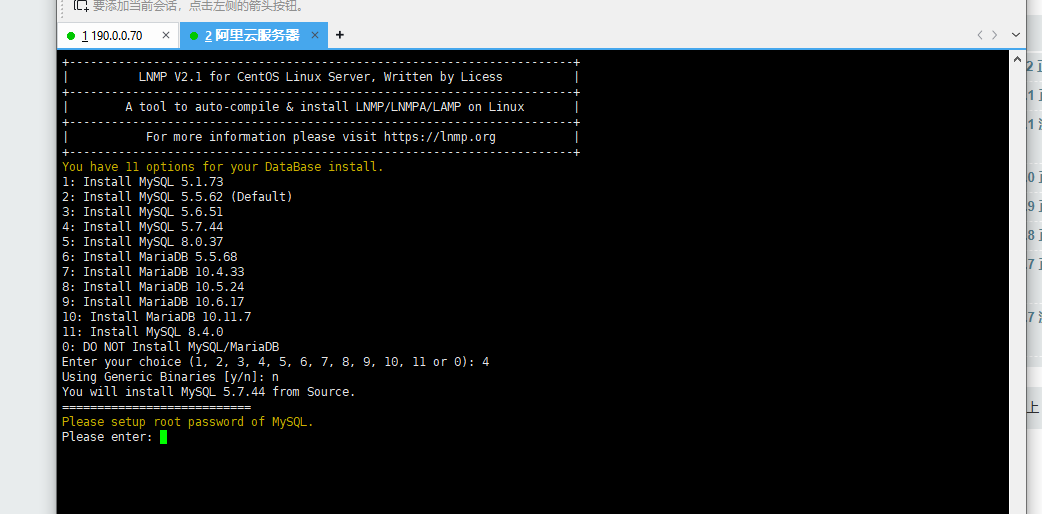
选好数据库,会让你设置数据库 root 用户的密码,此时如果你直接回车,会默认设置为 lnmp.org#随机数字,
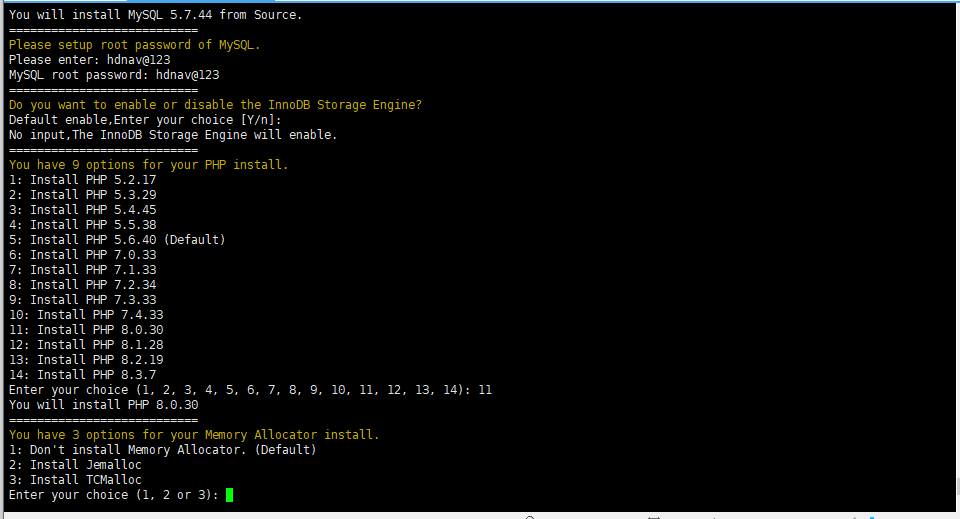
提示"Press any key to install…or Press Ctrl+c to cancel"后,按回车键确认开始安装。 LNMP脚本就会自动安装编译Nginx、MySQL、PHP、phpMyAdmin等软件及相关的组件。
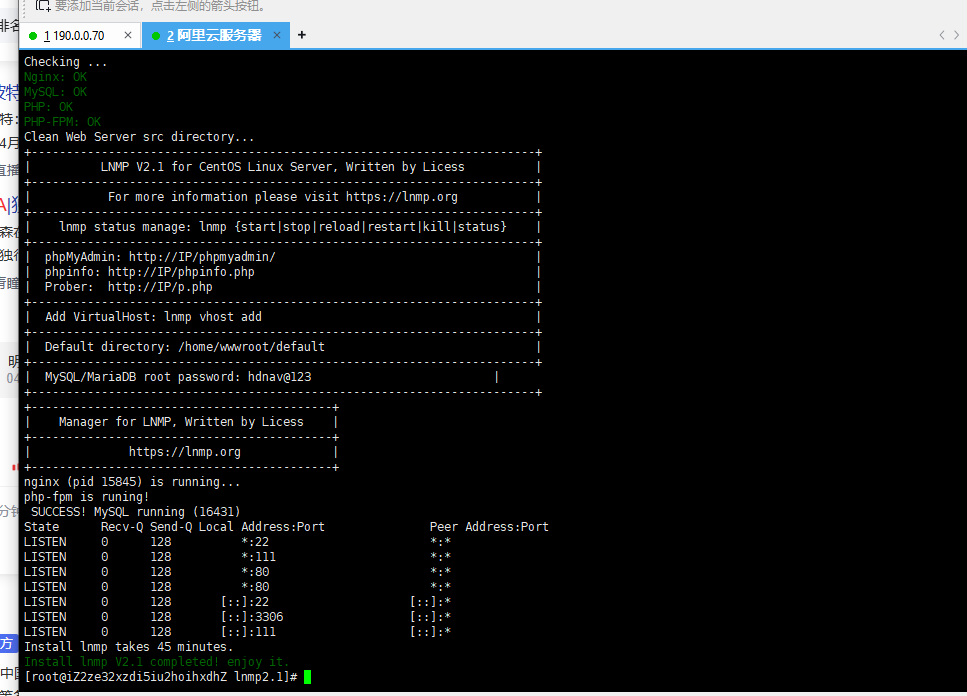
等待安装成功后如下:
mysq
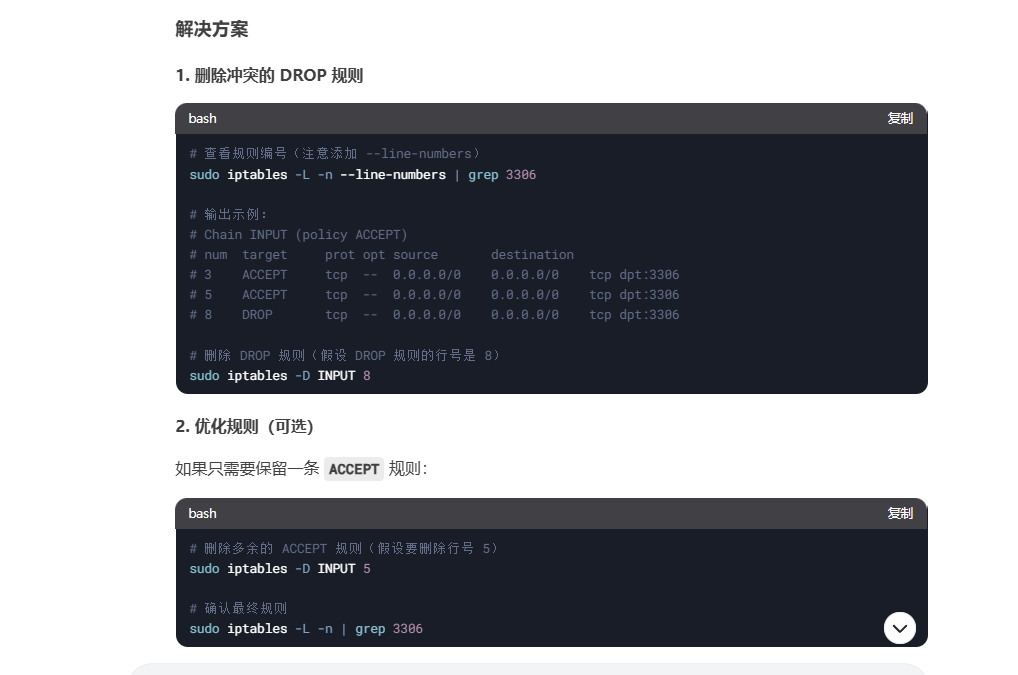
安装成功后,开发3306端口,本地发现telnet不通,navicat也连不上,原因iptables限制连接,解决如下
sudo iptables -L -n | grep 3306
iptables 输出可以看到,3306 端口被明确拒绝了所有连接(DROP 规则)。这是导致本地 Navicat 和 Telnet 无法连接的根本原因。以下是解决方案:
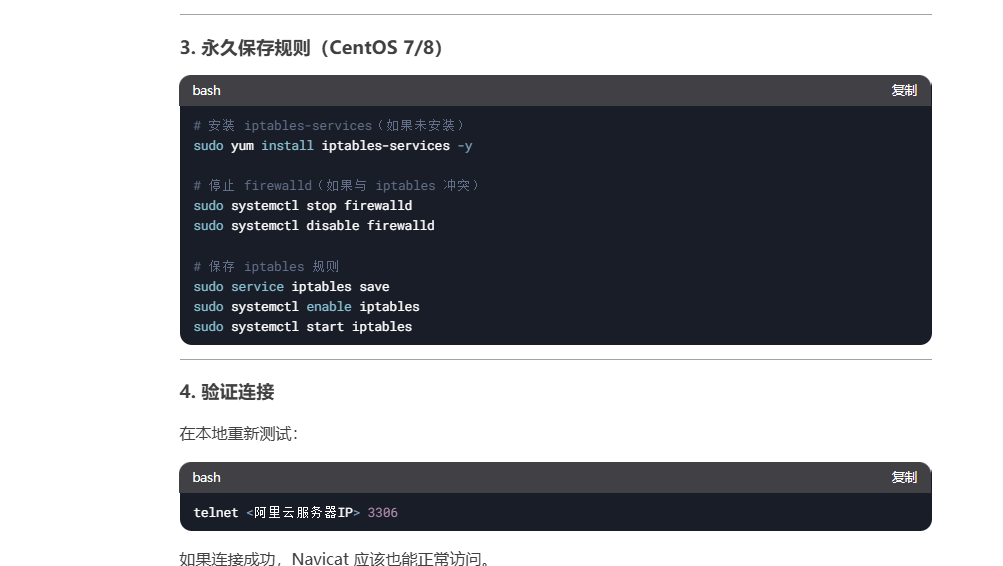
sudo iptables -I INPUT -p tcp --dport 3306 -j ACCEPT

sudo service iptables save
配置 Nginx
cat /usr/local/nginx/conf/nginx.conf
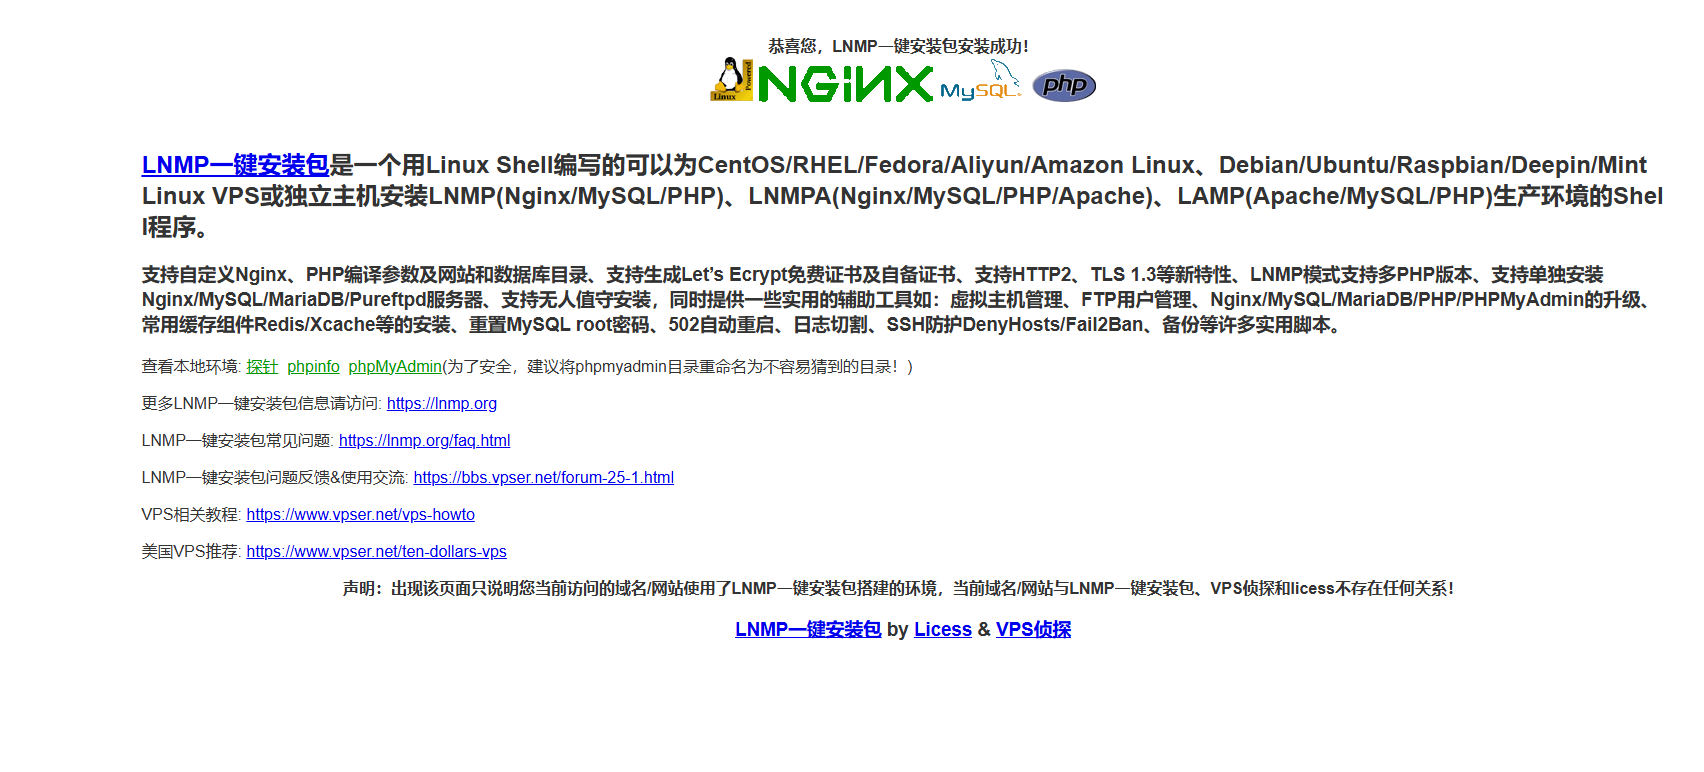
用浏览器打开http://ip,可以看到如下内容(如果访问不了,有可能是你服务器的安全组没有开放 80 端口,去控制台开放一下即可)
安装 WordPress
第一步:安装 wordpress 安装包并解压到 /home/wwwroot
wget https://cn.wordpress.org/latest-zh_CN.zip && unzip latest-zh_CN.zip -d /home/wwwroot
第二步:登录MySQL(密码在前面 部署LNMP 时你设置过),创建wordpress表,创建完后输入exit退出。
$ mysql -u root -p
Enter password:
MySQL > create database wordpress;
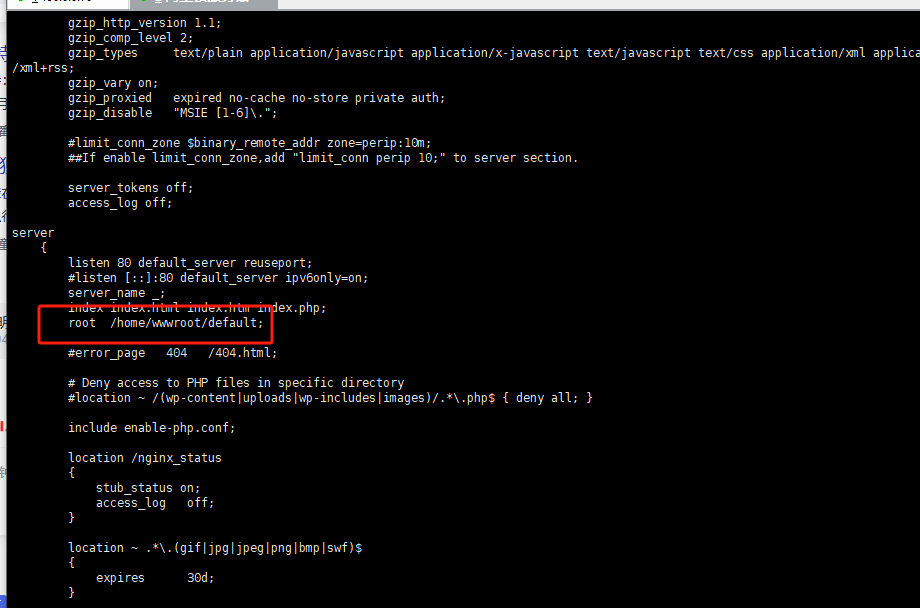
第三步:使用 vim 修改 nginx 配置文件
vim /usr/local/nginx/conf/nginx.conf
找到网站根目录位置,如下图所示:
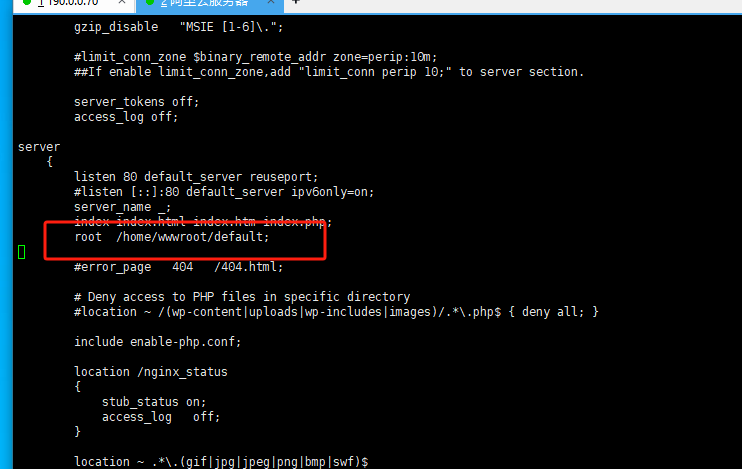
修改如下
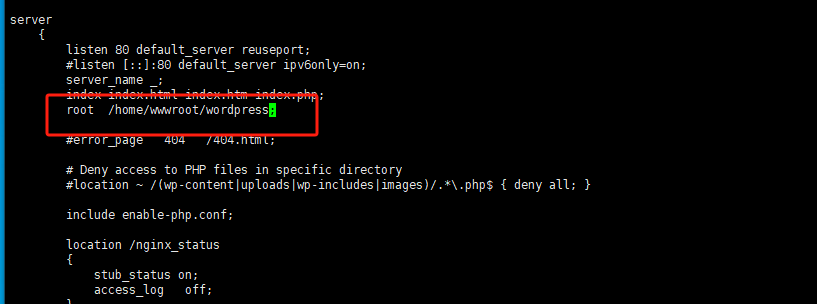
验证nginx是否有配置错误:
nginx -t
如果出现ok,successful字样,说明没有错误。没有错误,重新加载nginx:
nginx -s reload
修改wordpress目录权限:
cd /home/wwwroot && chown -R www wordpress/ && chgrp -R www wordpress/
用浏览器打开http://ip/wp-admin/setup-config.php,你可以看到如下内容: