代码:
import gradio as gr
import cv2
import numpy as np
from ultralytics import YOLO

# 全局变量
model = None
current_config = {}
running = False  # 控制检测状态的标志

def initialize_model(model_id, image_size, conf_threshold):
    global model, current_config
    if model is None or current_config != (model_id, image_size, conf_threshold):
        model = YOLO(model_id)
        current_config = (model_id, image_size, conf_threshold)

def process_frame(frame):
    global model
    if model is None:
        return frame

    results = model.predict(source=frame, imgsz=current_config[1], conf=current_config[2])
    annotated_frame = results[0].plot()
    return annotated_frame[:, :, ::-1]

def camera_stream():
    cap = cv2.VideoCapture(0)
    while running:
        ret, frame = cap.read()
        if not ret:
            break
        frame = cv2.cvtColor(frame, cv2.COLOR_BGR2RGB)
        yield frame
    cap.release()

def detect_frames():
    for frame in camera_stream():
        processed = process_frame(frame)
        yield cv2.cvtColor(processed, cv2.COLOR_RGB2BGR)


def toggle_detection(start_btn):
    global running
    running = not running
    return "停止检测" if running else "开始检测"


def app():
    with gr.Blocks() as demo:
        gr.HTML(
            """
            <h1 style='text-align: center'>
            YOLOv12 实时摄像头检测
            </h1>
            """
        )

        with gr.Row():
            with gr.Column():
                model_selector = gr.Dropdown(
                    label="选择模型",
                    choices=[
                        "yolov12n.pt",
                        "yolov12s.pt",
                        "yolov12m.pt",
                        "yolov12l.pt",
                        "yolov12x.pt",
                    ],
                    value="yolov12m.pt"
                )
                with gr.Accordion("高级设置", open=False):
                    image_size = gr.Slider(
                        label="推理尺寸",
                        minimum=320,
                        maximum=1280,
                        step=32,
                        value=640
                    )
                    conf_threshold = gr.Slider(
                        label="置信度阈值",
                        minimum=0.0,
                        maximum=1.0,
                        step=0.05,
                        value=0.25
                    )
                start_btn = gr.Button("开始检测", variant="primary")

            with gr.Column():
                output_video = gr.Image(label="检测结果")

        # 事件处理
        start_btn.click(
            fn=toggle_detection,
            inputs=[start_btn],
            outputs=[start_btn],
            queue=False
        ).then(
            fn=lambda: gr.Image(interactive=True),
            outputs=output_video
        ).then(
            fn=initialize_model,
            inputs=[model_selector, image_size, conf_threshold],
            queue=False
        ).then(
            fn=detect_frames,
            outputs=output_video
        )
    return demo

if __name__ == "__main__":
    gradio_app = app()
    gradio_app.queue().launch()
基于 YOLOv12 与 Gradio 的实时目标检测系统开发实践
在人工智能技术飞速发展的今天,计算机视觉领域的目标检测技术正不断渗透到各个行业。YOLO(You Only Look Once)系列模型以其快速高效的检测能力,成为实时目标检测任务中的明星方案。而 Gradio 框架则为机器学习模型提供了便捷的可视化交互界面,极大降低了模型部署和演示的门槛。本文将结合 YOLOv12 模型与 Gradio 框架,深入解析一段实现实时摄像头目标检测的 Python 代码,探索其技术原理与应用价值。
一、核心技术栈概览
本代码主要基于三个核心技术库构建:
- YOLOv12:作为 YOLO 系列的最新迭代,YOLOv12 在保持检测速度的同时,显著提升了对小目标和复杂场景的检测精度。通过
ultralytics库,我们可以轻松加载预训练模型并进行推理。 - Gradio:一个用于快速构建机器学习演示和 Web 应用的 Python 库。通过简单的 API 调用,即可创建交互式界面,方便用户与模型进行交互。
- OpenCV:计算机视觉领域的经典库,提供了丰富的图像和视频处理功能,如摄像头帧的读取、图像格式转换等。
二、代码逐行解析
1. 库导入与全局变量定义
python
import gradio as gr
import cv2
import numpy as np
from ultralytics import YOLO

# 全局变量
model = None
current_config = {}
running = False  # 控制检测状态的标志
代码首先导入所需的库,然后定义了三个全局变量:
model:用于存储加载的 YOLOv12 模型实例。current_config:记录当前模型的配置信息,包括模型 ID、推理尺寸和置信度阈值。running:作为检测状态的控制标志,用于启动和停止实时检测。
2. 模型初始化函数
python
def initialize_model(model_id, image_size, conf_threshold):
    global model, current_config
    if model is None or current_config != (model_id, image_size, conf_threshold):
        model = YOLO(model_id)
        current_config = (model_id, image_size, conf_threshold)
initialize_model函数根据传入的参数初始化 YOLOv12 模型。当模型未初始化或配置发生变化时,重新加载模型并更新配置信息,确保模型在不同参数下的正确运行。
3. 帧处理函数
python
def process_frame(frame):
    global model
    if model is None:
        return frame

    results = model.predict(source=frame, imgsz=current_config[1], conf=current_config[2])
    annotated_frame = results[0].plot()
    return annotated_frame[:, :, ::-1]
process_frame函数负责对每一帧图像进行目标检测。首先检查模型是否已初始化,若未初始化则直接返回原始帧。然后使用当前配置的参数对帧进行预测,并将检测结果绘制在图像上,最后调整图像通道顺序以适配 Gradio 的显示要求。
4. 摄像头流获取函数
python
def camera_stream():
    cap = cv2.VideoCapture(0)
    while running:
        ret, frame = cap.read()
        if not ret:
            break
        frame = cv2.cvtColor(frame, cv2.COLOR_BGR2RGB)
        yield frame
    cap.release()
camera_stream函数通过 OpenCV 从摄像头获取视频流。在检测状态开启时,持续读取摄像头帧,将其从 BGR 格式转换为 RGB 格式,并以生成器的形式返回,实现高效的视频流处理。
5. 检测帧生成函数
python
def detect_frames():
    for frame in camera_stream():
        processed = process_frame(frame)
        yield cv2.cvtColor(processed, cv2.COLOR_RGB2BGR)
detect_frames函数结合摄像头流获取和帧处理函数,对每一帧进行目标检测,并将处理后的帧转换回 BGR 格式后返回,供 Gradio 界面展示。
6. 检测状态切换函数
python
def toggle_detection(start_btn):
    global running
    running = not running
    return "停止检测" if running else "开始检测"
toggle_detection函数用于切换检测状态,同时更新按钮文本,使用户能够直观控制检测过程。
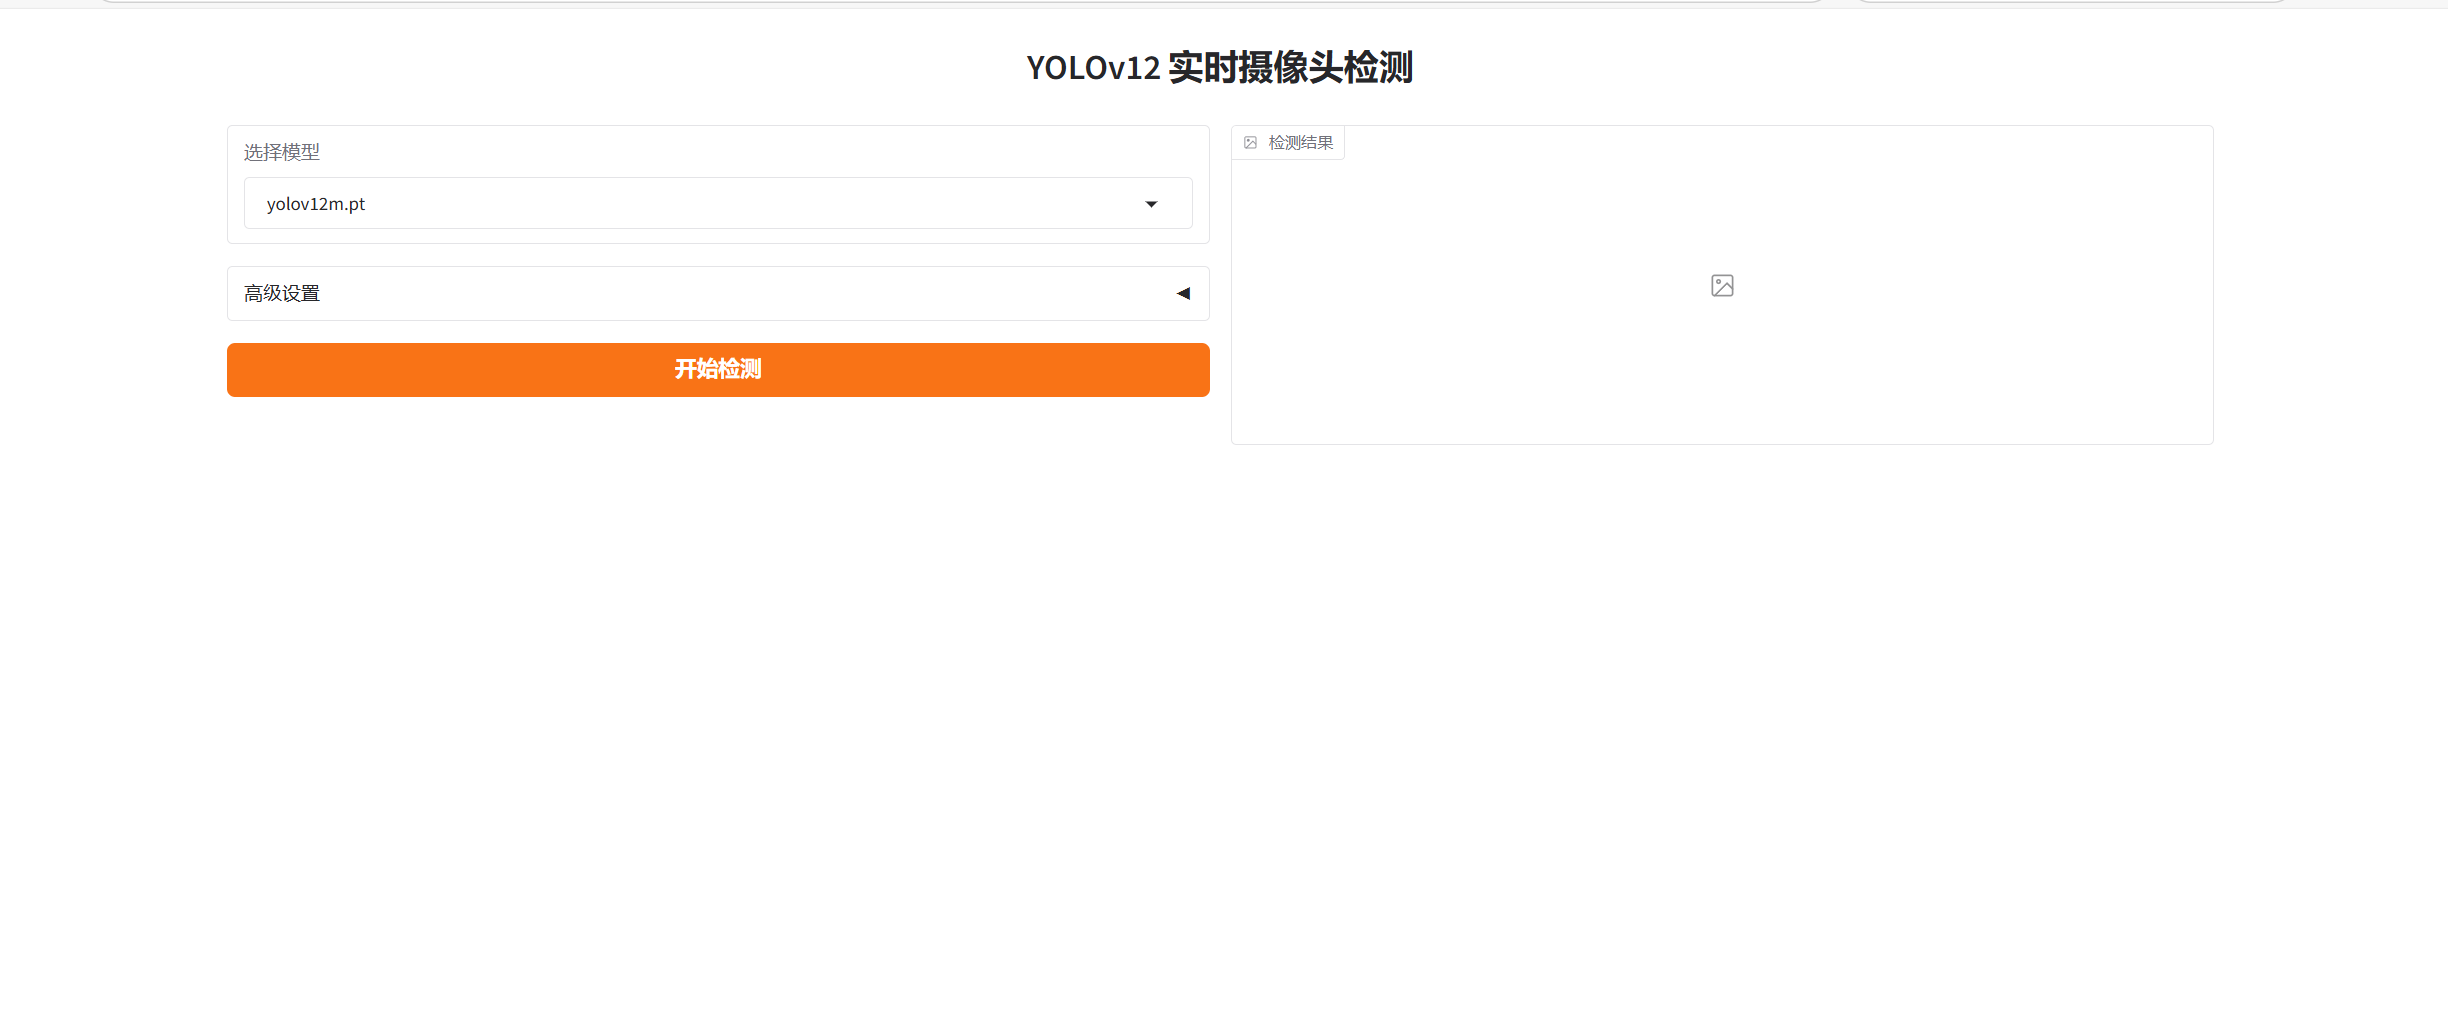
7. Gradio 界面构建与事件绑定
python
def app():
    with gr.Blocks() as demo:
        gr.HTML(
            """
            <h1 style='text-align: center'>
            YOLOv12 实时摄像头检测
            </h1>
            """
        )

        with gr.Row():
            with gr.Column():
                model_selector = gr.Dropdown(
                    label="选择模型",
                    choices=[
                        "yolov12n.pt",
                        "yolov12s.pt",
                        "yolov12m.pt",
                        "yolov12l.pt",
                        "yolov12x.pt",
                    ],
                    value="yolov12m.pt"
                )
                with gr.Accordion("高级设置", open=False):
                    image_size = gr.Slider(
                        label="推理尺寸",
                        minimum=320,
                        maximum=1280,
                        step=32,
                        value=640
                    )
                    conf_threshold = gr.Slider(
                        label="置信度阈值",
                        minimum=0.0,
                        maximum=1.0,
                        step=0.05,
                        value=0.25
                    )
                start_btn = gr.Button("开始检测", variant="primary")

            with gr.Column():
                output_video = gr.Image(label="检测结果")

        # 事件处理
        start_btn.click(
            fn=toggle_detection,
            inputs=[start_btn],
            outputs=[start_btn],
            queue=False
        ).then(
            fn=lambda: gr.Image(interactive=True),
            outputs=output_video
        ).then(
            fn=initialize_model,
            inputs=[model_selector, image_size, conf_threshold],
            queue=False
        ).then(
            fn=detect_frames,
            outputs=output_video
        )
    return demo
app函数使用 Gradio 的Blocks布局构建了一个简洁直观的用户界面。界面包含模型选择下拉框、推理尺寸和置信度阈值调节滑块,以及检测结果显示区域。通过链式调用click和then方法,实现了按钮点击事件与各功能函数的绑定,完成从状态切换、模型初始化到实时检测的完整流程。
三、应用场景与扩展方向
该实时目标检测系统可应用于多个场景:
- 安防监控:实时检测监控画面中的异常行为或目标。
- 智能零售:统计客流量、分析顾客行为。
- 工业质检:快速检测生产线上的产品缺陷。
未来可以从以下方向对系统进行扩展:
- 支持更多类型的模型和数据集。
- 添加多摄像头同时检测功能。
- 集成云服务,实现远程访问和数据存储。