方法一:部分使用ansible
基于现有的nginx配置文件,定制部署nginx软件,将我们的知识进行整合 定制要求:
启动用户:nginx-test,uid是82,系统用户,不能登录
启动端口82 web项目根目录/data/webserver/html
默认首页:index.html
首页内容:"welcome to ansible"
1.1 准备工作
- 前提:三台系统都是rocky
检查系统:确保三台主机的 Rocky 系统已联网,能正常安装软件包。 - 关闭防火墙和 SELinux (测试环境建议关闭,生产环境按需配置规则):
关闭防火墙:systemctl stop firewalld;systemctl disable firewalld
永久关闭 SELinux(需重启生效):编辑 /etc/selinux/config 文件,将 SELINUX=enforcing 改为 SELINUX=disabled
1.2 创建启动用户
在每台主机上执行以下命令创建 nginx-test 用户,且设置为系统用户、不能登录:
useradd -u 82 -s /sbin/nologin nginx-test
1.3 安装 Nginx
yum install nginx -y
1.4 配置 Nginx
修改配置文件:打开 Nginx 的主配置文件(yum 安装一般在 /etc/nginx/nginx.conf)
user nginx-test;  # 修改启动用户
worker_processes auto;
error_log /var/log/nginx/error.log;
pid /run/nginx.pid;

include /etc/nginx/modules-enabled/*.conf;

events {
    worker_connections 1024;
}

http {
    server {
        listen 82;  # 修改监听端口为82
        server_name _;
        root /data/webserver/html;  # 设置项目根目录
        index index.html;  # 设置默认首页

        location / {
            try_files $uri $uri/ =404;
        }
    }

    include /etc/nginx/mime.types;
    default_type application/octet-stream;
    sendfile on;
    tcp_nopush on;
    tcp_nodelay on;
    keepalive_timeout 65;
    gzip on;
}- 创建项目根目录及首页文件:
mkdir -p /data/webserver/html
echo "welcome to ansible" > /data/webserver/html/index.html
chown -R nginx-test:nginx-test /data/webserver/html  # 设置目录所有者
1.5 启动 Nginx
systemctl start nginx;systemctl enable nginx # 设置开机自启
1.6 测试访问
创建nginx_deploy.yml文件并输入下面的内容并使用 ansible-playbook nginx_deploy.yml 执行
- hosts: 10.0.0.12,10.0.0.15,10.0.0.18
  become: true

  tasks:
    - name: Create nginx-test user
      user:
        name: nginx-test
        uid: 82
        shell: /sbin/nologin

    - name: Install nginx
      yum:
        name: nginx
        state: present

    - name: Configure nginx.conf
      lineinfile:
        path: /etc/nginx/nginx.conf
        regexp: "{{ item.regexp }}"
        line: "{{ item.line }}"
        create: true
      loop:
        - { regexp: "^user", line: "user nginx-test;" }
        - { regexp: "^listen", line: "listen 82;" }
        - { regexp: "^root", line: "root /data/webserver/html;" }
        - { regexp: "^index", line: "index index.html;" }

    - name: Create web project root directory
      file:
        path: /data/webserver/html
        state: directory
        owner: nginx-test
        group: nginx-test

    - name: Create index.html
      copy:
        content: "welcome to ansible"
        dest: /data/webserver/html/index.html
        owner: nginx-test
        group: nginx-test

    - name: Start nginx
      service:
        name: nginx
        state: started
        enabled: true
方法二:完全用ansible实现自动化
注意:按照方法一 前提环境已部署好,防护墙,selinux等 这里就不再操作
1.1 制作⼀个nginx.conf
yum install nginx -y;systemctl stop nginx
mkdir /data/ansible/nginx -p;cd /data/ansible/nginx/
grep -Ev '#|^$' /etc/nginx/nginx.conf > nginx.conf
并且进行定制修改,修改内容如下
sed -i 's#www-data#nginx-test#' nginx.conf
cat > nginx-define.conf <<- eof
server {
    listen 10086;
    root /data/webserver/html;

    location / {
        index index.html;  # 添加默认首页
        try_files $uri $uri/ =404;  # 添加请求处理规则
    }
}
1.2 编写playbook
编写 nginx 的 playbook ⽂件 01-nginx.yml
- hosts: web
  remote_user: root
  tasks:
    - name: create new user
      user:
        name: nginx-test
        system: yes
        uid: 82
        shell: /sbin/nologin

    - name: create web root
      file:
        name: /data/webserver/html
        owner: nginx-test
        state: directory

    - name: touch web index
      shell: echo '<h1>welcome to ansible</h1>' > /data/webserver/html/index.html

    - name: install package
      yum:
        name: nginx
        state: present

    - name: copy config
      copy:
        src: nginx.conf
        dest: /etc/nginx/nginx.conf

    - name: copy subconfig
      copy:
        src: nginx-define.conf
        dest: /etc/nginx/conf.d

    - name: start service
      service:
        name: nginx
        state: started
        enabled: yes
1.3 检测执行效果
ansible-playbook 01-nginx.yml --syntax-check 检测效果
ansible-playbook 01-nginx.yml -C 模拟执行
注:该步骤执行即使存在一两个异常,也不影响后续的正常安装
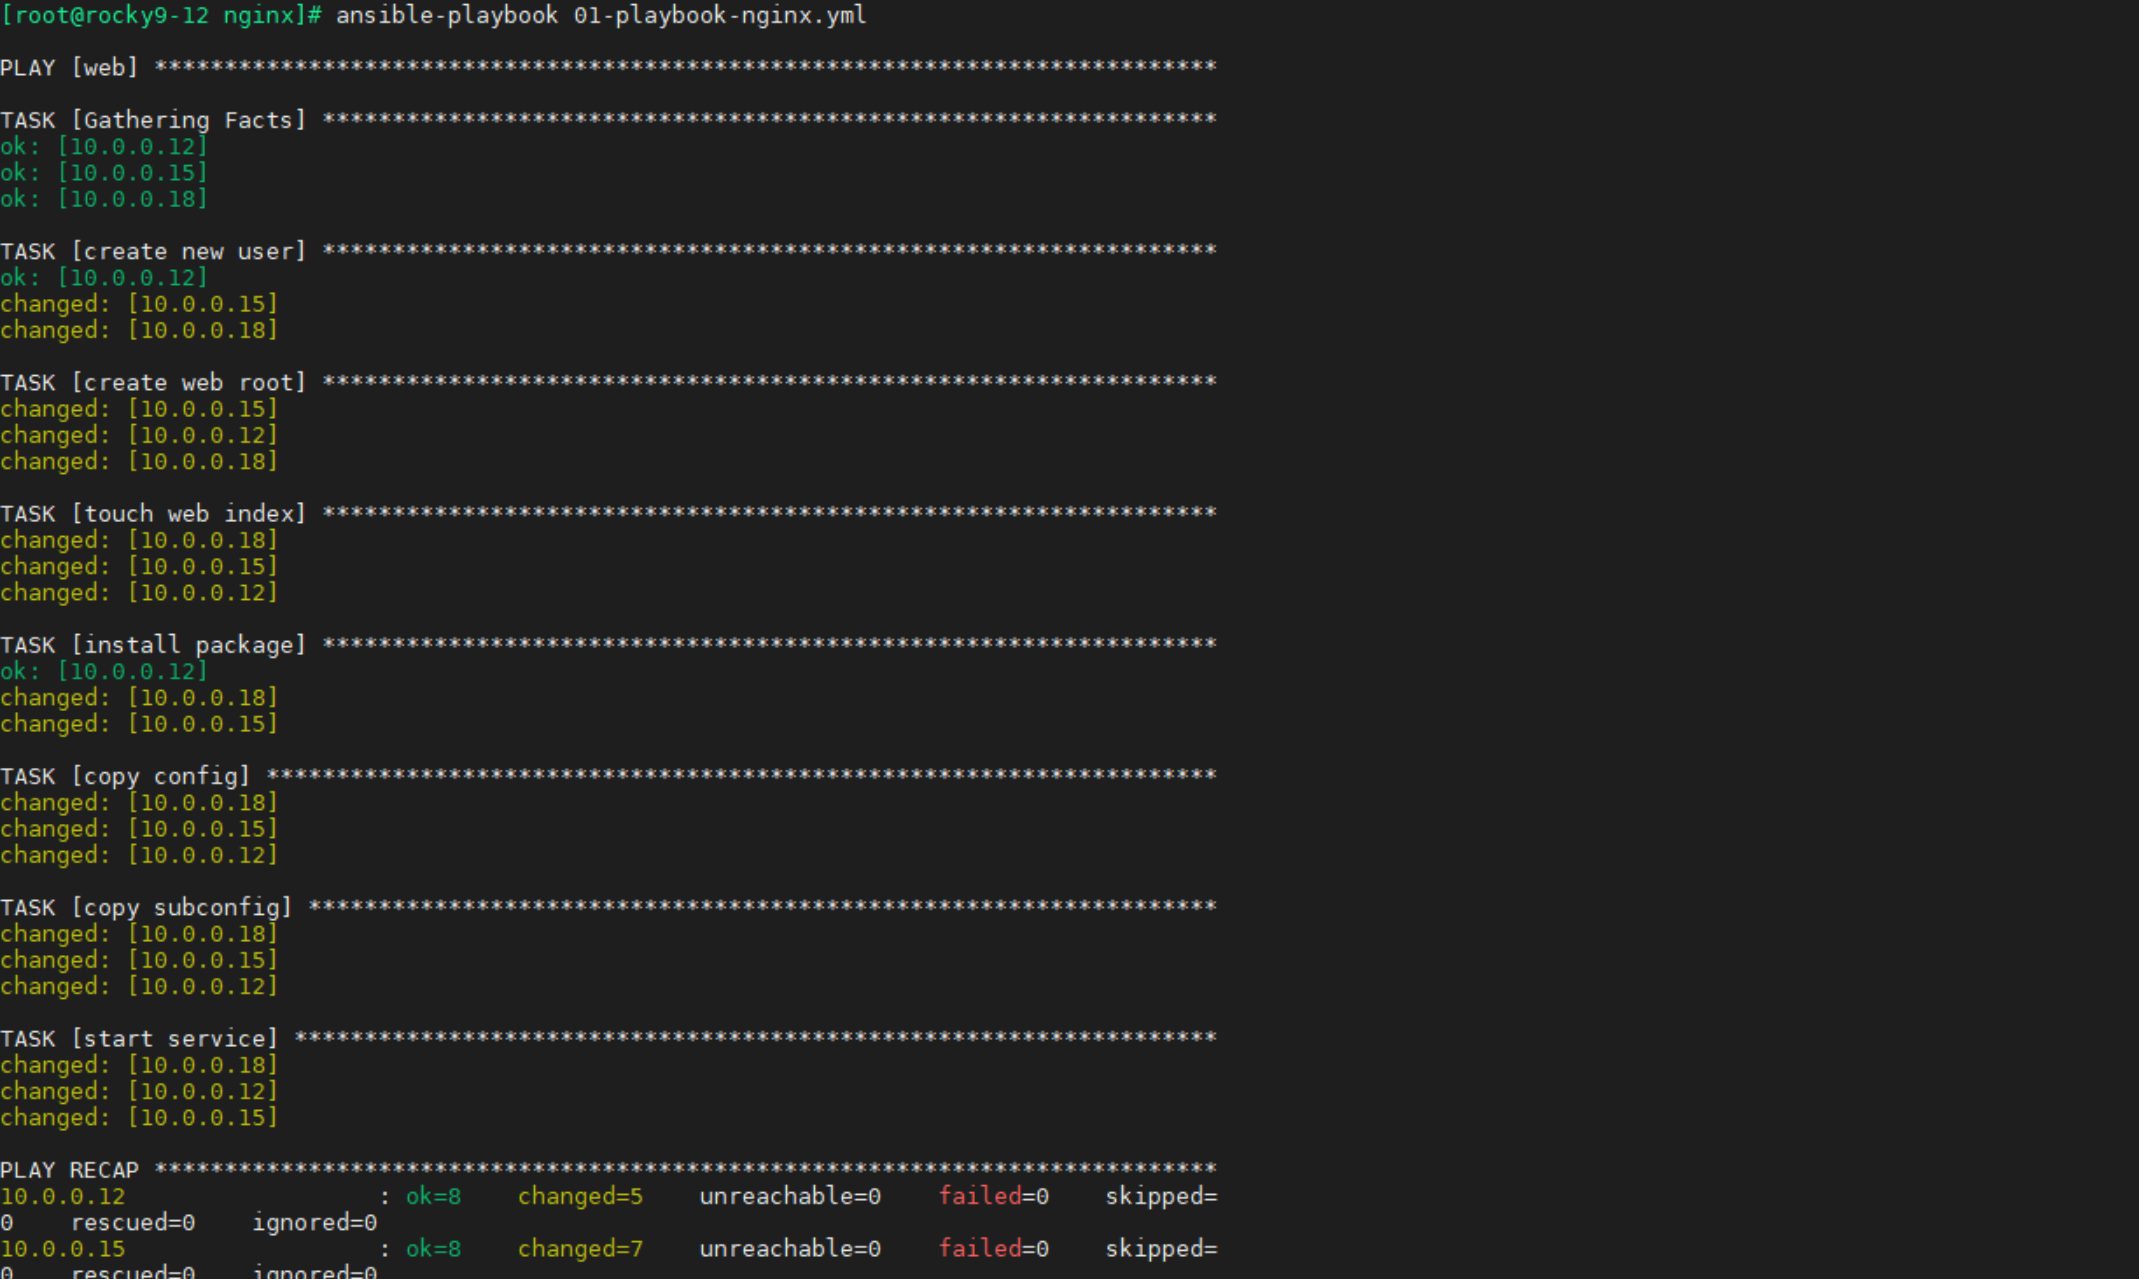
ansible-playbook 01-nginx.yml 执行文件
ansible web -m shell -a "getent passwd | grep 82"
ansible web -m shell -a "ls -l /data/"
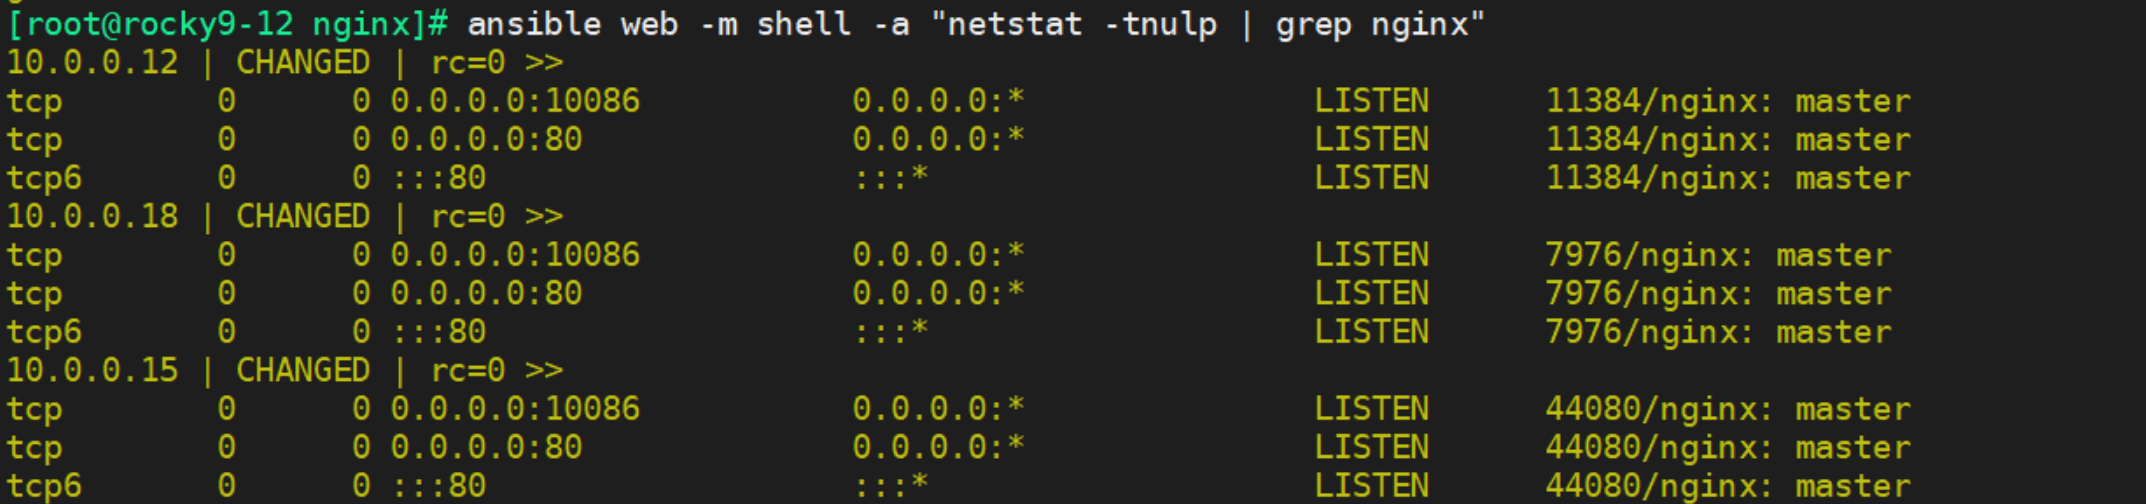
ansible web -m shell -a "netstat -tnulp | grep nginx"
若出现都是80端口,则还需要执行 ansible web -m shell -a "systemctl reload nginx"
ansible web -m shell -a "curl -s localhost:10086"

1.4 清除环境
ansible web - m service - a "name=nginx state=stopped"
ansible web - m yum - a "name=nginx,nginx-common state=absent"
ansible web - m file - a "path=/data/webserver state=absent"
ansible web - m user - a "name=nginx-test state=absent"