编译repeater操作简述
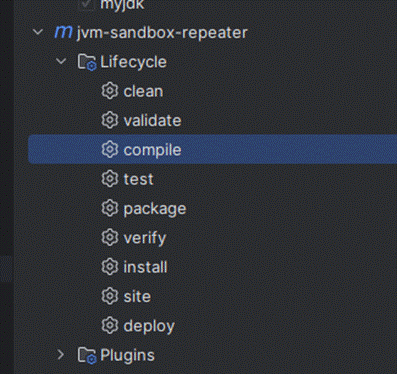
1: IDEAD 编译
2:test 不通过,可以不用管这个错误
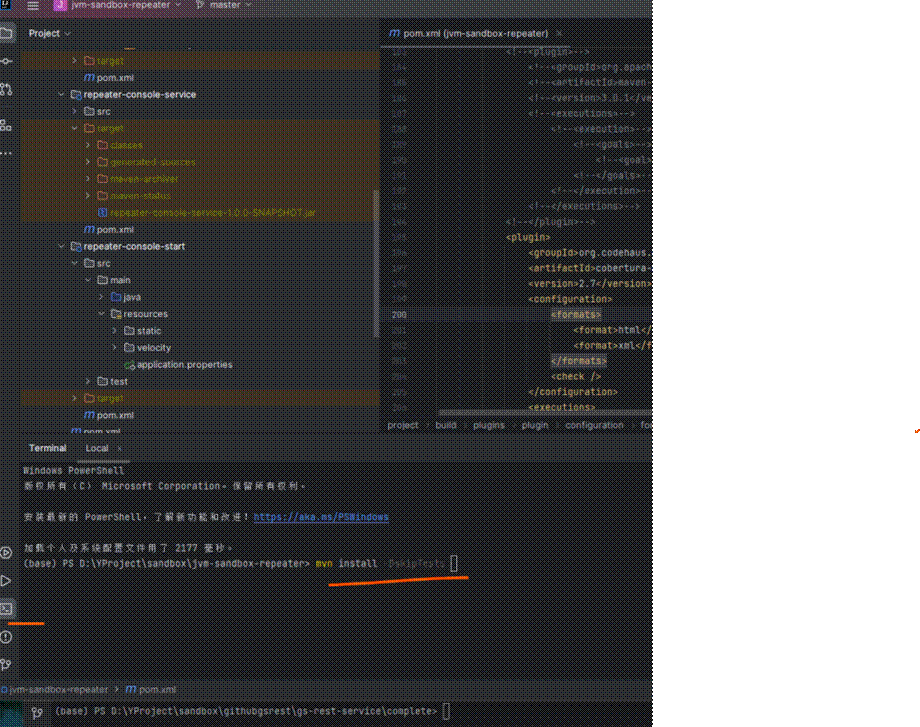
3安装跳过test,可以成功install
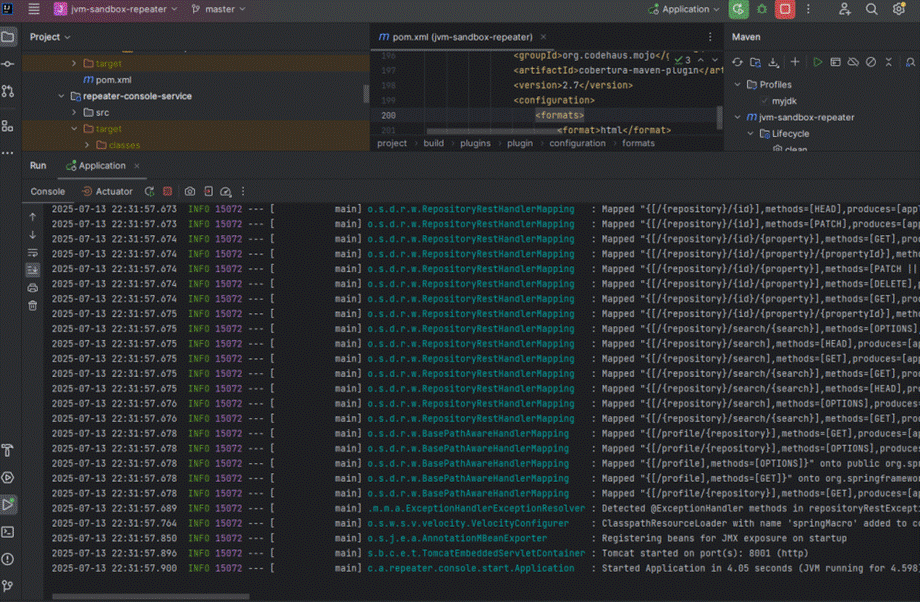
4:启动
4.1命令行启动测试
java -jar repeater-console\repeater-console-start\target\repeater-console.jar
5windows 打包
这个应该是和https://github.com/alibaba/jvm-sandbox-repeater/releases/download/v1.0.0/sandbox-1.3.3-bin.tar 一样,但是下载不成功。后面安装可以使用这个自己编译打包的。如果能下载成功,自己不学习源码,只使用,可以不用编译直接下载包后安装部署测试。
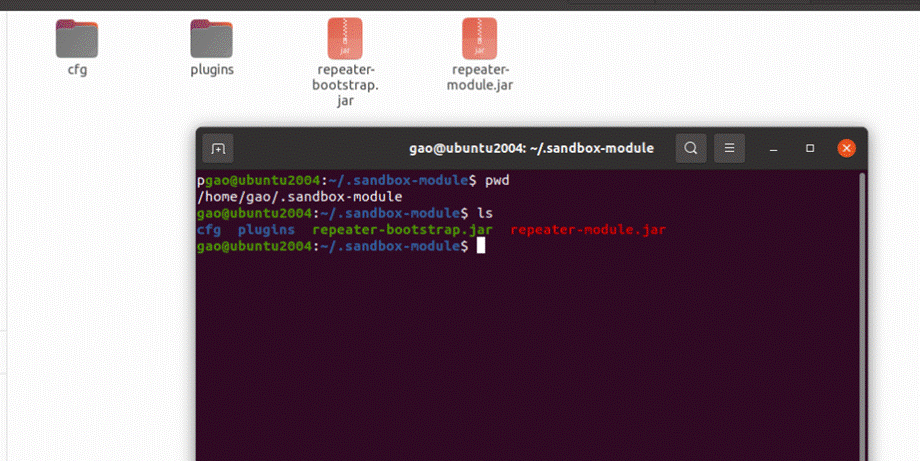
6打包之后放到ubuntu 中,并放到对应的位置
对应的位置参考jvm-sandbox-repeater/bin/ install-repeater.sh 这个脚本,这个脚本是从github 下载编译好的 安装到linux 系统内。不需要编译即可。
但是repeater-stable-bin.tar 这个我下载多次都不成功。就使用上面IDEA编译并打包的
还需要下载https://github.com/alibaba/jvm-sandbox-repeater/releases/download/v1.0.0/sandbox-1.3.3-bin.tar还是需要这个的,这个也放到linux 下
sandbox-1.3.3-bin.tar
第一步从github 下载sandbox-1.3.3-bin.tar 使用 tar xz -C ${HOME} 解压到 ${HOME}
第二步从github 下载 repeater-stable-bin.tar 使用tar xz -C ${MODULE_HOME} 这个不容易下载,使用上面windows打包的。
MODULE_HOME=${HOME}/.sandbox-module
7ubuntu 运行
没有安装mysql 报错
8安装mysql操作
8.1查看是否安装
8.2安装之后查看安装成功
以上说明安装成功
此时没有设置密码,使用sudo mysql -u root 即可登录
8.3如何设置密码
sudo mysql_secure_installation 作用是设置 root 密码
-
- 如果 root 用户没有密码,会提示你设置一个强密码
- 如果是新安装的 MySQL,root 用户默认没有密码
下面是操作记录
sudo mysql_secure_installation
[sudo] password for gao:
Securing the MySQL server deployment.
Connecting to MySQL using a blank password.
VALIDATE PASSWORD COMPONENT can be used to test passwords
and improve security. It checks the strength of password
and allows the users to set only those passwords which are
secure enough. Would you like to setup VALIDATE PASSWORD component?
Press y|Y for Yes, any other key for No: y
There are three levels of password validation policy:
LOW Length >= 8
MEDIUM Length >= 8, numeric, mixed case, and special characters
STRONG Length >= 8, numeric, mixed case, special characters and dictionary file
Please enter 0 = LOW, 1 = MEDIUM and 2 = STRONG: 0
//这里并没有让输入密码,后面使用命令设置密码
Skipping password set for root as authentication with auth_socket is used by default.
If you would like to use password authentication instead, this can be done with the "ALTER_USER" command.
See https://dev.mysql.com/doc/refman/8.0/en/alter-user.html#alter-user-password-management for more information.
By default, a MySQL installation has an anonymous user,
allowing anyone to log into MySQL without having to have
a user account created for them. This is intended only for
testing, and to make the installation go a bit smoother.
You should remove them before moving into a production
environment.
Remove anonymous users? (Press y|Y for Yes, any other key for No) : n
... skipping.
Normally, root should only be allowed to connect from
'localhost'. This ensures that someone cannot guess at
the root password from the network.
Disallow root login remotely? (Press y|Y for Yes, any other key for No) : n
... skipping.
By default, MySQL comes with a database named 'test' that
anyone can access. This is also intended only for testing,
and should be removed before moving into a production
environment.
Remove test database and access to it? (Press y|Y for Yes, any other key for No) : y
- Dropping test database...
Success.
- Removing privileges on test database...
Success.
Reloading the privilege tables will ensure that all changes
made so far will take effect immediately.
Reload privilege tables now? (Press y|Y for Yes, any other key for No) : y
Success.
All done!
8.4登录mysql设置密码
sudo mysql -u root登录后
命令如下
ALTER USER 'root'@'localhost' IDENTIFIED WITH mysql_native_password BY '123456';
mysql> ALTER USER 'root'@'localhost' IDENTIFIED WITH mysql_native_password BY '123456';
8.5但是无法设置成功由于策略必须大于8
ERROR 1819 (HY000): Your password does not satisfy the current policy requirements
8.6设置密码123456 成功
再次尝试设置,提示设置成功
8.7重启mysql服务
gao@ubuntu2004:~$ sudo mysql -u root
ERROR 1045 (28000): Access denied for user 'root'@'localhost' (using password: NO)
gao@ubuntu2004:~$ mysql -u root -p
Welcome to the MySQL monitor. Commands end with ; or \g.
Server version: 8.0.42-0ubuntu0.20.04.1 (Ubuntu)
Copyright (c) 2000, 2025, Oracle and/or its affiliates.
Oracle is a registered trademark of Oracle Corporation and/or its
affiliates. Other names may be trademarks of their respective
Type 'help;' or '\h' for help. Type '\c' to clear the current input statement.
8.8创建数据库repeater并初始化数据库数据
/jvm-sandbox-repeater/repeater-console/repeater-console-dal/src/main/resources/database.sql |
ysql -u root -p < database.sql 导入
初始化成功,应该会创建了 repeater 这个数据库,且包括下面四个表:
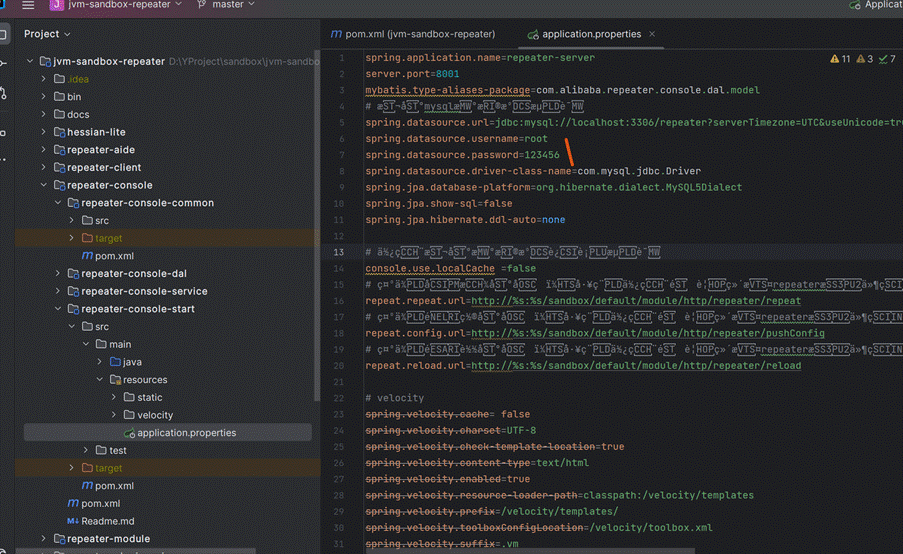
console 工程中MySQL 的数据库配置信息在源码中的位置
我现在设置了和源码一样的账号和密码,所以不需要修改配置文件的username 和password
9ubuntu启动服务
~/jvm_sandbox/jvm-sandbox-repeater/bin$ ./bootstrap.sh
10 按照github readme 测试
指令如下
curl -s 'http://127.0.0.1:8001/regress/slogan?Repeat-TraceId=127000000001156034386424510000ed'
