1.数据库表设计
1.商品属性表
use sunliving_commodity;

CREATE TABLE commodity_attr
(
    attr_id      BIGINT NOT NULL AUTO_INCREMENT COMMENT '属性 id',
    attr_name    CHAR(30) COMMENT '属性名',
    search_type  TINYINT COMMENT '是否需要检索[0-不需要,1-需要]',
    icon         VARCHAR(255) COMMENT '图标',
    value_select CHAR(255) COMMENT '可选值列表[用逗号分隔]',
    attr_type    TINYINT COMMENT '属性类型[0-销售属性,1-基本属性]',
    ENABLE       BIGINT COMMENT '启用状态[0 - 禁用,1 - 启用]',
    category_id  BIGINT COMMENT '所属分类',
    show_desc    TINYINT COMMENT '快速展示【是否展示在介绍上;0-否 1-是】',
    PRIMARY KEY (attr_id)
) CHARSET = utf8mb4 COMMENT ='商品属性表';

SELECT *
FROM `commodity_attr`
2.renren-generator生成CRUD
1.基本配置检查
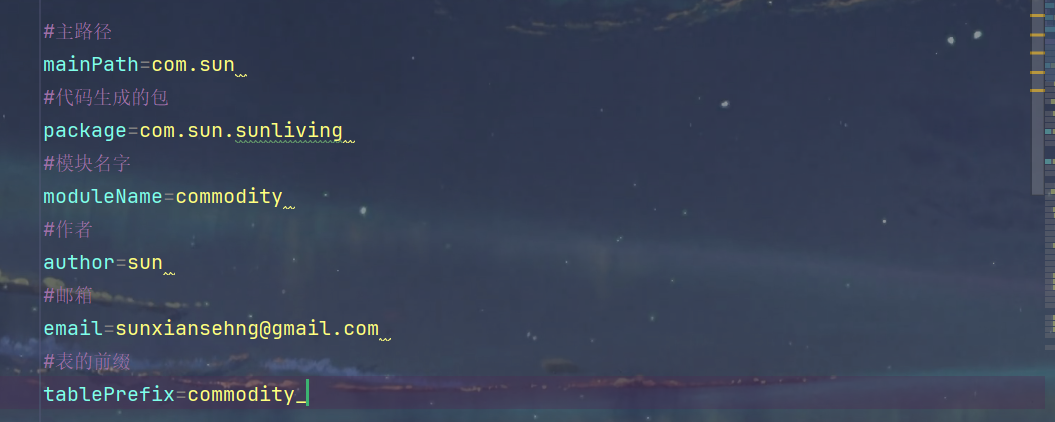
1.generator.properties
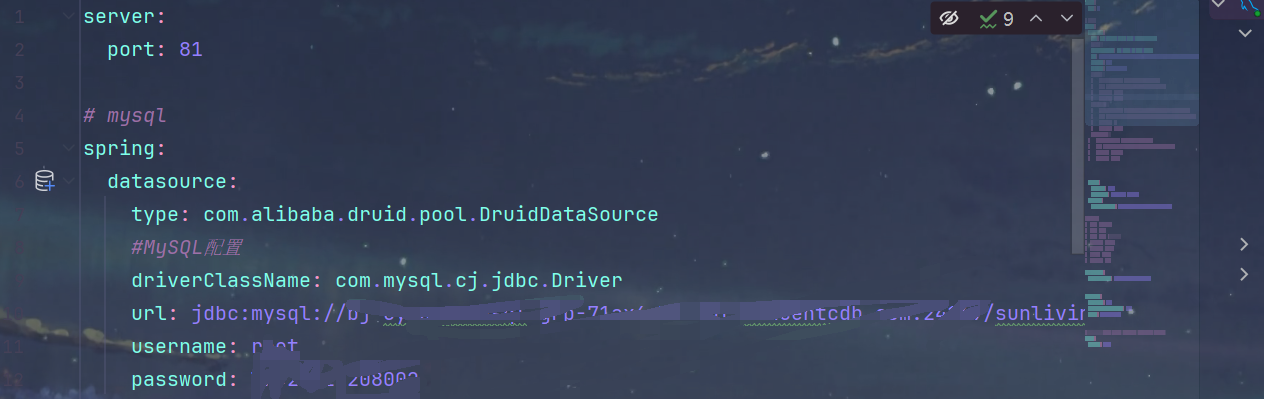
2.application.yml
2.启动RenrenGeneratorApplication.java生成CRUD
1.启动后访问localhost:81


2.生成商品属性表的crud

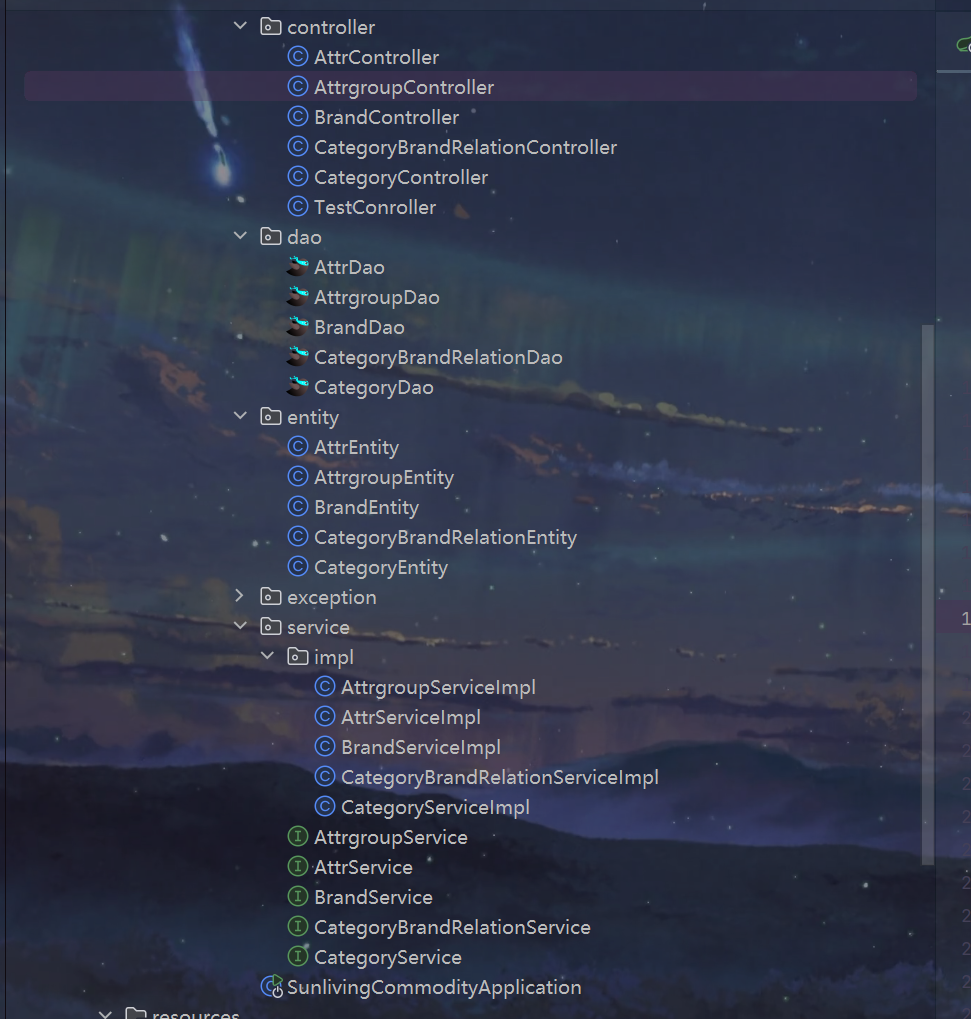
3.将crud代码集成到项目中
1.解压,找到main目录

2.将main目录替换为sunliving-commodity模块的main目录

4.检查代码
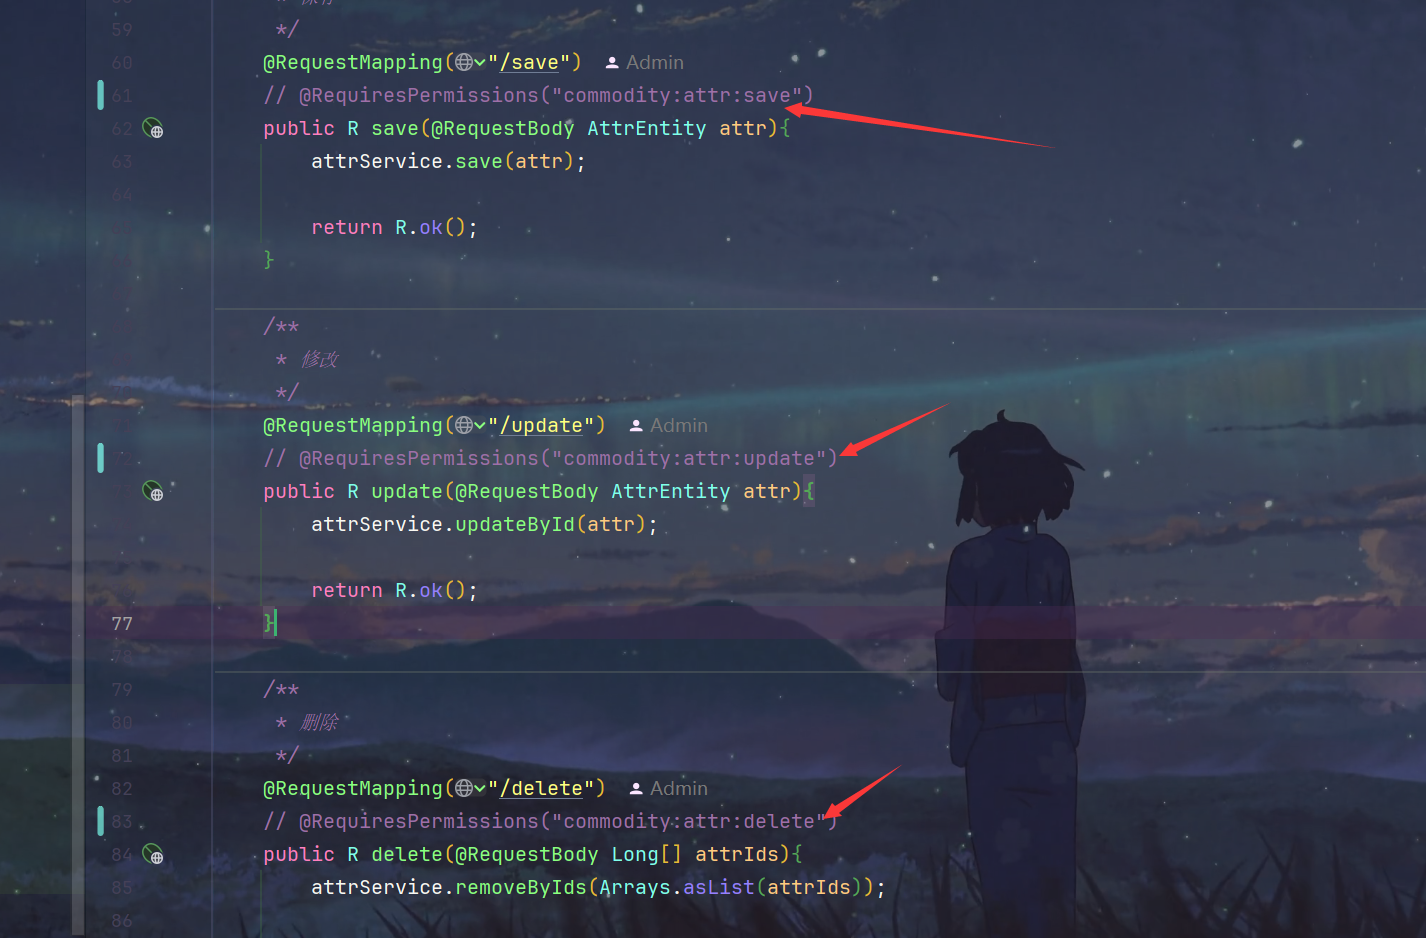
1.将AttrController.java的@RequiresPermissions注解注释掉
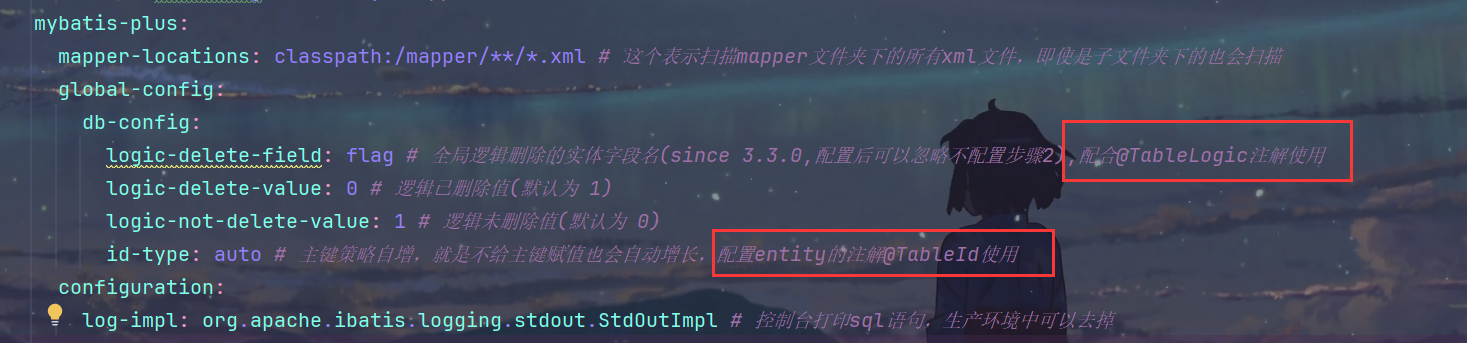
2.application.yml
3.AttrEntity.java

4.AttrDao.java

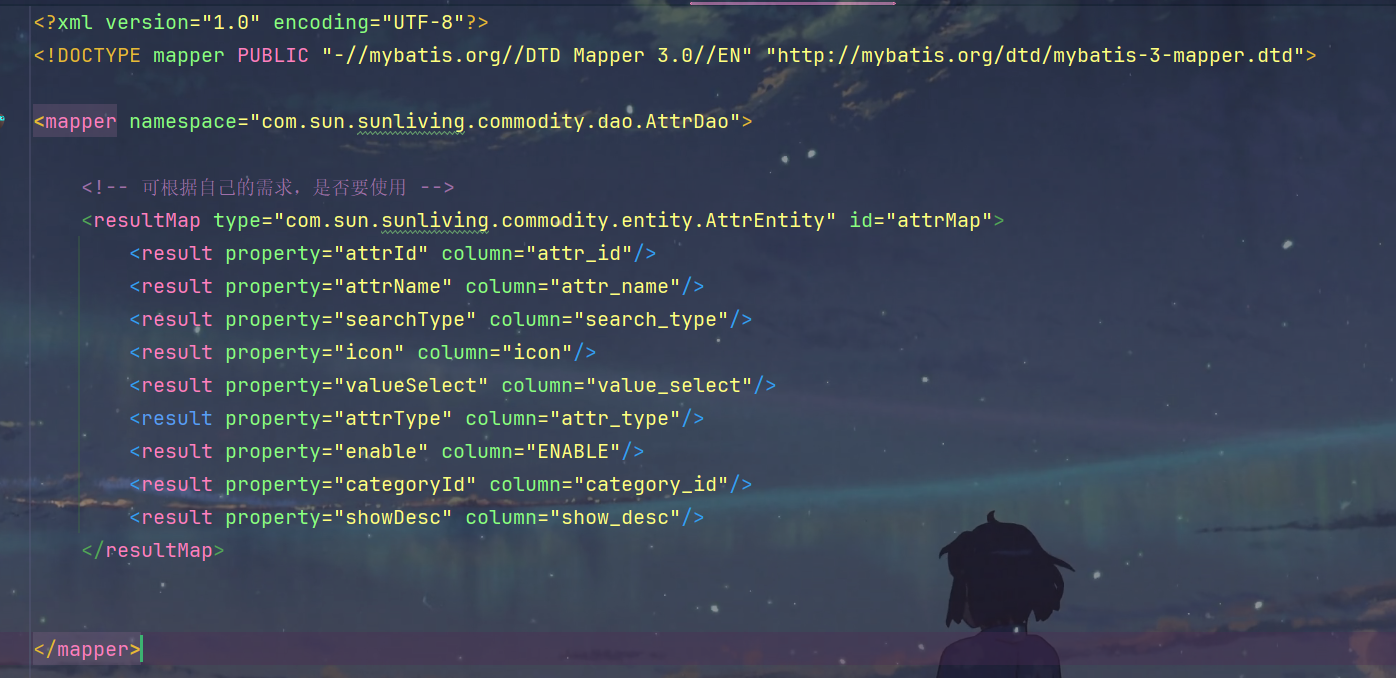
5.AttrDao.xml
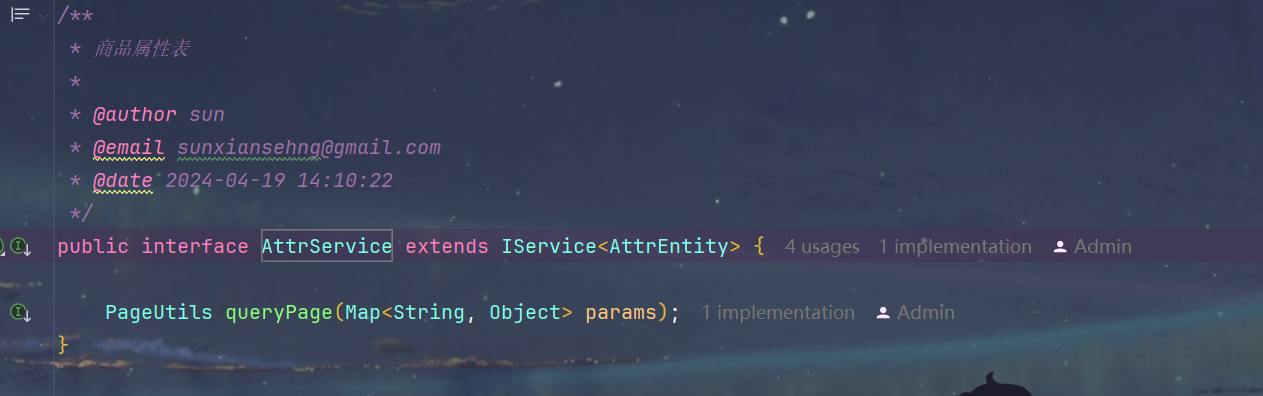
6.AttrService.java
7.AttrServiceImpl.java
- 注入容器,实现AttrService,继承ServiceImpl

8.AttrController.java

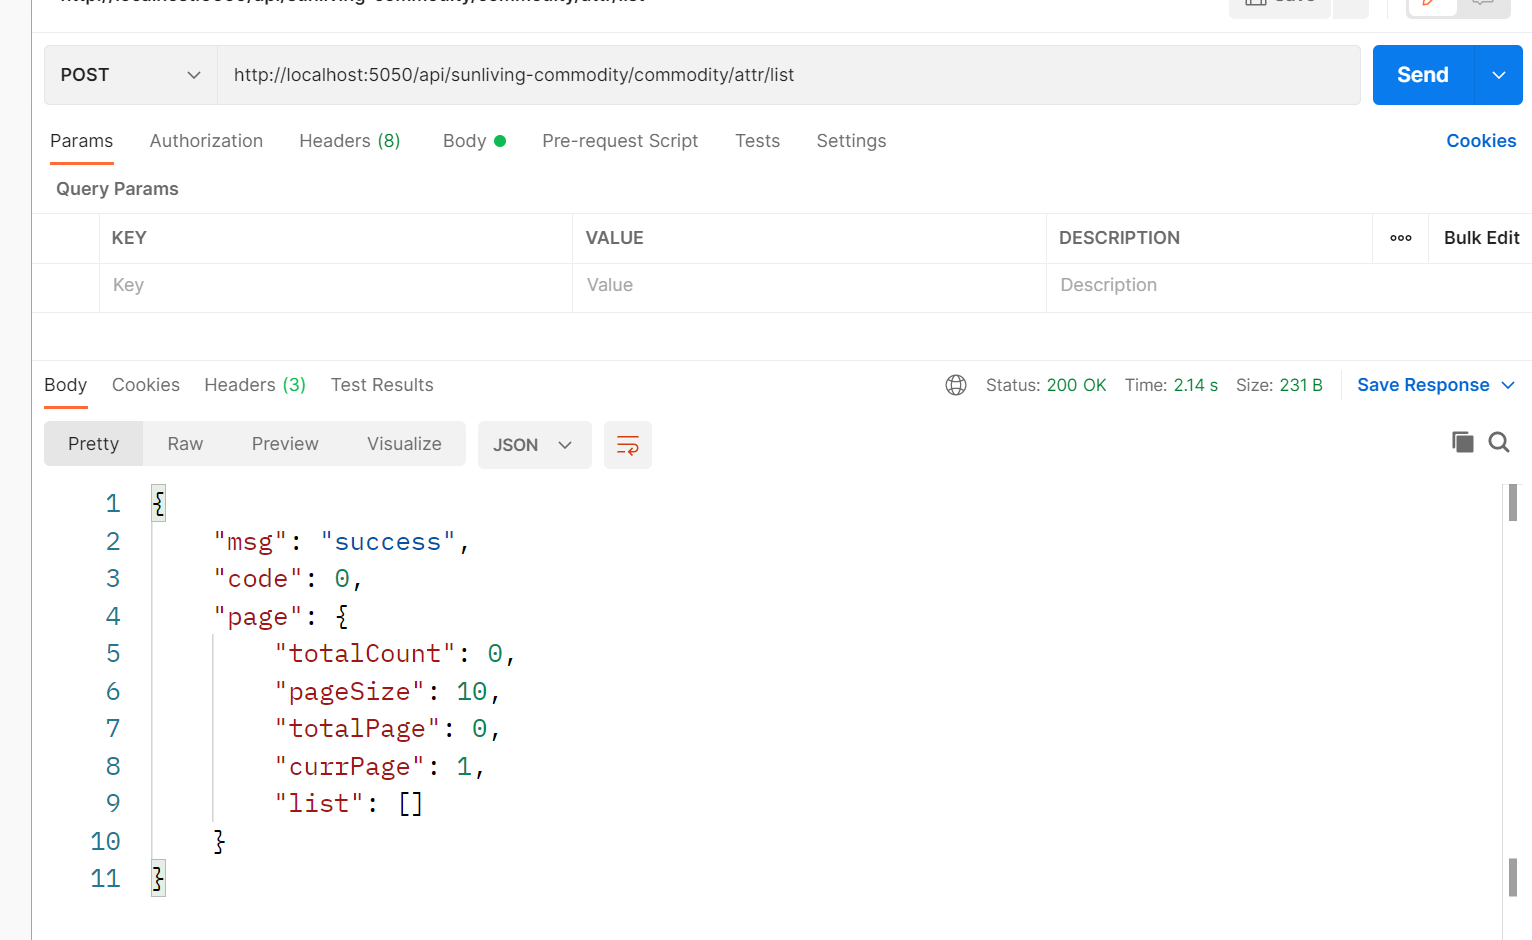
9.测试接口
1.http://localhost:5050/api/sunliving-commodity/commodity/attr/list
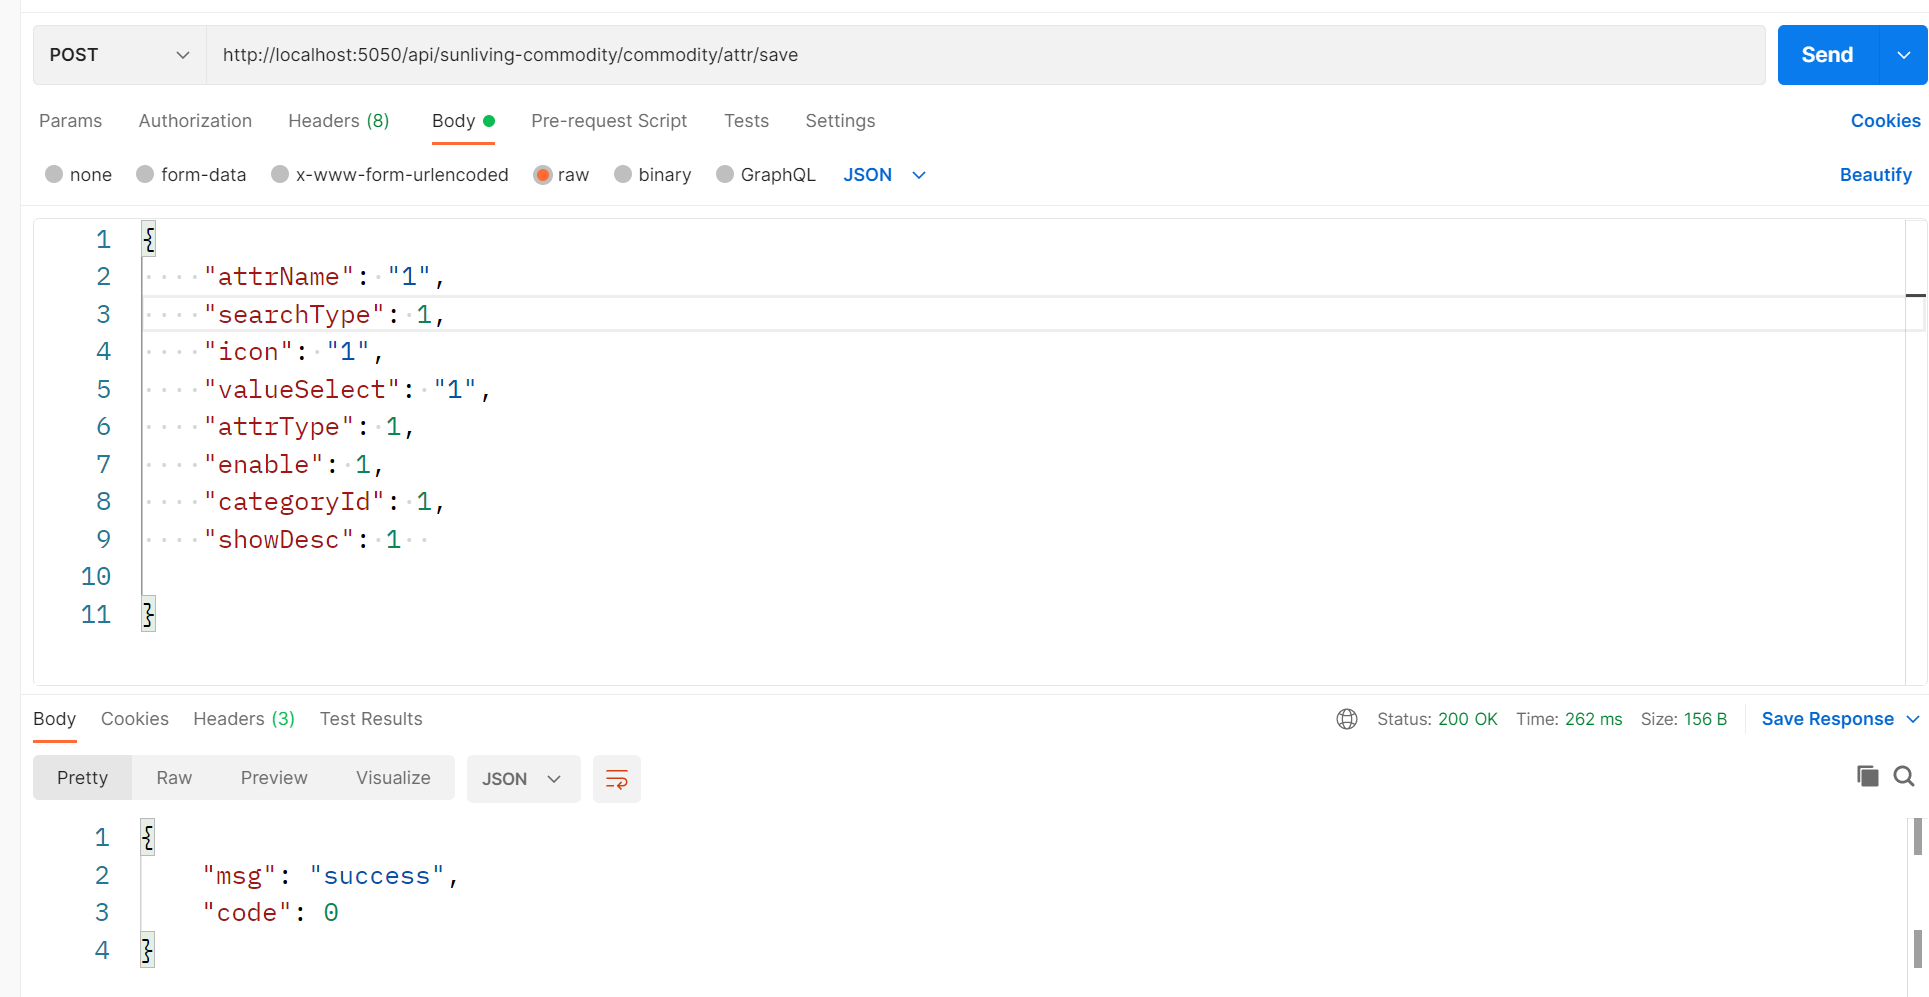
2.http://localhost:5050/api/sunliving-commodity/commodity/attr/save

5.显示基本界面
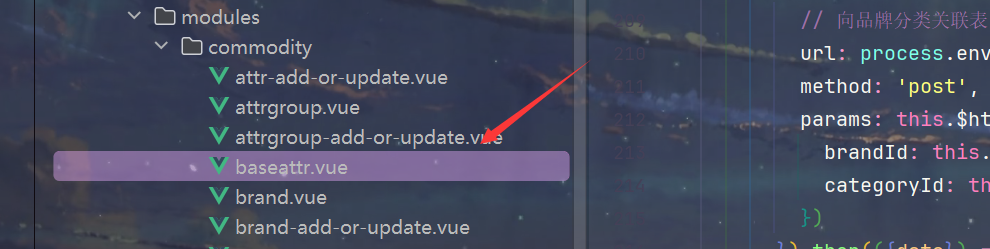
1.将代码生成器生成的两个前端页面复制到前端项目


2.修改attr.vue的名字为baseattr.vue因为后面还有一个销售属性的页面
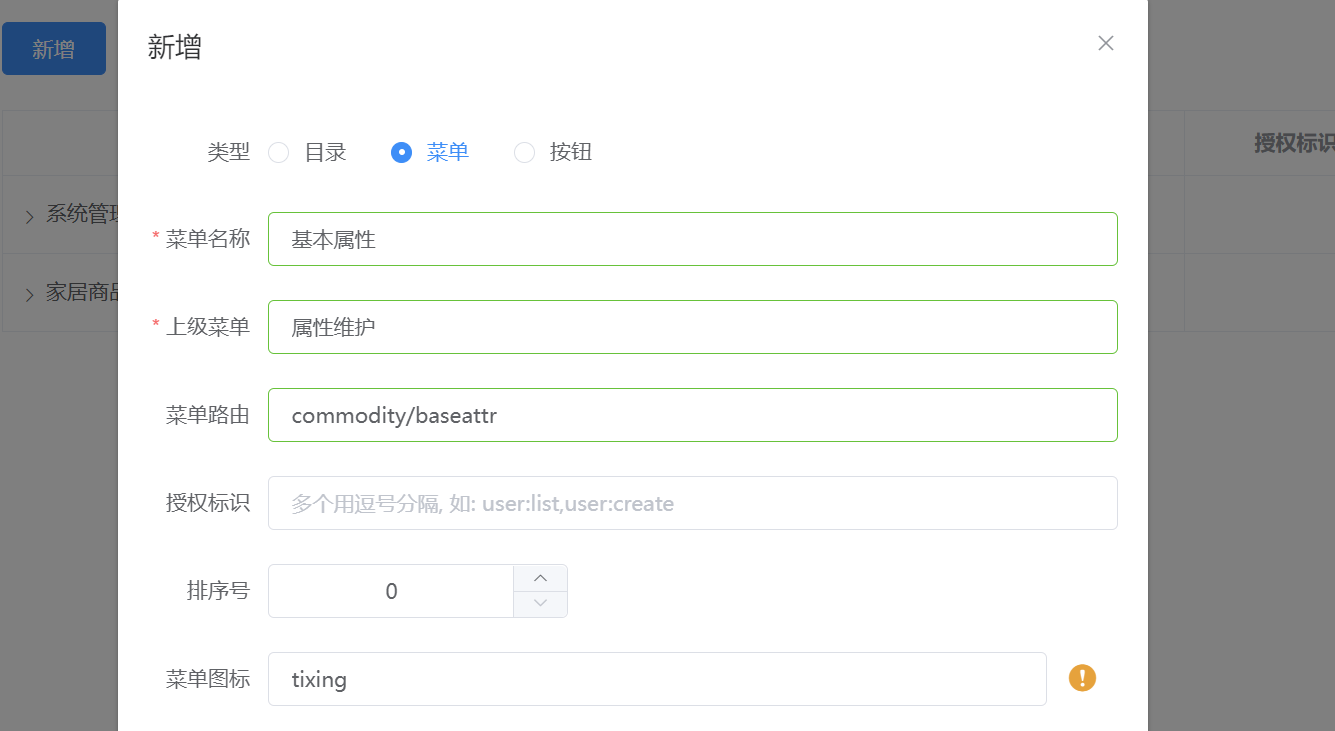
3.创建路由为 commodity/baseattr 的菜单
4.修改baseattr.vue的所有请求(2个)为 环境变量 + 资源路径 的方式(由于没有更换模块所以gateway和多环境不需区分)


5.修改 attr-add-or-update.vue(两个请求)


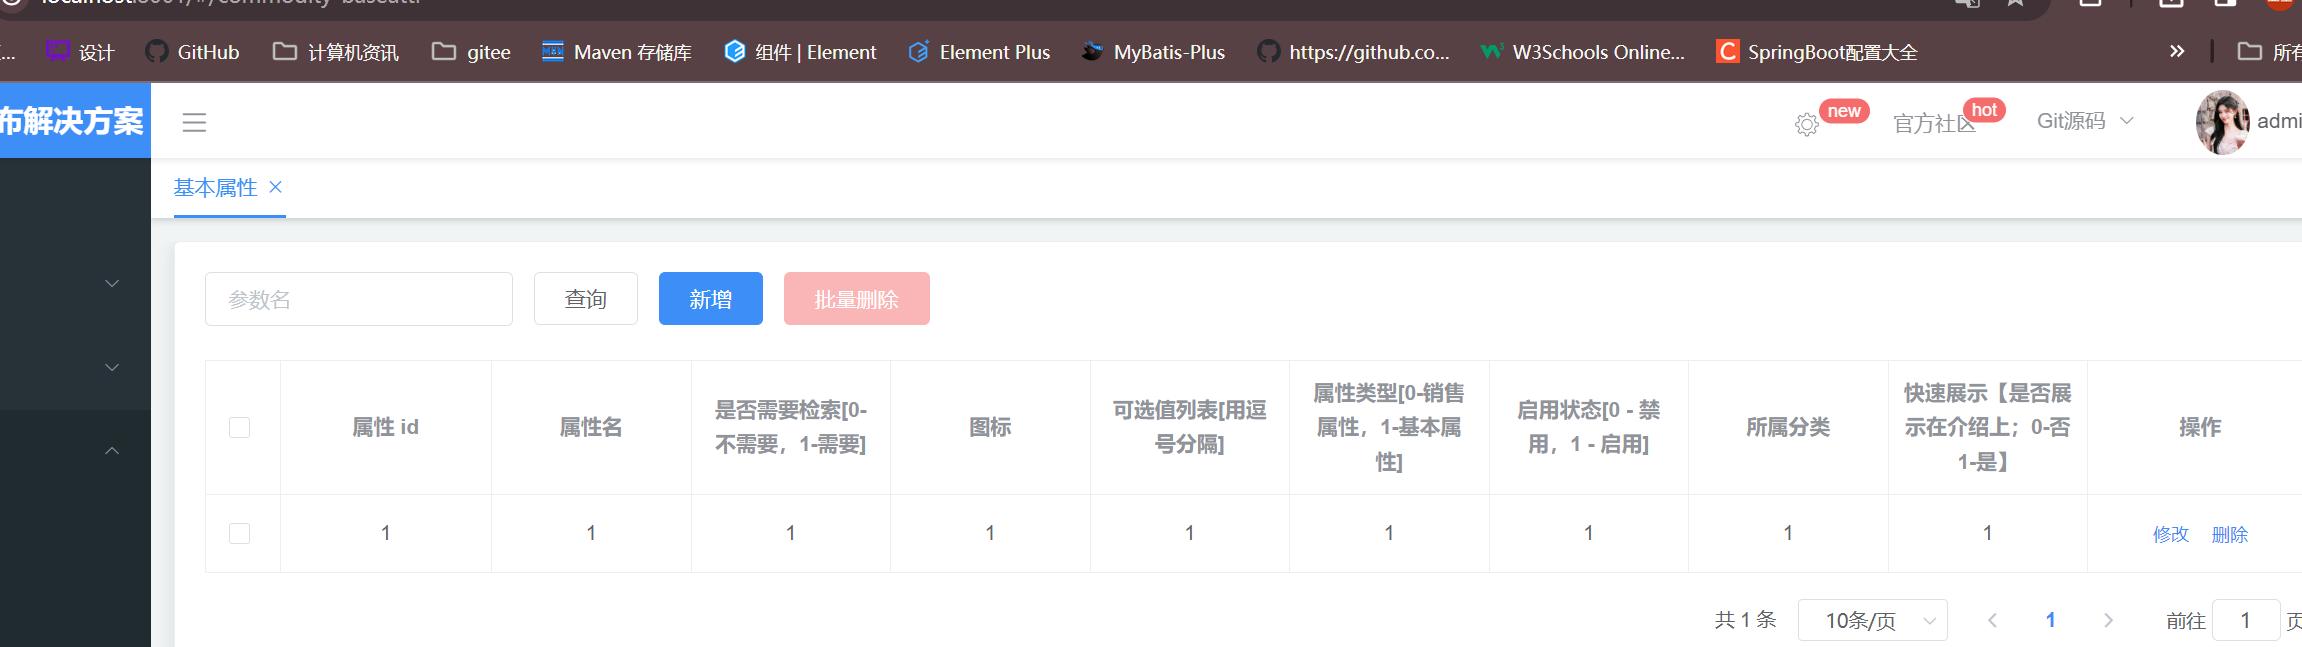
6.测试基本界面的crud,没问题
3.添加商品属性
1.基本页面搭建
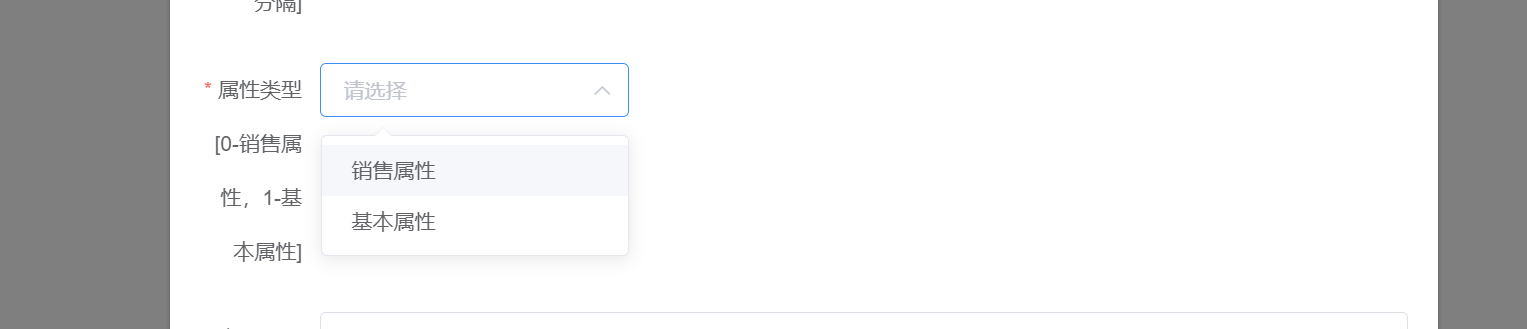
1.将属性类型改成下拉框
1.找到element-ui下拉框组件位置 https://element.eleme.cn/#/zh-CN/component/select#methods
2.修改后的el-form-item
- el-option的属性
- label表示显示的内容
- :value表示代表的值
- v-model="dataForm.attrType"表示绑定的是dataForm.attrType这个属性
    <el-form-item label="属性类型[0-销售属性,1-基本属性]" prop="attrType">
<!--      <el-input v-model="dataForm.attrType" placeholder="属性类型[0-销售属性,1-基本属性]"></el-input>-->
      <el-select v-model="dataForm.attrType" placeholder="请选择">
        <el-option
          label="销售属性"
          :value="0">
        </el-option>
        <el-option
          label="基本属性"
          :value="1">
        </el-option>
      </el-select>
    </el-form-item>
3.结果展示
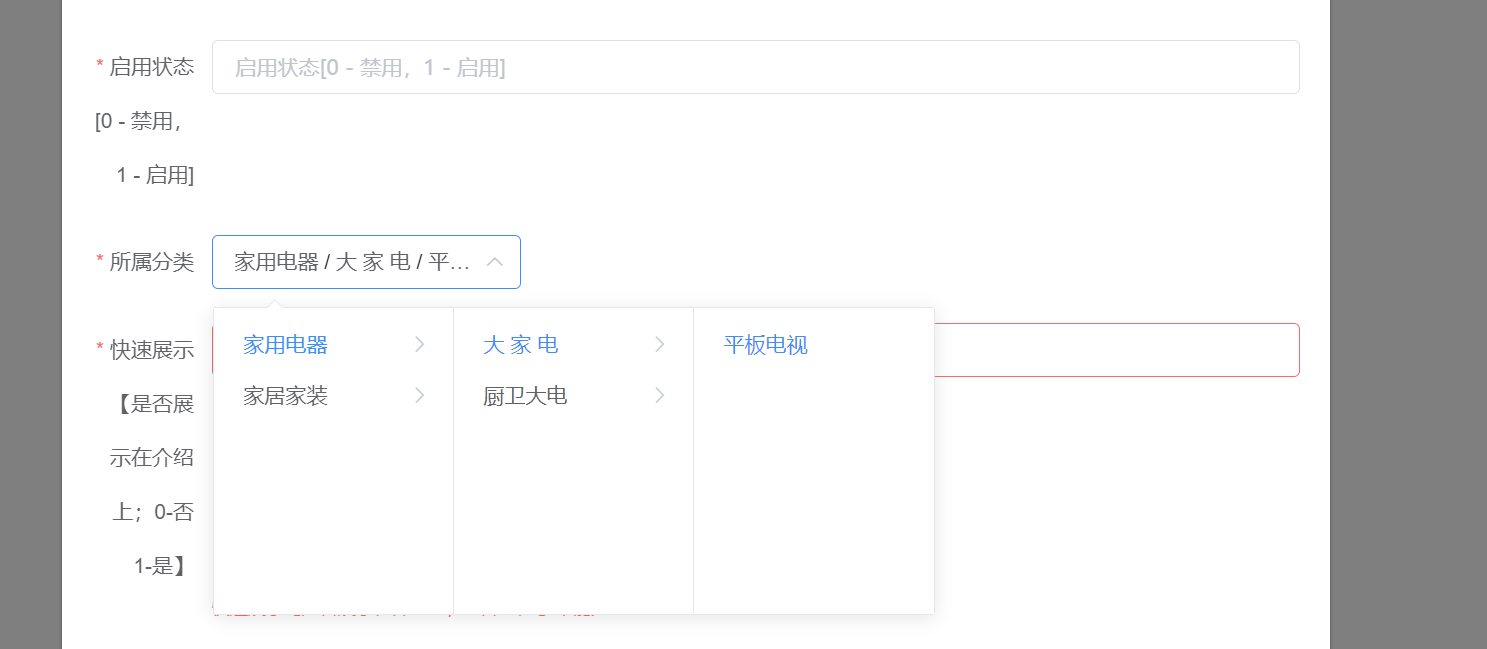
2.将所属分类改成级联菜单
1.修改后的el-form-item
    <el-form-item label="所属分类" prop="categoryId">
<!--      <el-input v-model="dataForm.categoryId" placeholder="所属分类"></el-input>-->
      <el-cascader
        filterable
        placeholder="请选择"
        v-model="cascadedCategoryId"
        :options="categories"
        :props="props"
      ></el-cascader>
    </el-form-item>
2.数据池
categories: [],
cascadedCategoryId: [],
props: {
value: 'id',
label: 'name',
children: 'childrenCategories',
expandTrigger: 'hover'
}
3.方法池
getCategories() {
this.$http({
url: process.env.COMMODITY_BASEPATH + '/commodity/category/list/tree',
method: 'get'
}).then(({data}) => {
console.log(data.data)
this.categories = data.data;
})
}
4.created调用
    created() {
      this.getCategories()
    }
5.结果展示
6.dataForm的categoryId默认值设置为0,用户如果不填的话就没有所在分组

4.销售属性与属性组的关联表
1.关联表设计
use sunliving_commodity;

CREATE TABLE commodity_attr_attrgroup_relation
(
    id            BIGINT NOT NULL AUTO_INCREMENT COMMENT 'id',
    attr_id       BIGINT COMMENT '属性 id',
    attr_group_id BIGINT COMMENT '属性分组 id',
    attr_sort     INT COMMENT '属性组内排序',
    PRIMARY KEY (id)
) CHARSET = utf8mb4 COMMENT ='商品属性和商品属性组的关联表';

SELECT *
FROM `commodity_attr_attrgroup_relation`
2.代码生成器生成crud
1.生成代码
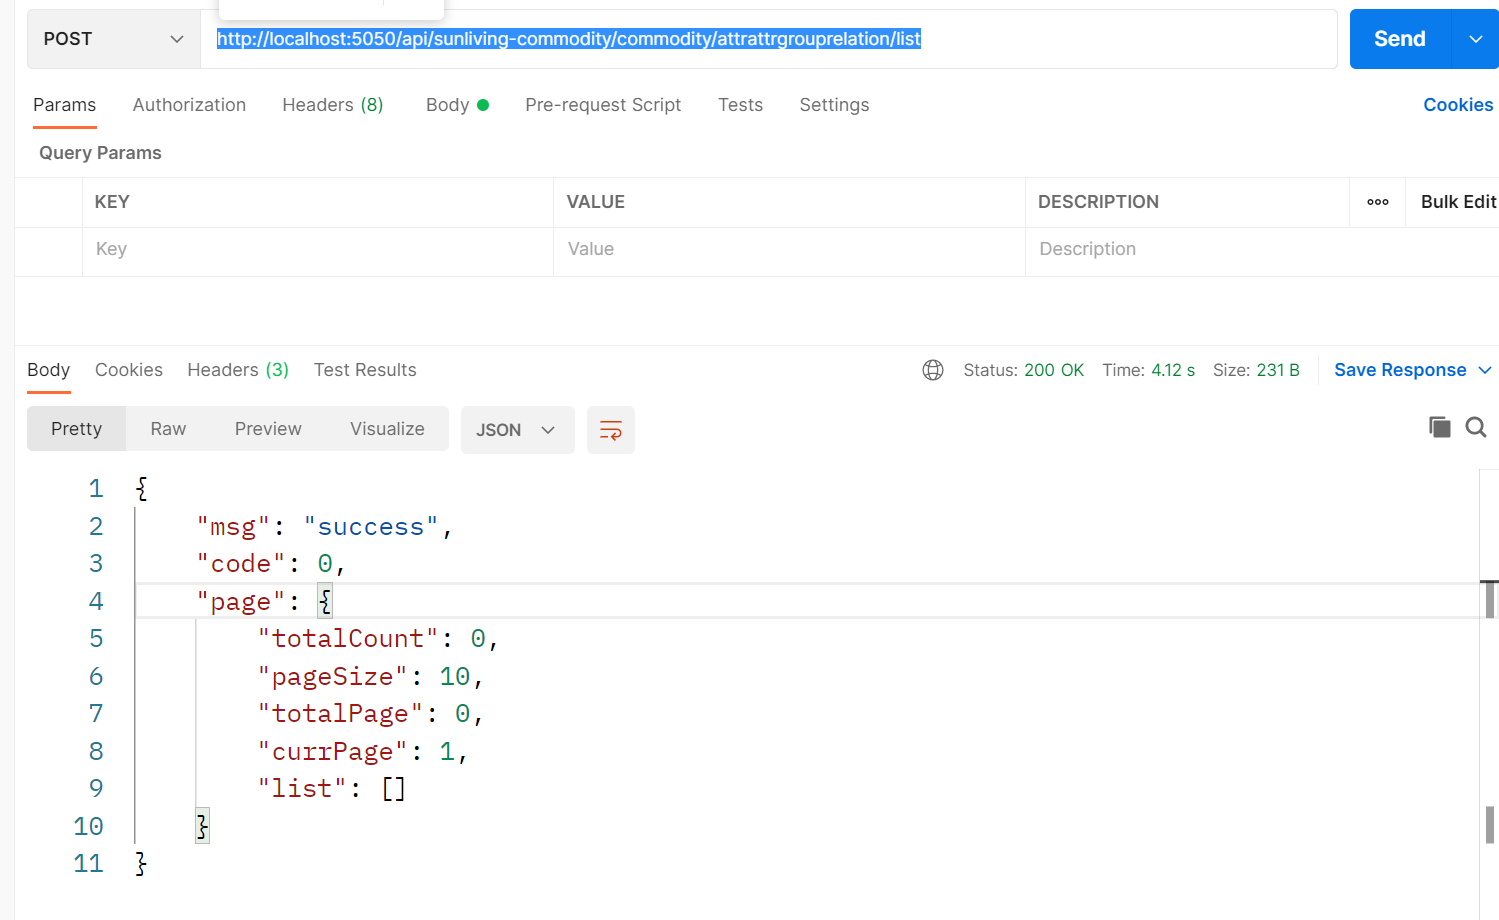
2.测试 http://localhost:5050/api/sunliving-commodity/commodity/attrattrgrouprelation/list
5.添加基本属性 attr-add-or-update.vue
1.选择所属分类,联动显示所属分组
1.所属分类下新增所属分组下拉框
      <el-form-item label="所属分组">
        <el-select ref="groupSelect" v-model="dataForm.attrGroupId" placeholder="请选择">
          <el-option
            v-for="item in attrGroups"
            :key="item.id"
            :label="item.name"
            :value="item.id">
          </el-option>
        </el-select>
      </el-form-item>
2.数据池新增attrGroups属性,表示属性组信息

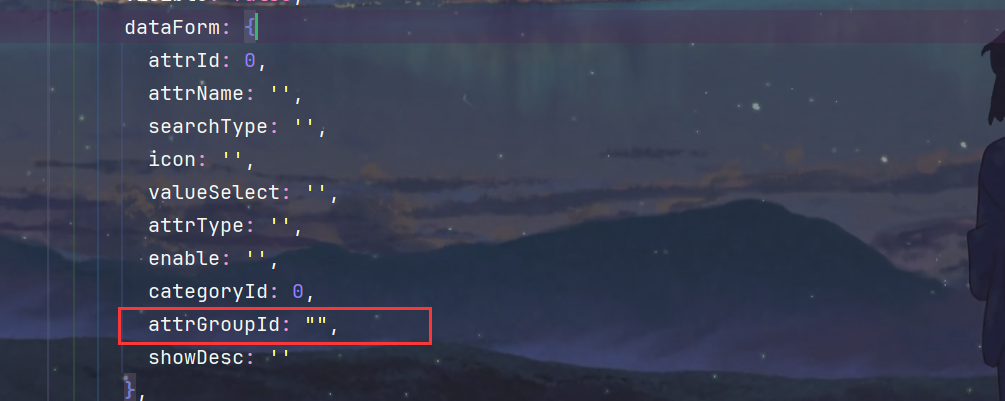
3.数据池的dataForm新增attrGroupId属性
4.方法池前面新增一个watch,监控所属分类的id,一旦变化就根据这个id向后端发送请求得到该所属分类的所有分组
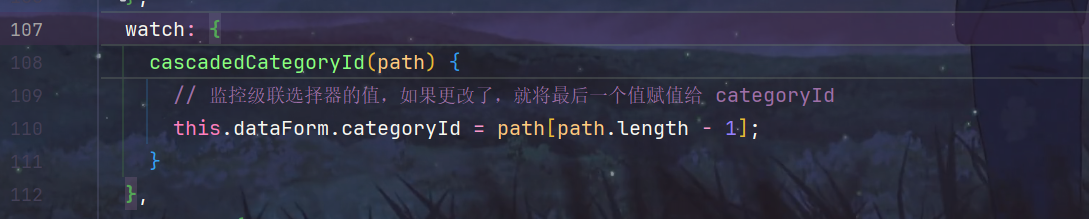
watch: {
cascadedCategoryId(path) {
this.attrGroups = [];
this.dataForm.attrGroupId = "";
this.dataForm.categoryId = path[path.length - 1];
if (path && path.length == 3) {
this.$http({
url: process.env.COMMODITY_BASEPATH + '/commodity/attrgroup/list/' + path[path.length - 1],
method: "get",
params: this.$http.adornParams({page: 1, limit: 10000000})
}).then(({data}) => {
console.log("data=", data.page.list)
if (data && data.code === 0) {
this.attrGroups = data.page.list;
} else {
this.$message.error(data.msg);
}
});
} else if (path.length == 0) {
this.dataForm.categoryId = "";
} else {
this.$message.error("请选择正确的分类");
this.dataForm.categoryId = "";
}
}
},
5.表单提交时新增属性分组属性

2.后端 sunliving-commodity 模块
1.AttrEntity.java新增attrGroupId属性

2.service层
1.AttrService.java 新增方法,保存基本属性以及与属性分组的关联关系
void saveAttrAndRelation(AttrEntity attr);
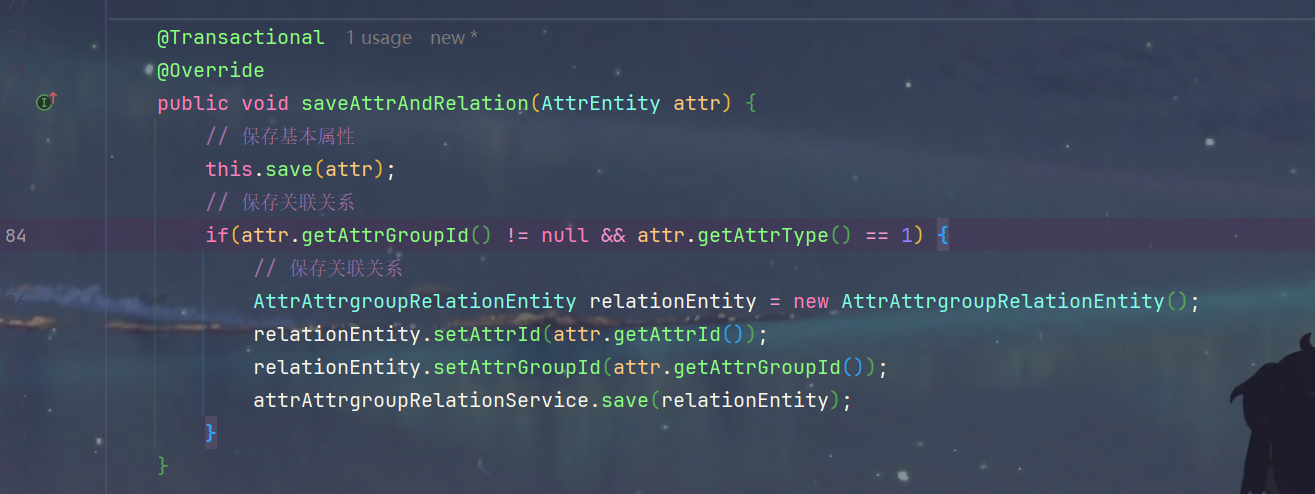
2.AttrServiceImpl.java 实现方法
@Transactional
@Override
public void saveAttrAndRelation(AttrEntity attr) {
this.save(attr);
if(attr.getAttrGroupId() != null && attr.getAttrType() == 1) {
AttrAttrgroupRelationEntity relationEntity = new AttrAttrgroupRelationEntity();
relationEntity.setAttrId(attr.getAttrId());
relationEntity.setAttrGroupId(attr.getAttrGroupId());
attrAttrgroupRelationService.save(relationEntity);
}
}
3.controller层
AttrController.java 修改save方法
@RequestMapping("/save")
public R save(@RequestBody AttrEntity attr){
attrService.saveAttrAndRelation(attr);
return R.ok();
}
4.结果展示
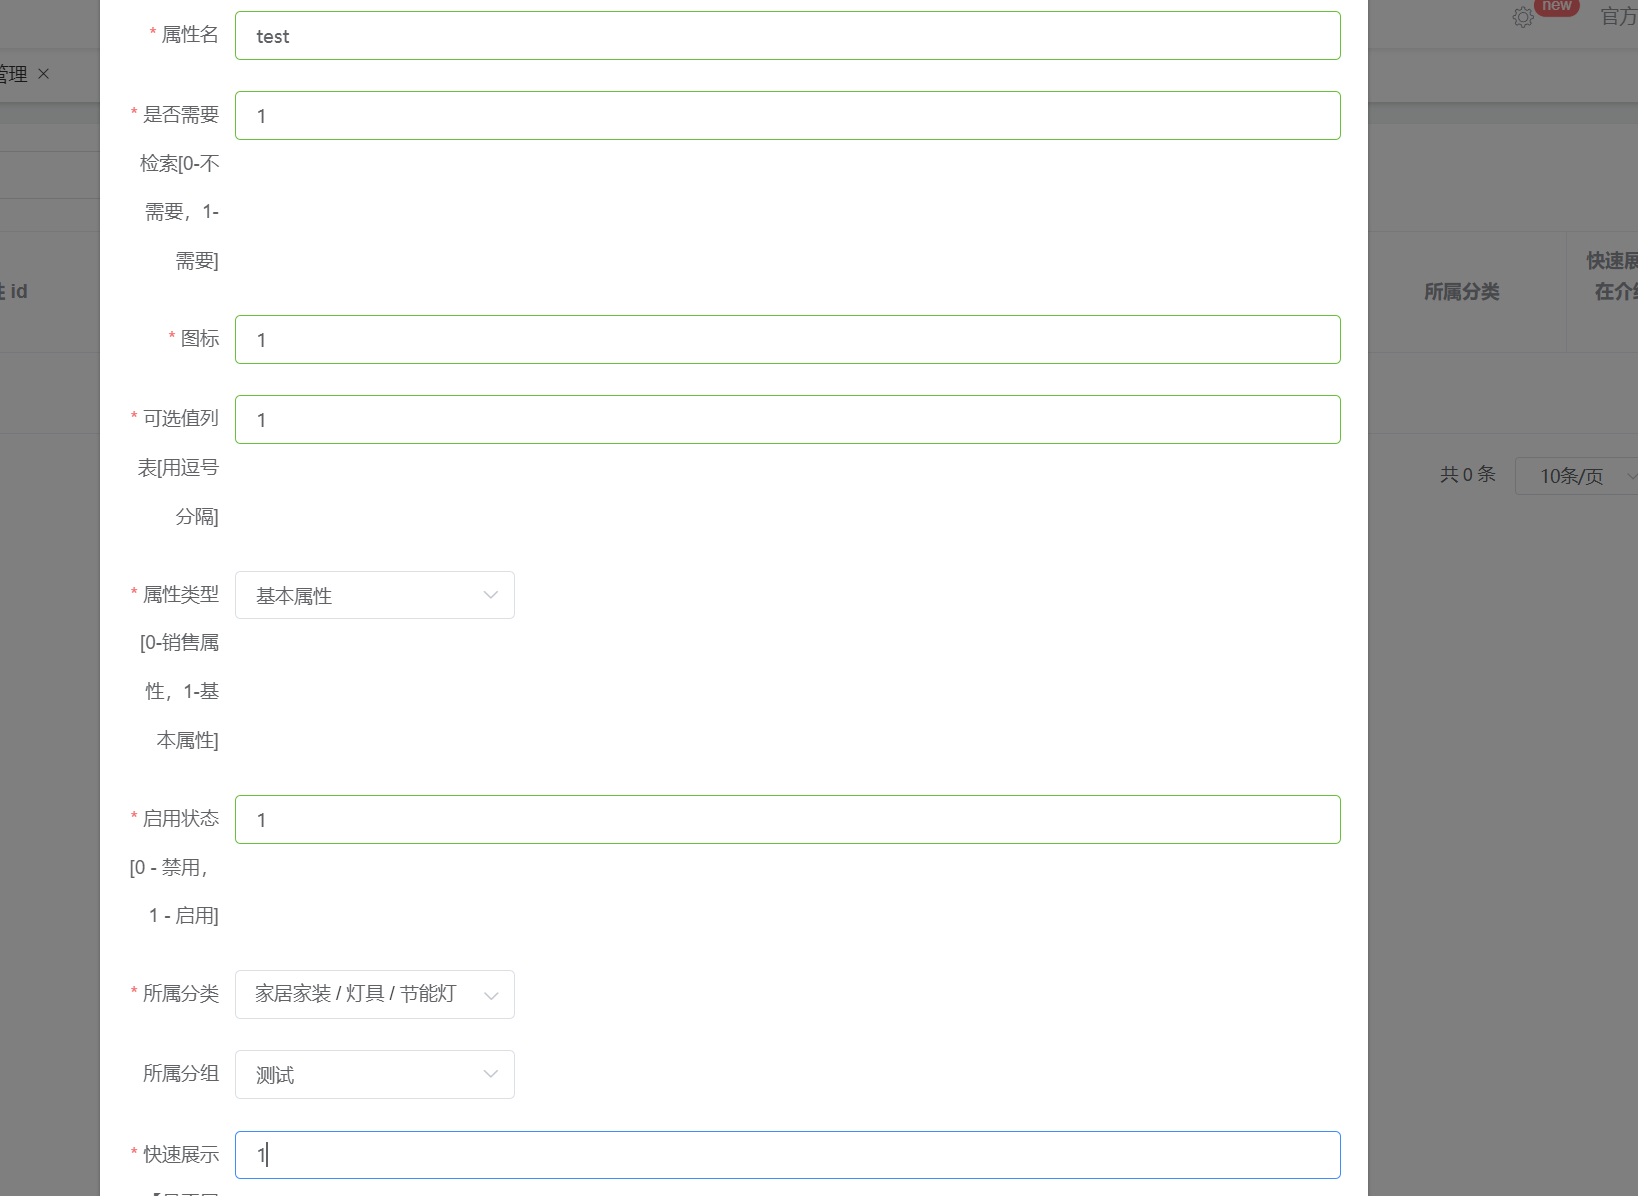
1.添加一个测试属性到节能灯的测试分组下

2.查看属性表

3.查看关联表

6.基本属性分页查询
1.后端
1.首先确保引入了分页插件
package com.sun.sunliving.commodity.config;
import com.baomidou.mybatisplus.extension.plugins.PaginationInterceptor;
import org.mybatis.spring.annotation.MapperScan;
import org.springframework.context.annotation.Bean;
import org.springframework.context.annotation.Configuration;
import org.springframework.transaction.annotation.EnableTransactionManagement;
@Configuration
@EnableTransactionManagement
@MapperScan("com.sun.sunliving.commodity.dao")
public class MyBatisConfig {
@Bean
public PaginationInterceptor paginationInterceptor() {
PaginationInterceptor paginationInterceptor = new PaginationInterceptor();
paginationInterceptor.setOverflow(true);
paginationInterceptor.setLimit(100);
return paginationInterceptor;
}
}
2.service层
1.AttrService.java
PageUtils queryPage(Map<String, Object> params);
2.AttrServiceImpl.java 根据参数中的params的key构造查询条件为id等于key或者name like key
@Override
public PageUtils queryPage(Map<String, Object> params) {
String key = (String) params.get("key");
QueryWrapper<AttrEntity> attrEntityQueryWrapper = new QueryWrapper<>();
attrEntityQueryWrapper.eq("attr_type", 1);
if(StringUtils.isNotBlank(key)) {
attrEntityQueryWrapper.and(wrapper -> {
wrapper.eq("attr_id", key).or().like("attr_name", key);
});
}
IPage<AttrEntity> page = this.page(
new Query<AttrEntity>().getPage(params),
attrEntityQueryWrapper
);
return new PageUtils(page);
}
3.AttrController.java
@RequestMapping("/list")
public R list(@RequestParam Map<String, Object> params){
PageUtils page = attrService.queryPage(params);
return R.ok().put("page", page);
}
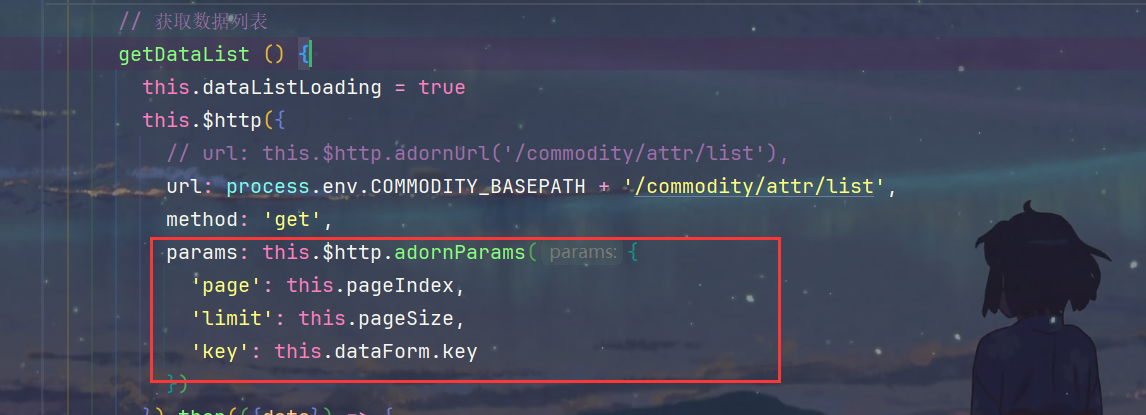
2.前端
只需要注意脚手架请求携带的参数即可,key为输入框的内容
3.结果展示
1.根据id查询
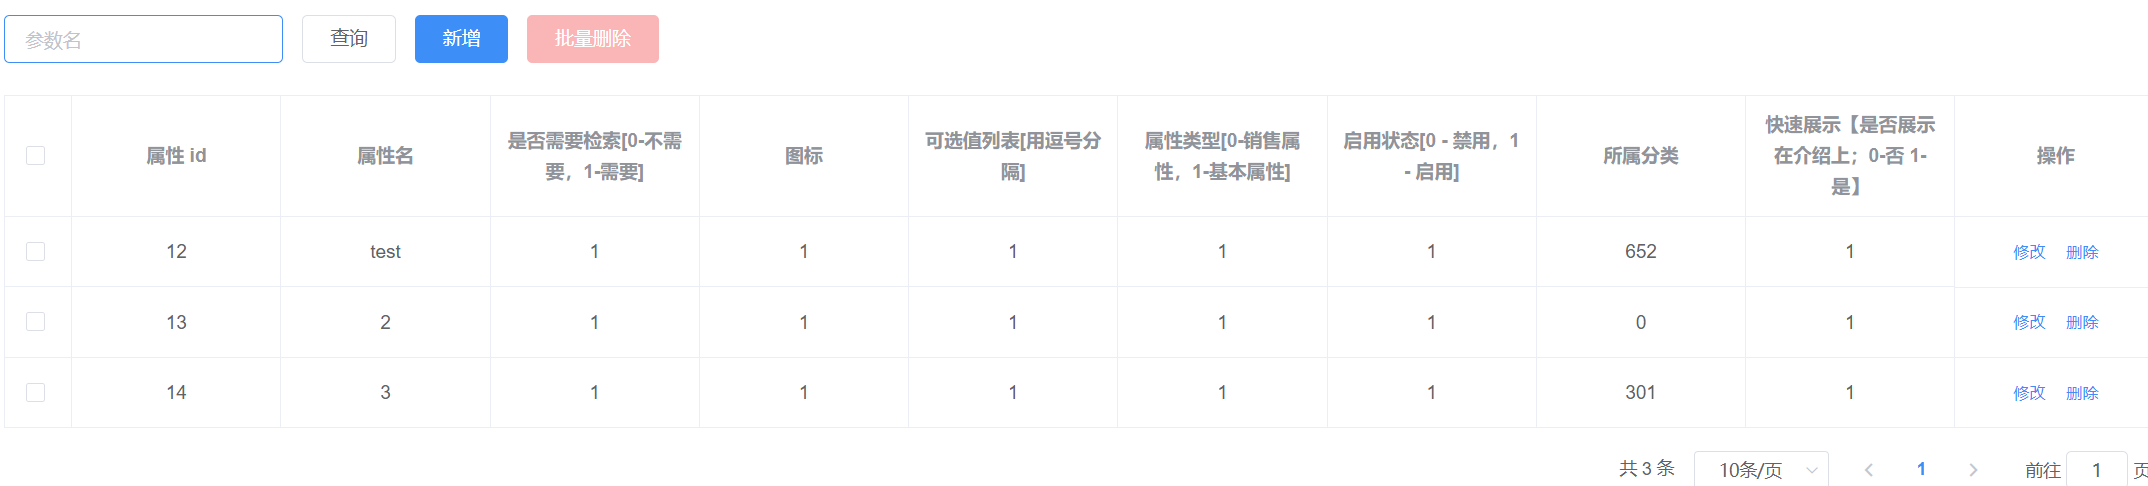

2.根据属性名查询

7.完成销售属性的维护
1.后端初始化
1.分页查询
1.AttrService.java 新增方法
PageUtils queryPageOnSale(Map<String, Object> params);
2.AttrServiceImpl.java 实现方法,修改一下attr_type为0 即可
@Override
public PageUtils queryPageOnSale(Map<String, Object> params) {
String key = (String) params.get("key");
QueryWrapper<AttrEntity> attrEntityQueryWrapper = new QueryWrapper<>();
attrEntityQueryWrapper.eq("attr_type", 0);
if(StringUtils.isNotBlank(key)) {
attrEntityQueryWrapper.and(wrapper -> {
wrapper.eq("attr_id", key).or().like("attr_name", key);
});
}
IPage<AttrEntity> page = this.page(
new Query<AttrEntity>().getPage(params),
attrEntityQueryWrapper
);
return new PageUtils(page);
}
3.AttrController.java 新增方法
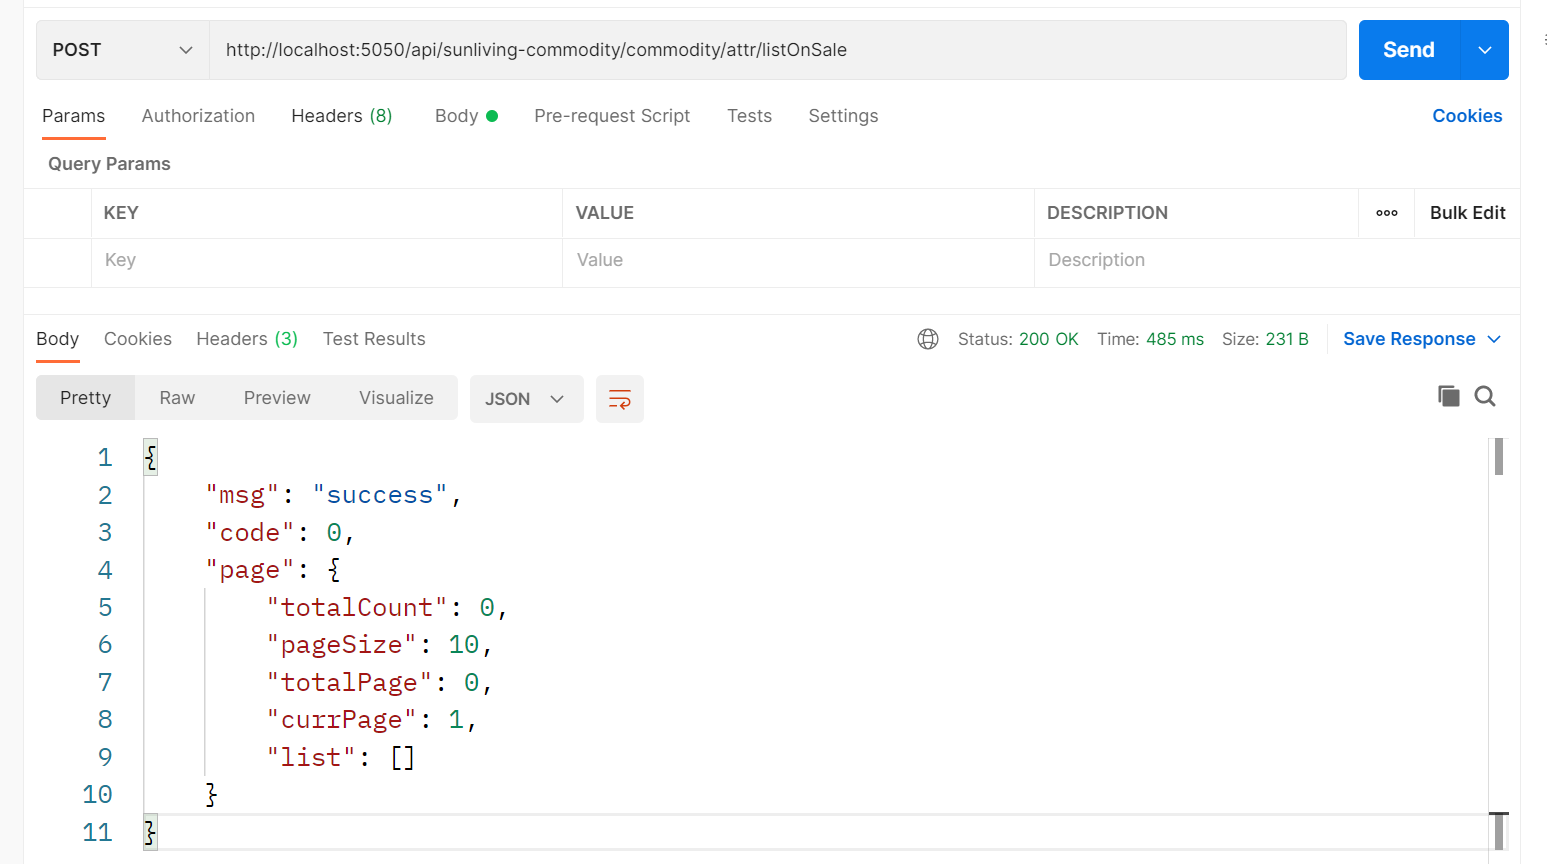
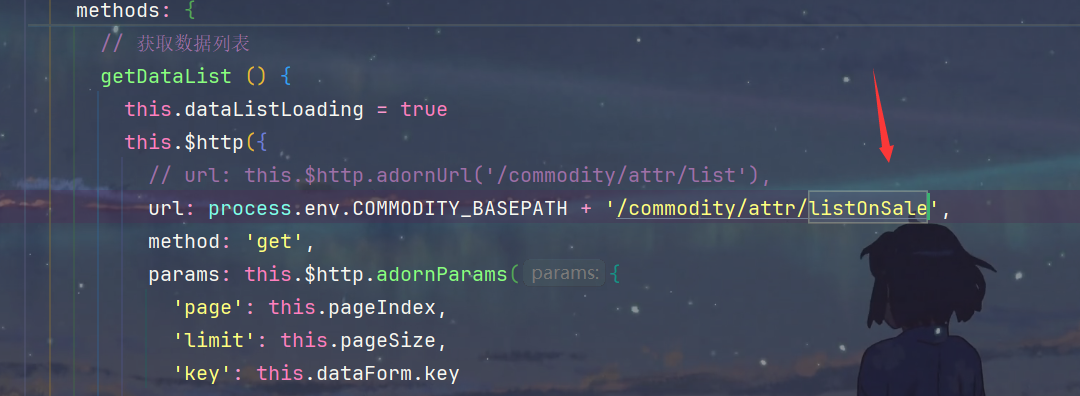
@RequestMapping("/listOnSale")
public R listOnSale(@RequestParam Map<String, Object> params){
PageUtils page = attrService.queryPageOnSale(params);
return R.ok().put("page", page);
}
4.重启测试
2.前端初始化
1.接入页面
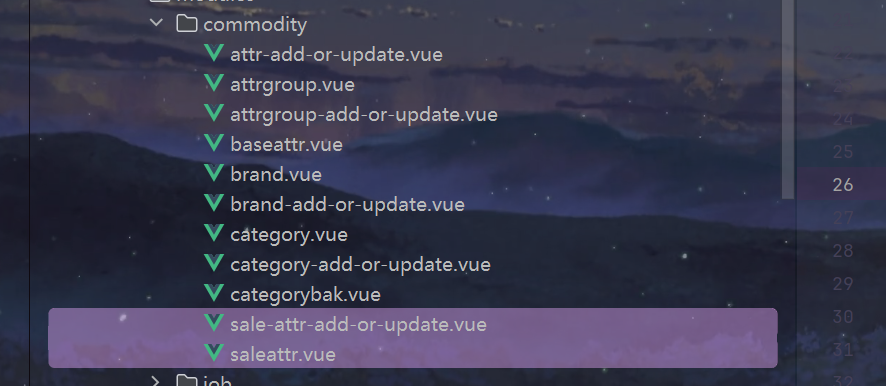
1.粘贴一份baseattr.vue和attr-add-or-update.vue并修改名字
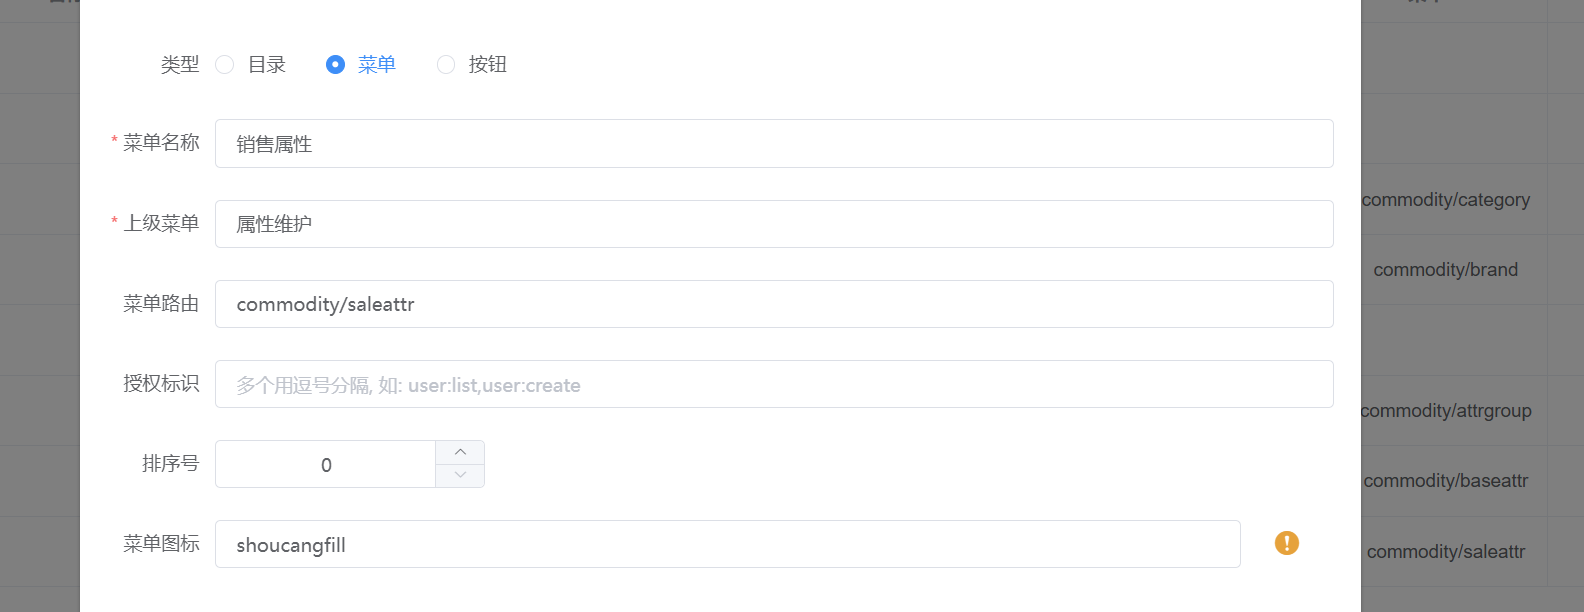
2.创建菜单
3.修改导入的组件为 sale-attr-add-or-update

4.修改分页查询的请求为listOnSale
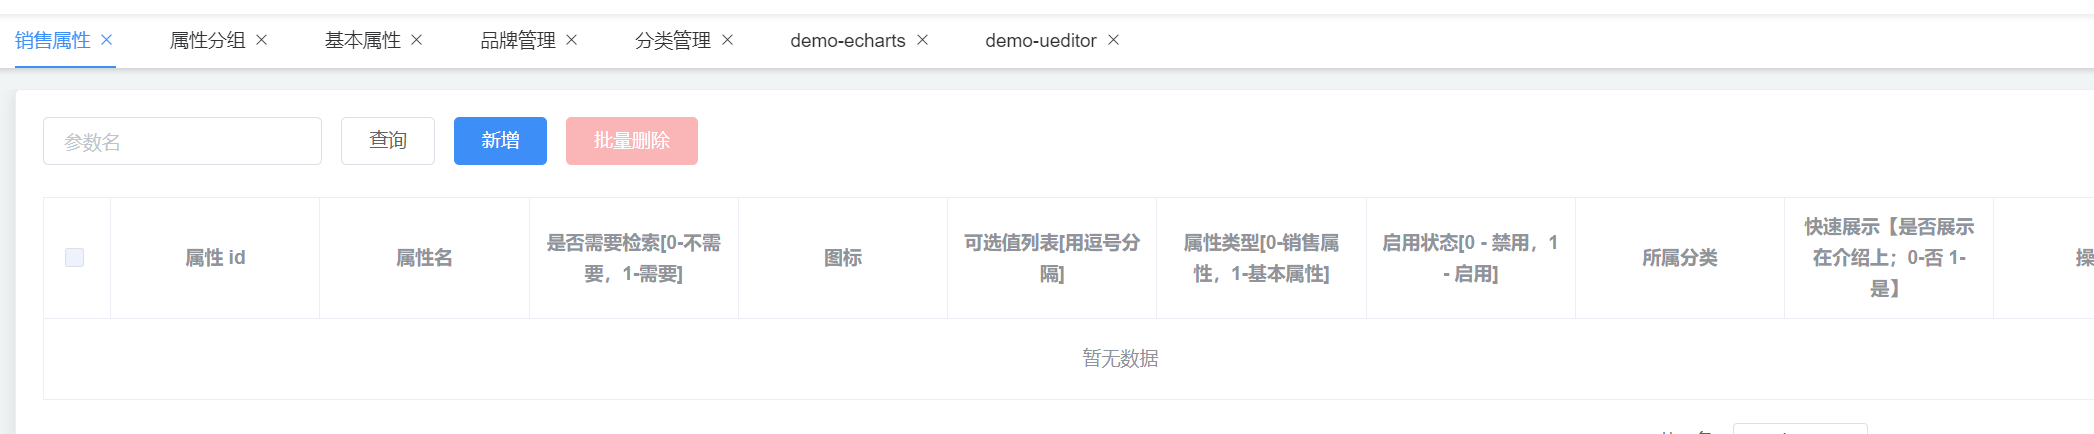
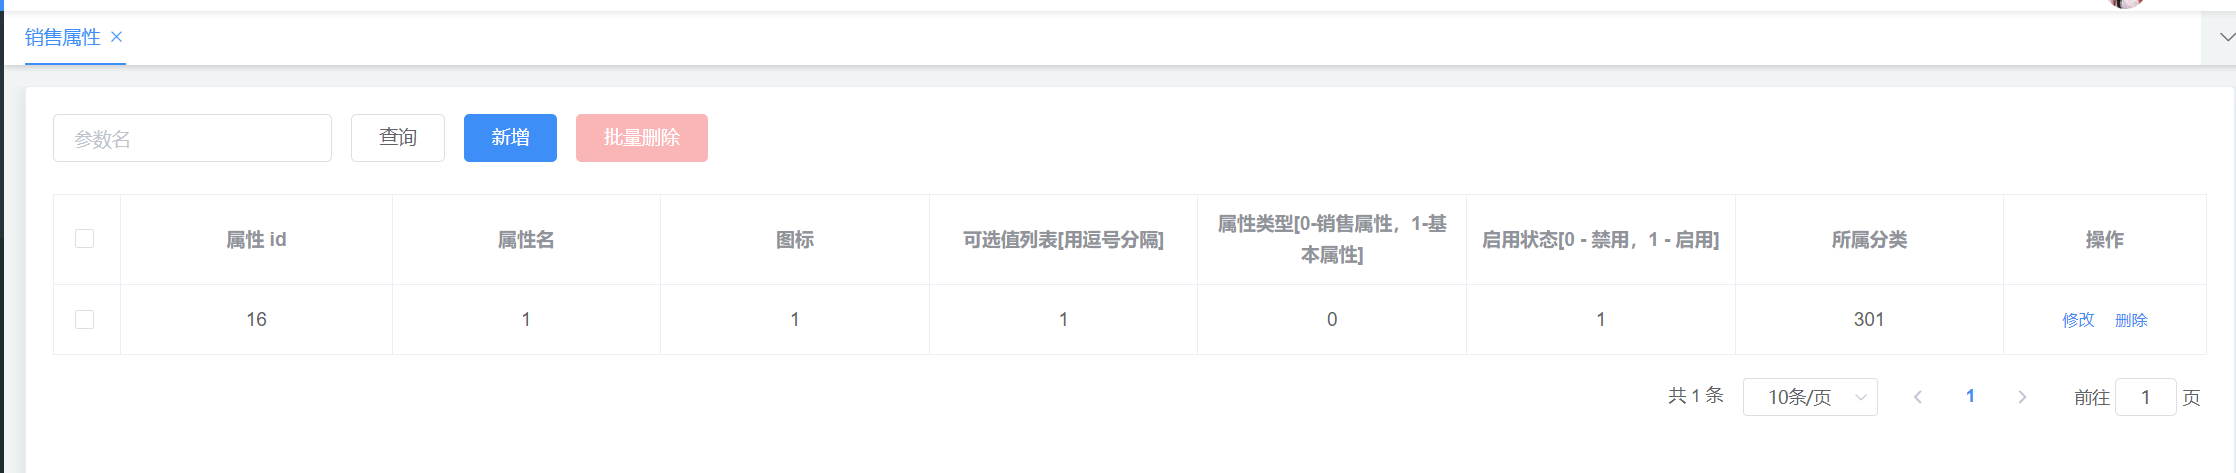
5.此时应该无数据
3.销售属性添加
1.修改sale-attr-add-or-update.vue的对话框
  <el-dialog
    :title="!dataForm.attrId ? '新增' : '修改'"
    :close-on-click-modal="false"
    :visible.sync="visible">
    <el-form :model="dataForm" :rules="dataRule" ref="dataForm" @keyup.enter.native="dataFormSubmit()"
             label-width="80px">
      <el-form-item label="属性名" prop="attrName">
        <el-input v-model="dataForm.attrName" placeholder="属性名"></el-input>
      </el-form-item>
      <el-form-item label="图标" prop="icon">
        <el-input v-model="dataForm.icon" placeholder="图标"></el-input>
      </el-form-item>
      <el-form-item label="可选值列表[用逗号分隔]" prop="valueSelect">
        <el-input v-model="dataForm.valueSelect" placeholder="可选值列表[用逗号分隔]"></el-input>
      </el-form-item>
      <el-form-item label="属性类型[0-销售属性,1-基本属性]" prop="attrType">
        <!--      <el-input v-model="dataForm.attrType" placeholder="属性类型[0-销售属性,1-基本属性]"></el-input>-->
        <el-select v-model="dataForm.attrType" placeholder="请选择">
          <el-option
            label="销售属性"
            :value="0">
          </el-option>
          <el-option
            label="基本属性"
            :value="1">
          </el-option>
        </el-select>
      </el-form-item>
      <el-form-item label="启用状态[0 - 禁用,1 - 启用]" prop="enable">
        <el-input v-model="dataForm.enable" placeholder="启用状态[0 - 禁用,1 - 启用]"></el-input>
      </el-form-item>
      <el-form-item label="所属分类" prop="categoryId">
        <el-cascader
          filterable
          placeholder="请选择"
          v-model="cascadedCategoryId"
          :options="categories"
          :props="props"
        ></el-cascader>
      </el-form-item>
    </el-form>
    <span slot="footer" class="dialog-footer">
      <el-button @click="visible = false">取消</el-button>
      <el-button type="primary" @click="dataFormSubmit()">确定</el-button>
    </span>
  </el-dialog>
2.修改watch监听,只保留一句
3.目前如果新增一条记录,将不会保存关联关系,只会保存传进去的基本属性

4.新增一条记录测试

5.修改saleattr.vue,删除几个不必要的表头
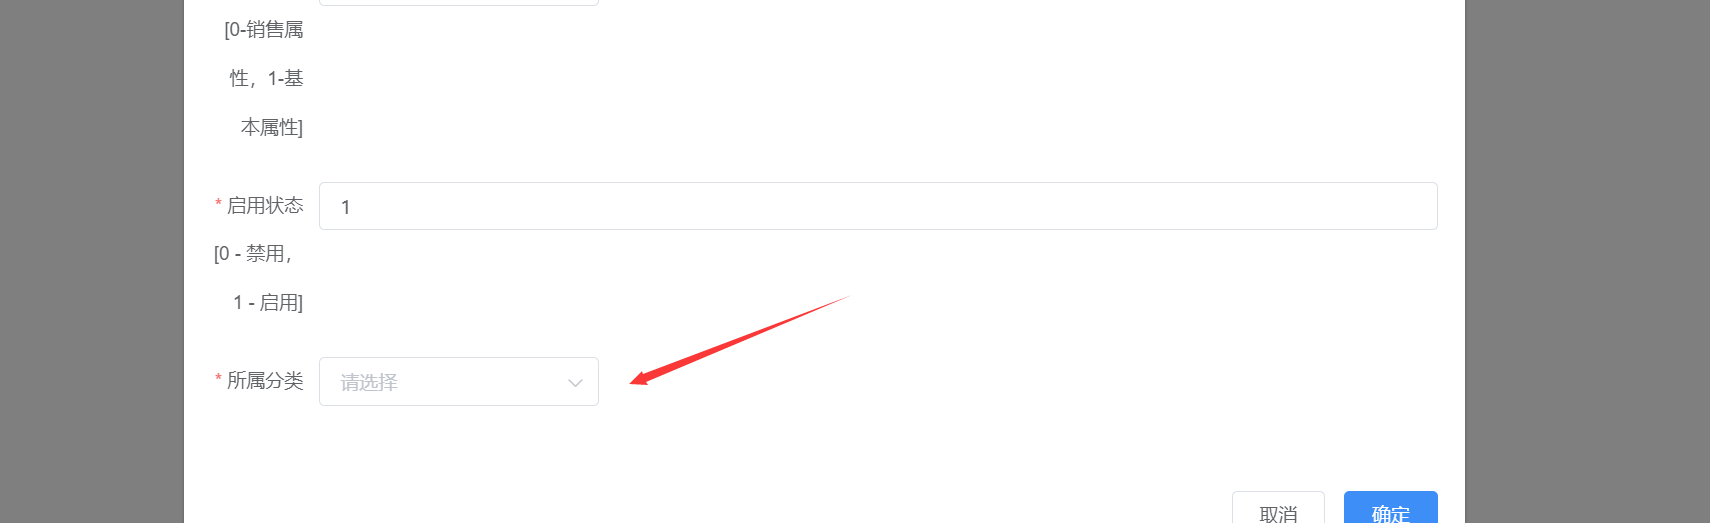
4.点击修改,所属分类不回显问题
1.问题引出
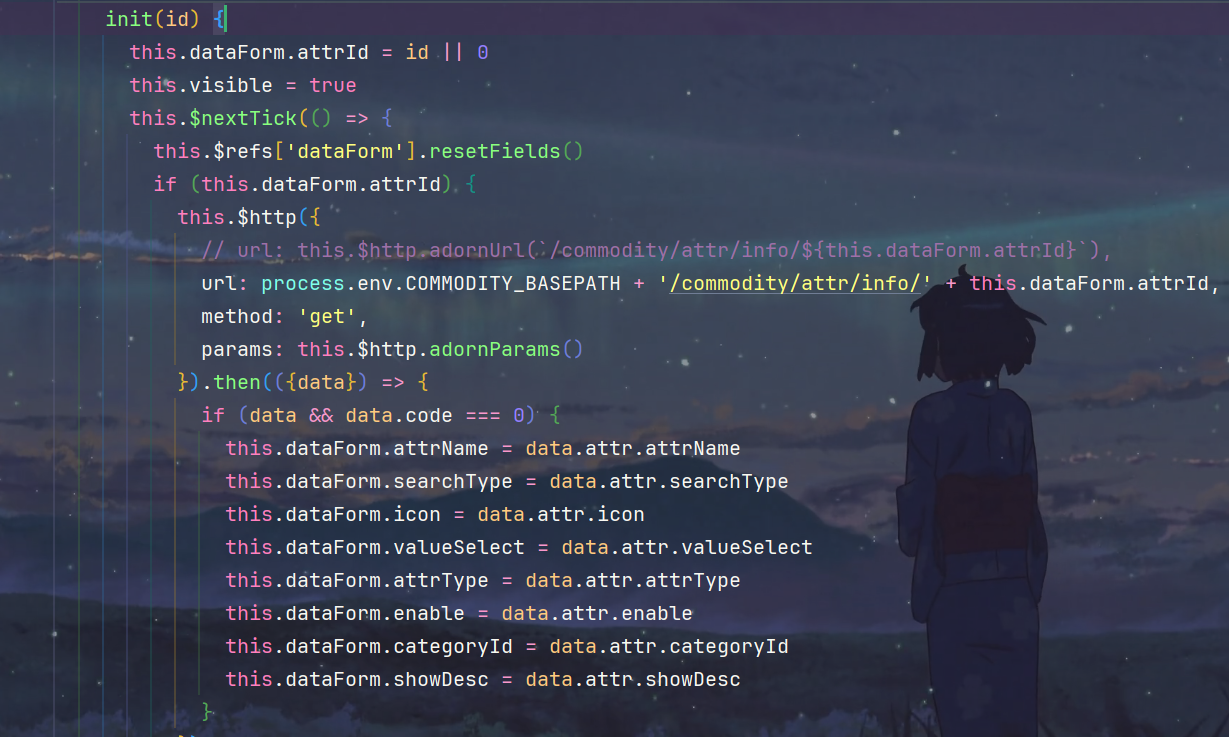
2.找到前端点击修改的逻辑进行分析
1.点击修改,跳转到这个init方法,并携带id
2.这个后端接口,根据id获取一条记录然后直接返回,但是如果要显示级联菜单则需要一个id列表

3.service层编写方法,根据所属分类id,找出所有父分类的id
1.AttrService.java
List<Long> getCascadedCategoryId(Long categoryId);
2.AttrServiceImpl.java
@Override
public List<Long> getCascadedCategoryId(Long categoryId) {
ArrayList<Long> res = new ArrayList<>();
CategoryEntity categoryEntity = categoryDao.selectById(categoryId);
while (categoryEntity != null) {
res.add(categoryEntity.getId());
categoryId = categoryEntity.getParentId();
categoryEntity = categoryDao.selectById(categoryId);
}
Collections.reverse(res);
return res;
}
4.AttrEntity.java新增一个级联菜单的id属性,用于controller返回数据

5.AttrController.java返回数据
@RequestMapping("/info/{attrId}")
public R info(@PathVariable("attrId") Long attrId){
AttrEntity attr = attrService.getById(attrId);
List<Long> cascadedCategoryId = attrService.getCascadedCategoryId(attr.getCategoryId());
attr.setCascadedCategoryId(cascadedCategoryId);
return R.ok().put("attr", attr);
}
6.前端sale-attr-add-or-update.vue修改init方法,回显级联菜单

7.重启测试
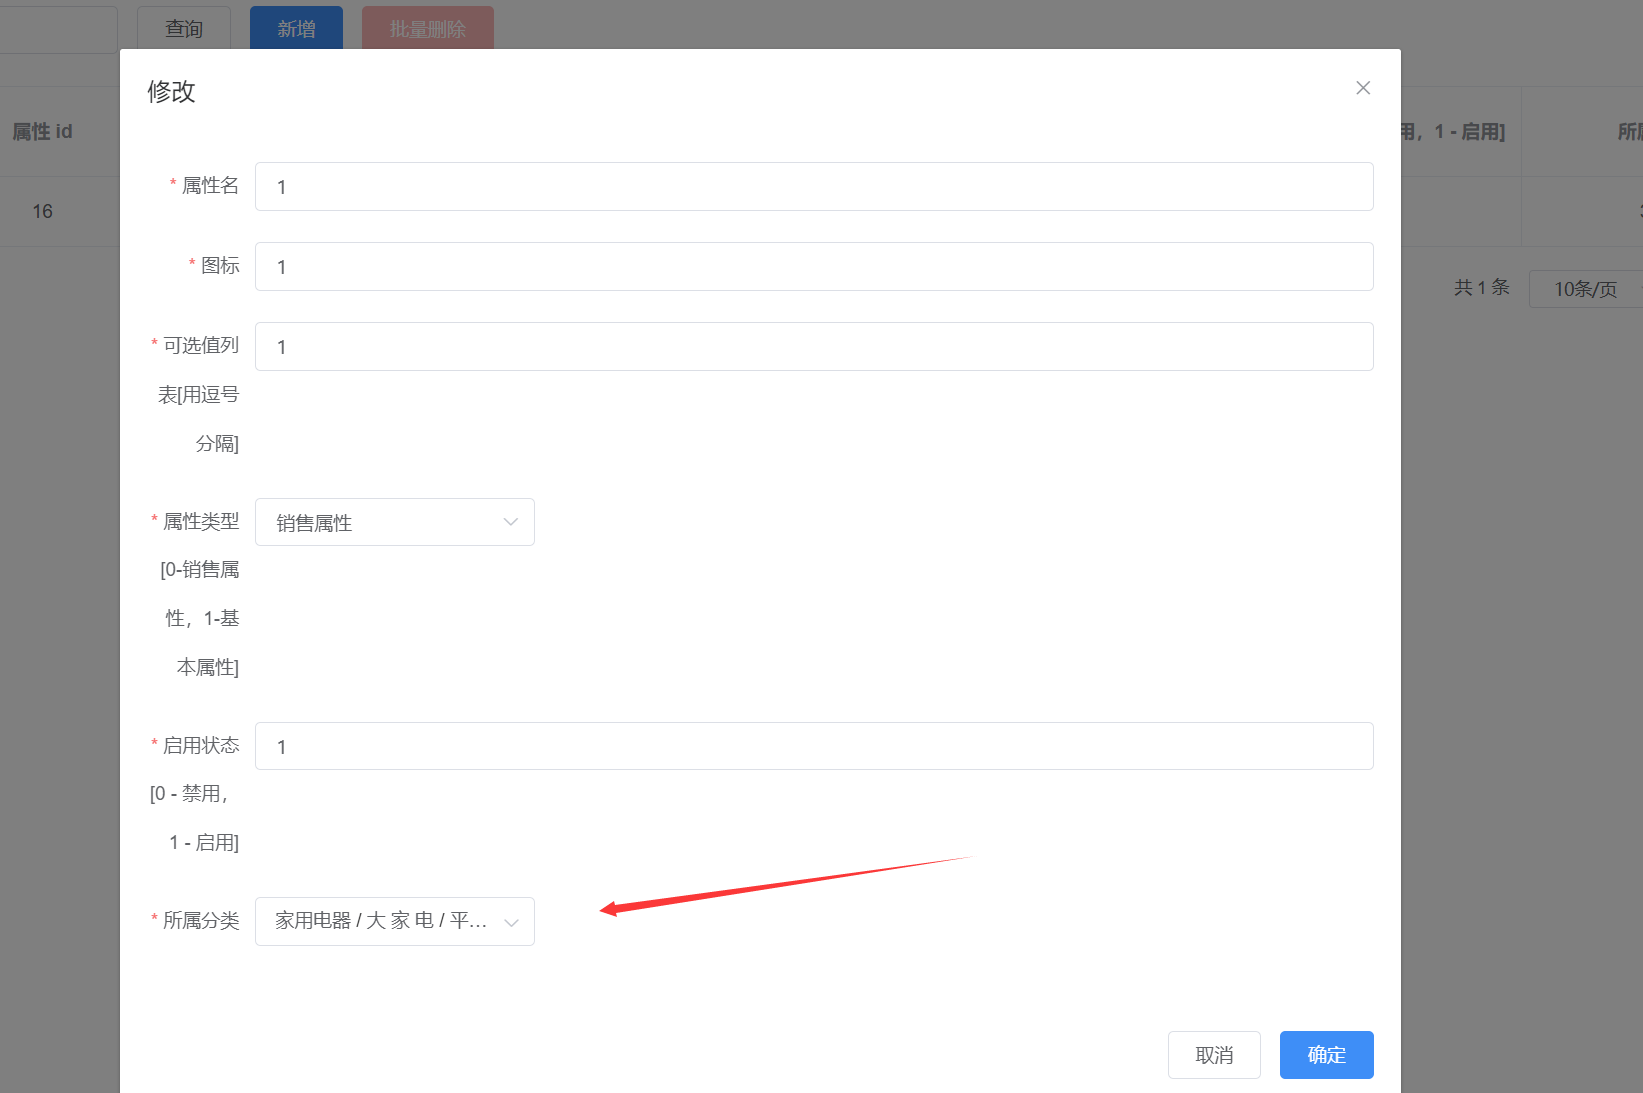
8.关于该阶段多表查询的小结
1.E-R图
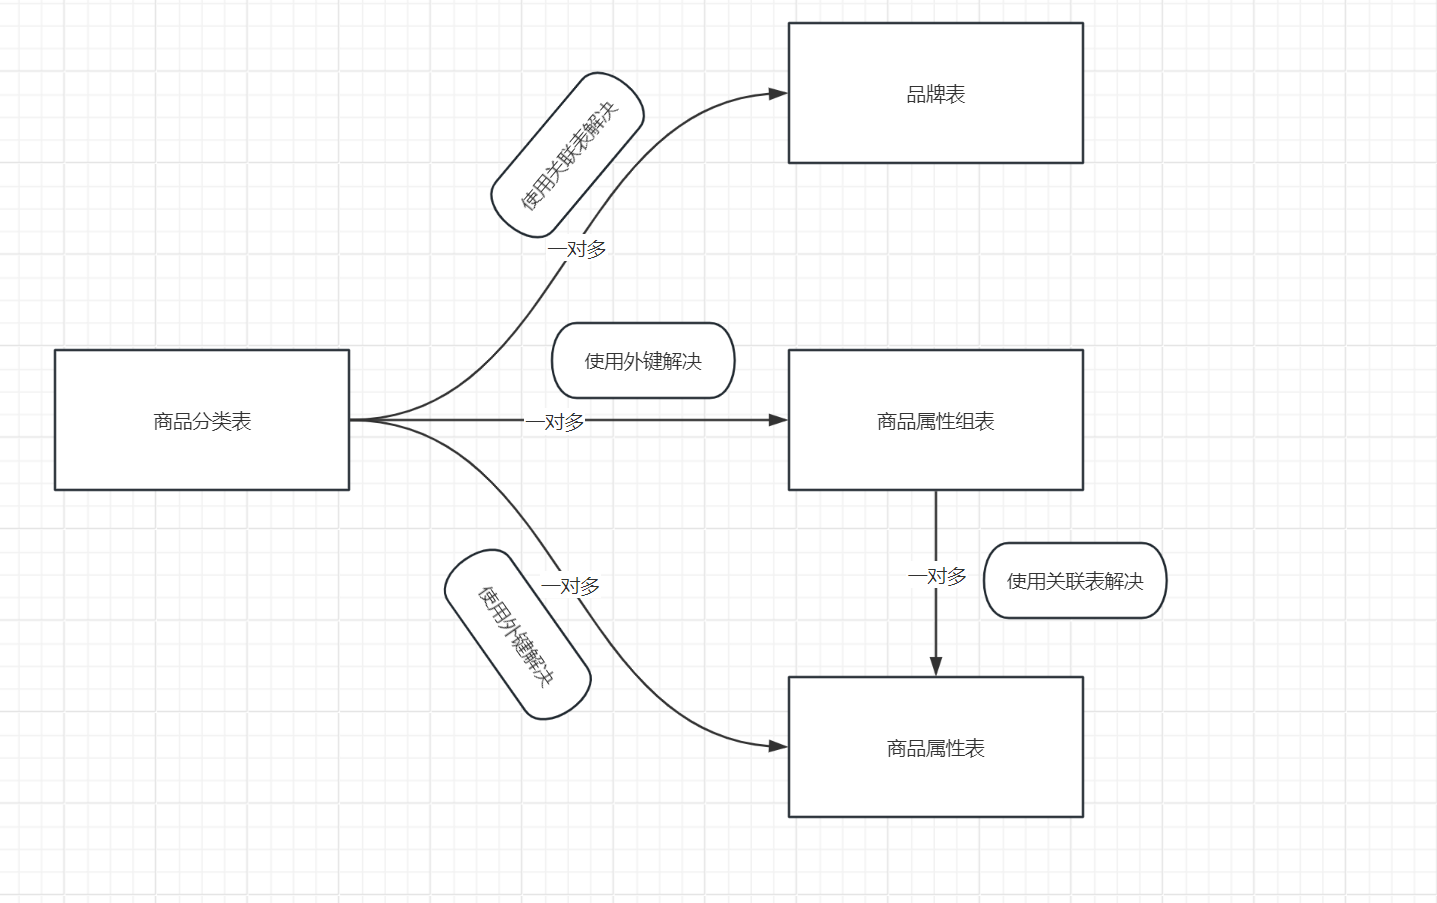
2.外键解决方式
- 一对一,一对多一般通过外键解决
- 通过在多方的表中添加一个外键字段指向一方的主键来实现
- 此时这个外键的值只能从一方的主键中取,在该项目中,使用的是级联菜单,让用户只能选择一方的主键
3.关联表解决方式
- 一对多,多对多一般通过关联表解决
- 关联表具有两个表的主键,也可以有两个表name或者其他的冗余字段
- 在该项目的基本属性保存功能,向属性的entity传入了一个属性组的id,使其在保存时同时完成了属性组与基本属性的关联
4.新增一个表的思路分析
1.是否有关联?
2.怎么体现关联?
3.怎么实现关联?
4.基本属性的新增功能的思路分析
- 有两个关联,分类表与属性表的一对多,属性组表与属性表的一对多
- 分类表与属性表:使用在属性表中添加外键的方式体现关联
- 属性组表与属性表:使用关联表的方式体现关联
- 分类表与属性表:在新增时使用级联菜单的形式让用户选择分类表的主键
- 属性组表与属性表,在新增时实现关联
- 使用vue的watch监控分类的变化
- 只要用户选中了所属分类,则取出该分类,根据这个分类的id来找到所有的分组,并以下拉框的形式显示
- 点击确定,就将这个新增的所属分组的id也保存到entity中(需要新增加字段)
- 后端首先将基本的属性信息保存到表中,然后根据所属分组的id和销售属性的id,将数据插入到关联表中