目录
Element,一套为开发者、设计师和产品经理准备的基于 Vue 2.0 的桌面端组件库.
安装ElementUI
1.导入ElementUI
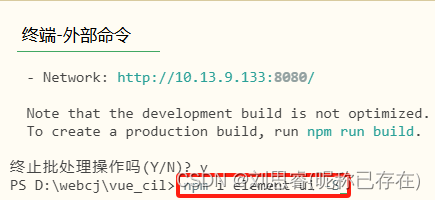
在创建的vue-cil项目中,打开其终端并输入:npm i element-ui -S
在vue-cil项目中找到main.js文件,输入如下代码:
import ElementUI from 'element-ui';import 'element-ui/lib/theme-chalk/index.css';Vue.use(ElementUI);new Vue({render: h => h(App),}).$mount('#app');

完整代码如下:(上面的导入路由组件,是一个vue-cil项目的基本项,详情见本人上篇博客:vue-cil项目的创建)
import Vue from 'vue'
import App from './App.vue'

Vue.config.productionTip = false

//导入组件路由
import router from './router/index.js'
Vue.use(router);
/* 导入ElementUI */
import ElementUI from 'element-ui';
import 'element-ui/lib/theme-chalk/index.css';
Vue.use(ElementUI);

new Vue({
	el: '#app',
	router,
  render: h => h(App),
}).$mount('#app')
2.导入插件测试
ElementUI官网:https://element.eleme.cn/2.11/#/zh-CN
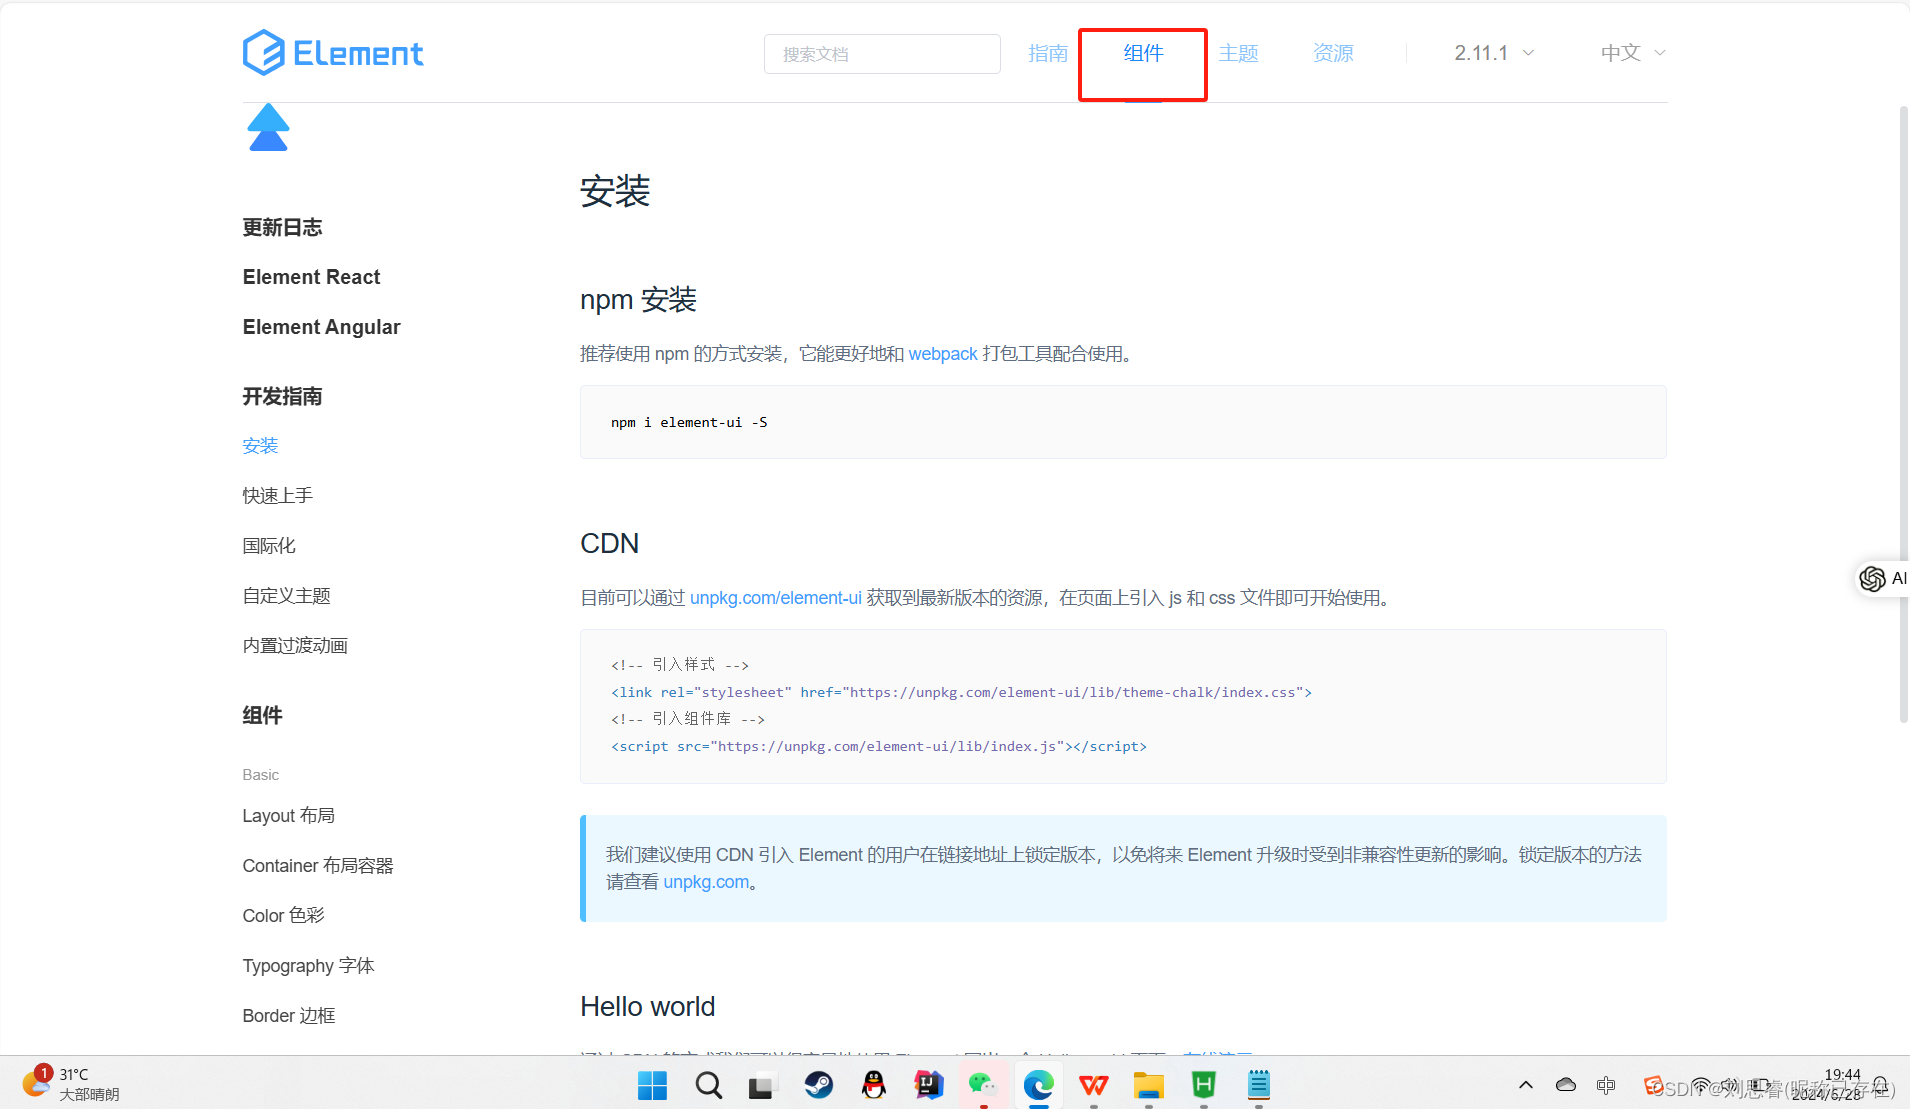
我们进入官网后,在其组件部分可以看到大量组件,选择其中一个进行测试。
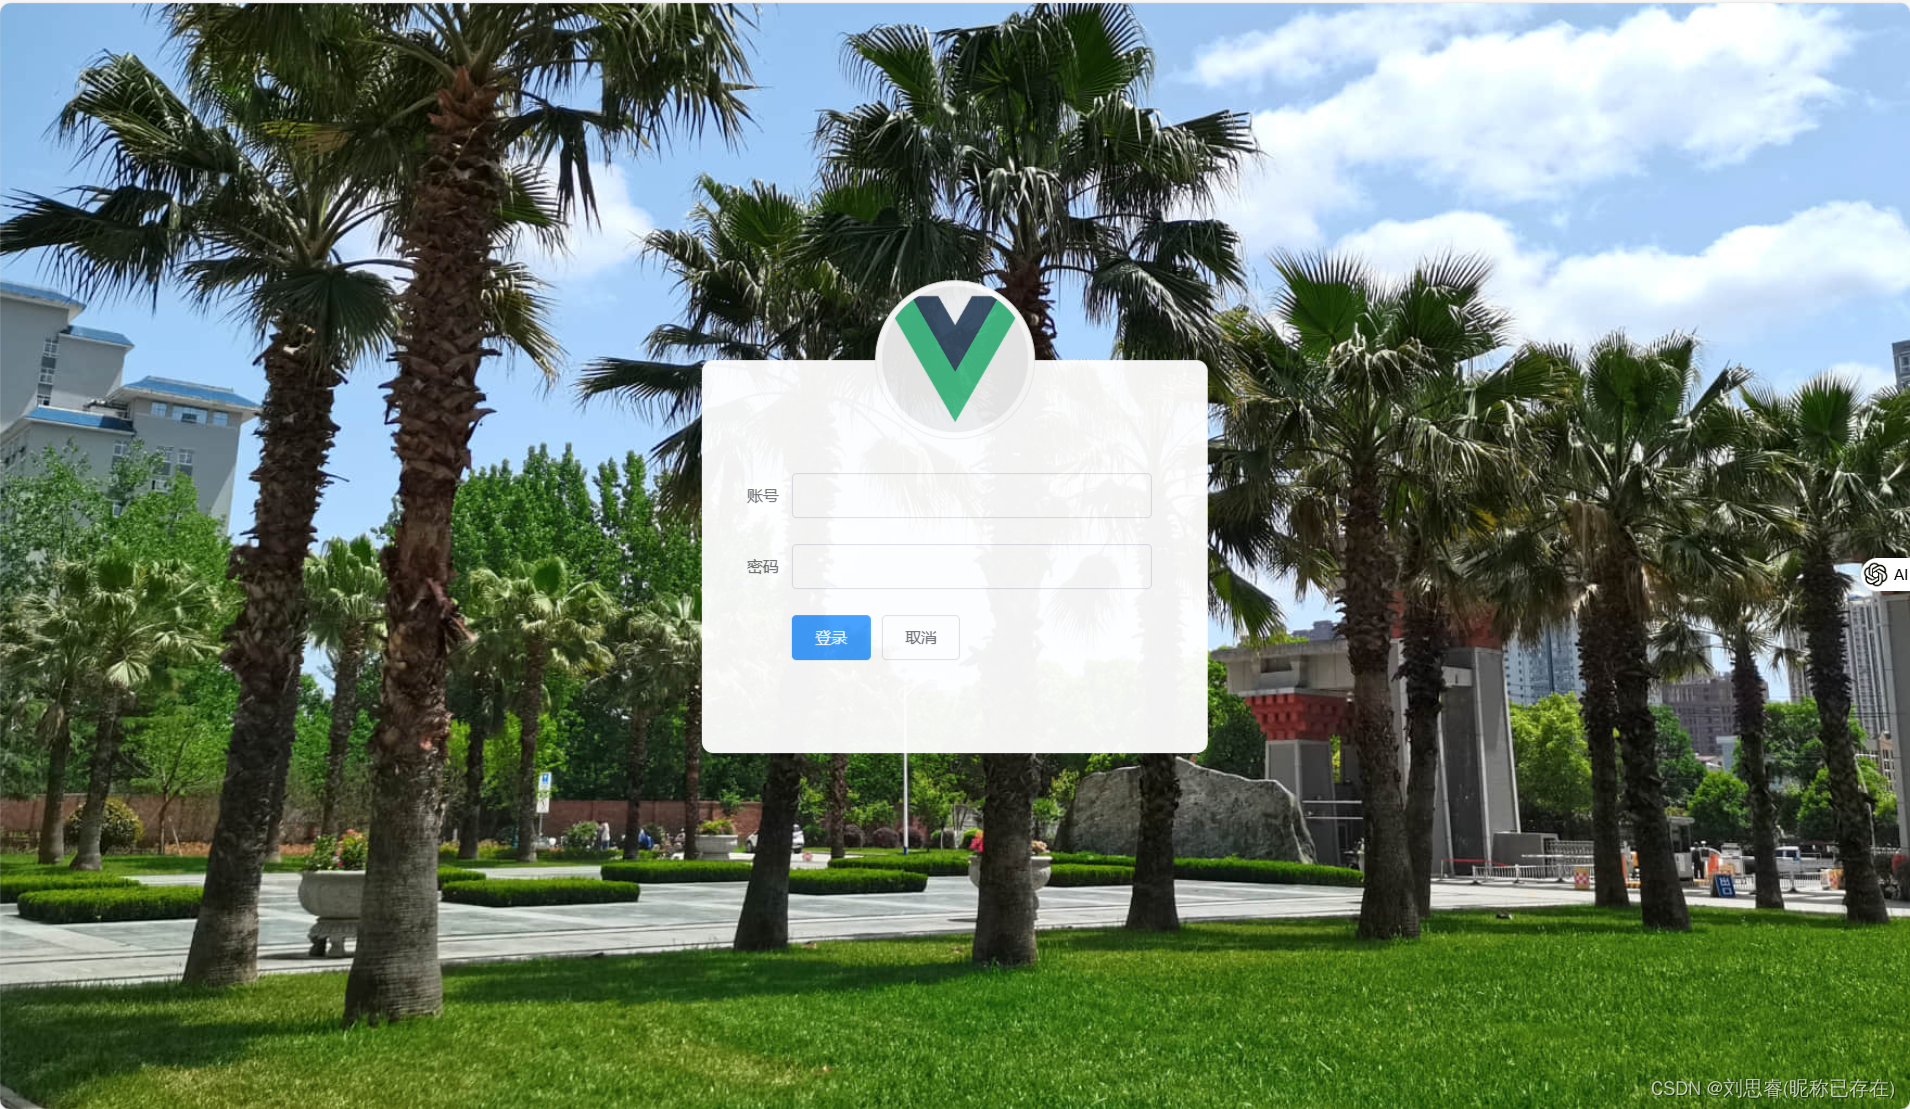
这里我利用其组件完成了一个简易登录窗口:
<template>
	<div class="login_container">
	    <!-- 登录盒子-->
	    <div class="login_box">
	         <!-- 头像盒子-->
	         <div class="img_box">
	               <img src="./assets/logo.png" />
	         </div>
			 <!-- 登录表单-->
			 <div style="padding: 100px 0px;width: 400px;">
				 <el-form ref="form"  label-width="80px">
				  <el-form-item label="账号">
				     <el-input v-model="account"></el-input>
				   </el-form-item>
				   <el-form-item label="密码">
				      <el-input v-model="password" show-password></el-input>
				    </el-form-item>
					<el-form-item>
					    <el-button type="primary" @click="login()">登录</el-button>
					    <el-button @click="back()">取消</el-button>
					  </el-form-item>
					  </el-form>
			 </div>
	    </div>
	 </div>
</template>

<script>
	export default{
		data() {
			return{
				account:"",
				password:""
			}
		},
		methods:{
			login(){
				//前端验证账号摩玛不能为空
				if(this.account.length==0){
					this.$message({
					          message: '账号不能为空,请输入账号',
							  type: 'warning'
					        });
							return;
				}
				if(this.password.length==0){
					this.$message({
					          message: '密码不能为空,请输入密码',
							  type: 'warning'
					        });
							return;
				}
				//与后端交互

				//后端响应一个结果
				this.$router.push("/main");

			},
			back(){
				this.$router.push("/reg");
			}
		}
	}
</script>

<style>
  .login_container{
    height: 100vh;
    margin: 0px;
    padding: 0px;
	background-image: url(assets/bg.jpg);
	background-repeat: no-repeat;
	background-size: cover;
  }

    .login_box{
      width: 450px;
      height: 350px;
      background-color: #fff;
      border-radius: 10px;
      position: absolute;
      left: 50%;
      top: 50%;
      transform: translate(-50%,-50%);
	  opacity: 0.95;
    }

    .img_box{
       width: 130px;
       height: 130px;
       position: absolute;
       left: 50%;
       transform: translate(-50%,-50%);
       background-color: #fff;
       border-radius: 50%;
       padding: 5px;
       border: 1px solid #eee;
    }

    .img_box img{
         width: 100%;
         height: 100%;
         border-radius: 50%;
         background-color: #eee;
     }
</style>
效果如下:
有关ElementUI的安装及其使用的介绍到这里就结束了,希望本篇博客可以给大家带来帮助!如有不同意见,欢迎在评论区积极讨论!